Panoramic Portraits

If you photograph family portraits, it is always a good practice to try and create an image that is a little different.   I had the pleasure of photographing the Lucas family, which included Mom, Dad, five daughters, one son and their two dogs. So with this large family we created an image that is not your normal family portrait. To get the image I had in mind, I took out my panoramic gear, had the family sit as still as possible and started to work.

With the 85mm in place, I shot several vertical images going from left to right with a generous overlap to each image.  Then I did the shot again, this time, going from right to left.  For good measure, I shot one more set, left to right. All of these images amounted to about 30 shots total. This Panoramic Rig from Really Right Stuff, allows me to keep the center of the lens perfectly aligned over the exact center of the tripod.  So when the panoramic images are created, they are perfectly aligned with each other.

The next step was to load all these images into Lightroom 4 and figure out which was the best series of 10 images images.

Once the best series of ten images was figured out, I stitched them together using Photoshop.

In Lightroom 4, you select all the images you want to build your panorama with and then right click.  Go to Edit in>Merge to Panorama in Photoshop. This will open up Photoshop and then start placing images on thier own layers and creating layer masks for each one.

You can probably see from the image above where there were a couple of  problems.  It was not with the people, but with the dogs.  They didn't sit entirely still. So even in a quickly shot series of images the dogs were in different positions with each photograph. I figured this might be the case when I was shooting, that is why I shot so many extra photographs.

In one shot, the dog is laying down and in the next shot that was suppose to be blended with it, the dog is sitting up.  Photoshop doesn't know anything about the subject so it does the best job possible lining up the images.

To solve this problem, I had to go back to the original images, where the dogs looked best and then cut them in separately.  By selecting each dog, I was able to pull them out of one photo and then place them into the main combo shot.  I had to consider shadows, sleeves, hands that might be covered up, etc. to make the shot look believable.

Finally the main photograph was done, built out of ten portions of a series of images.  This extra work created a very large file that gave me the ability to print it large and still maintain sharpness and quality.

Final image with people and dogs all in place.

Photographing Yosemite

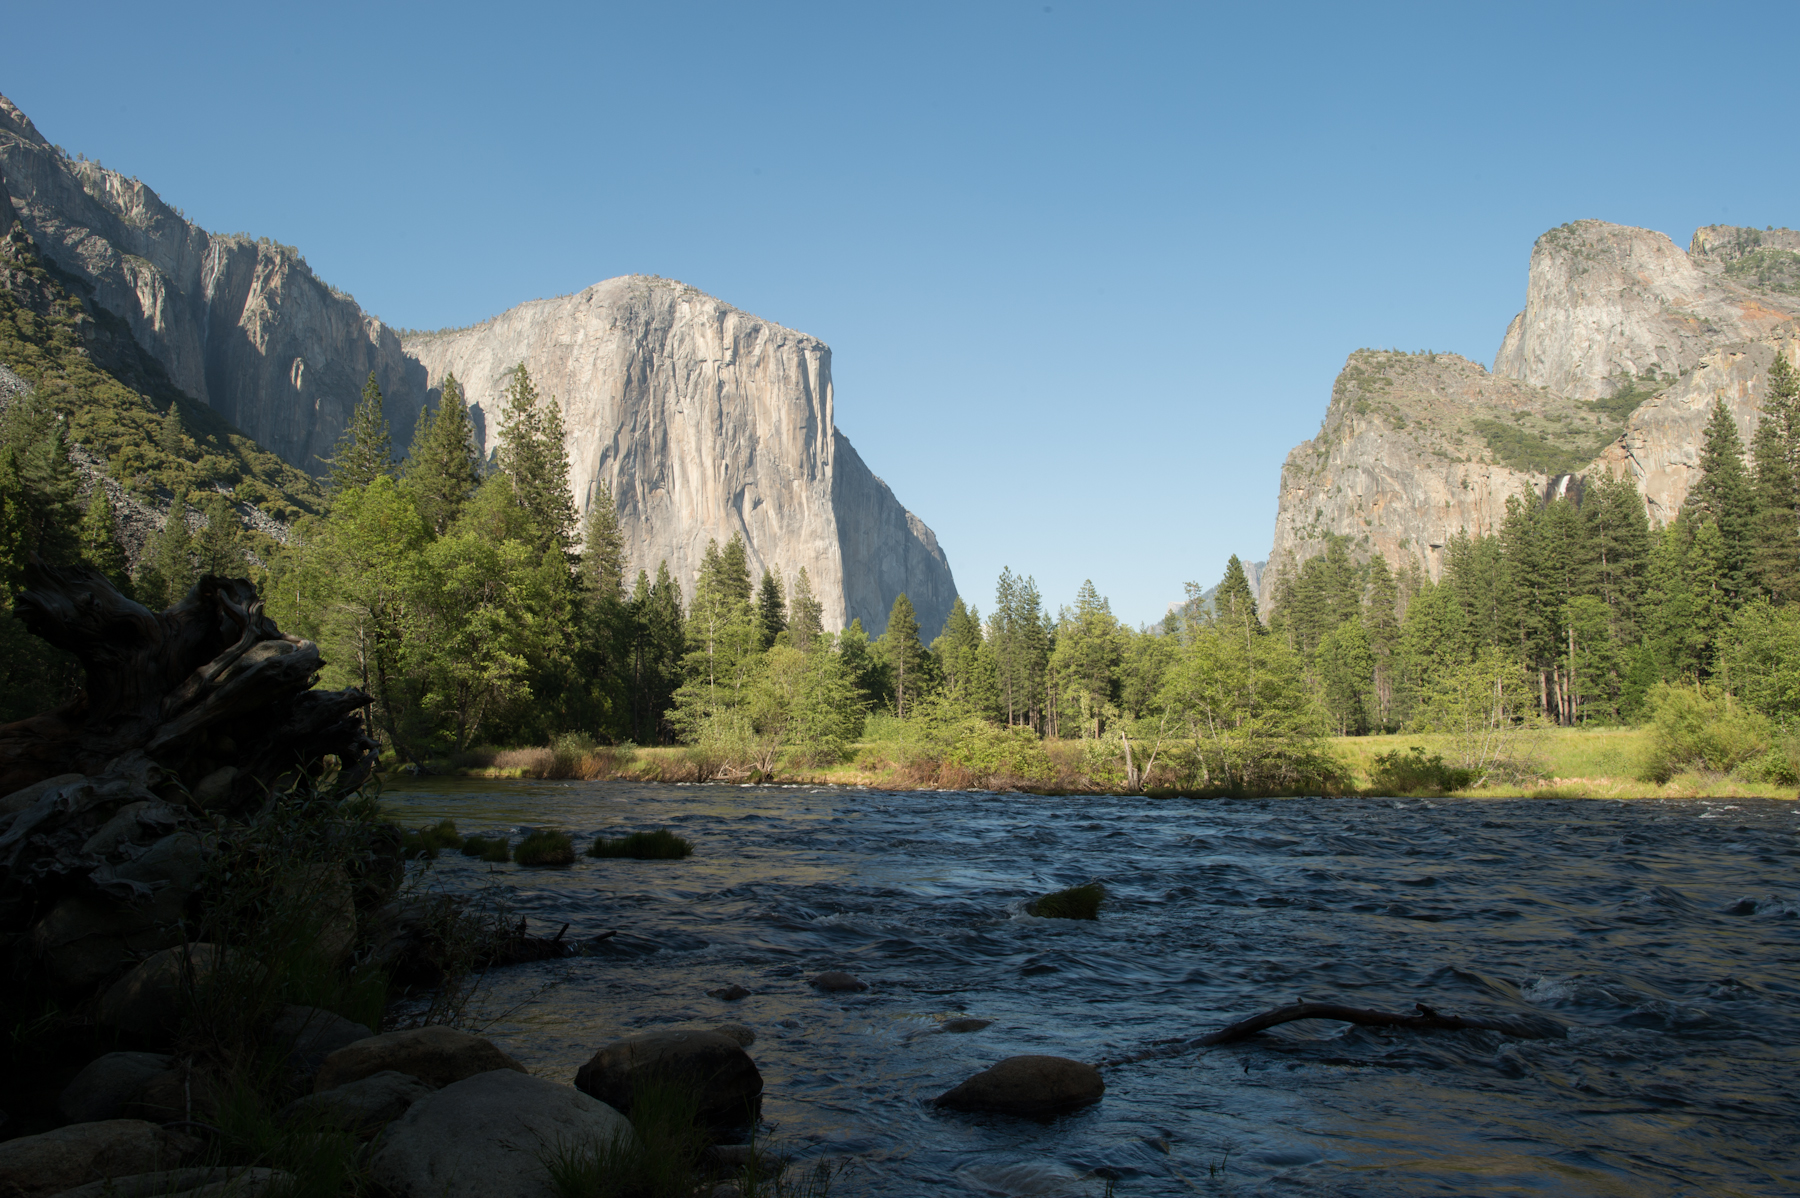
Yosemite is a fantastic place to visit but it can be quite difficult to get the shot that you want because of the conditions.  I found this scene near the exit of the valley floor. As you are exiting the park, its on the left side,  pull over there is plenty of parking.  The Merced river runs right by you with El Capitan in the in the background.  This is not a secret spot, in fact, I have seen it many times in photographs.  During the three hours we were at this location waiting for the best light, at least 200 people stopped to get this same shot.


The conditions that Yosemite throws at you can be difficult to deal with. First off, is dealing with the people.  If you want to shoot pure landscapes, then you aren't likely to want people in the shot.  Most people understand and will move out of the way, some people, however, are so self absorbed they have little regard for others around them.


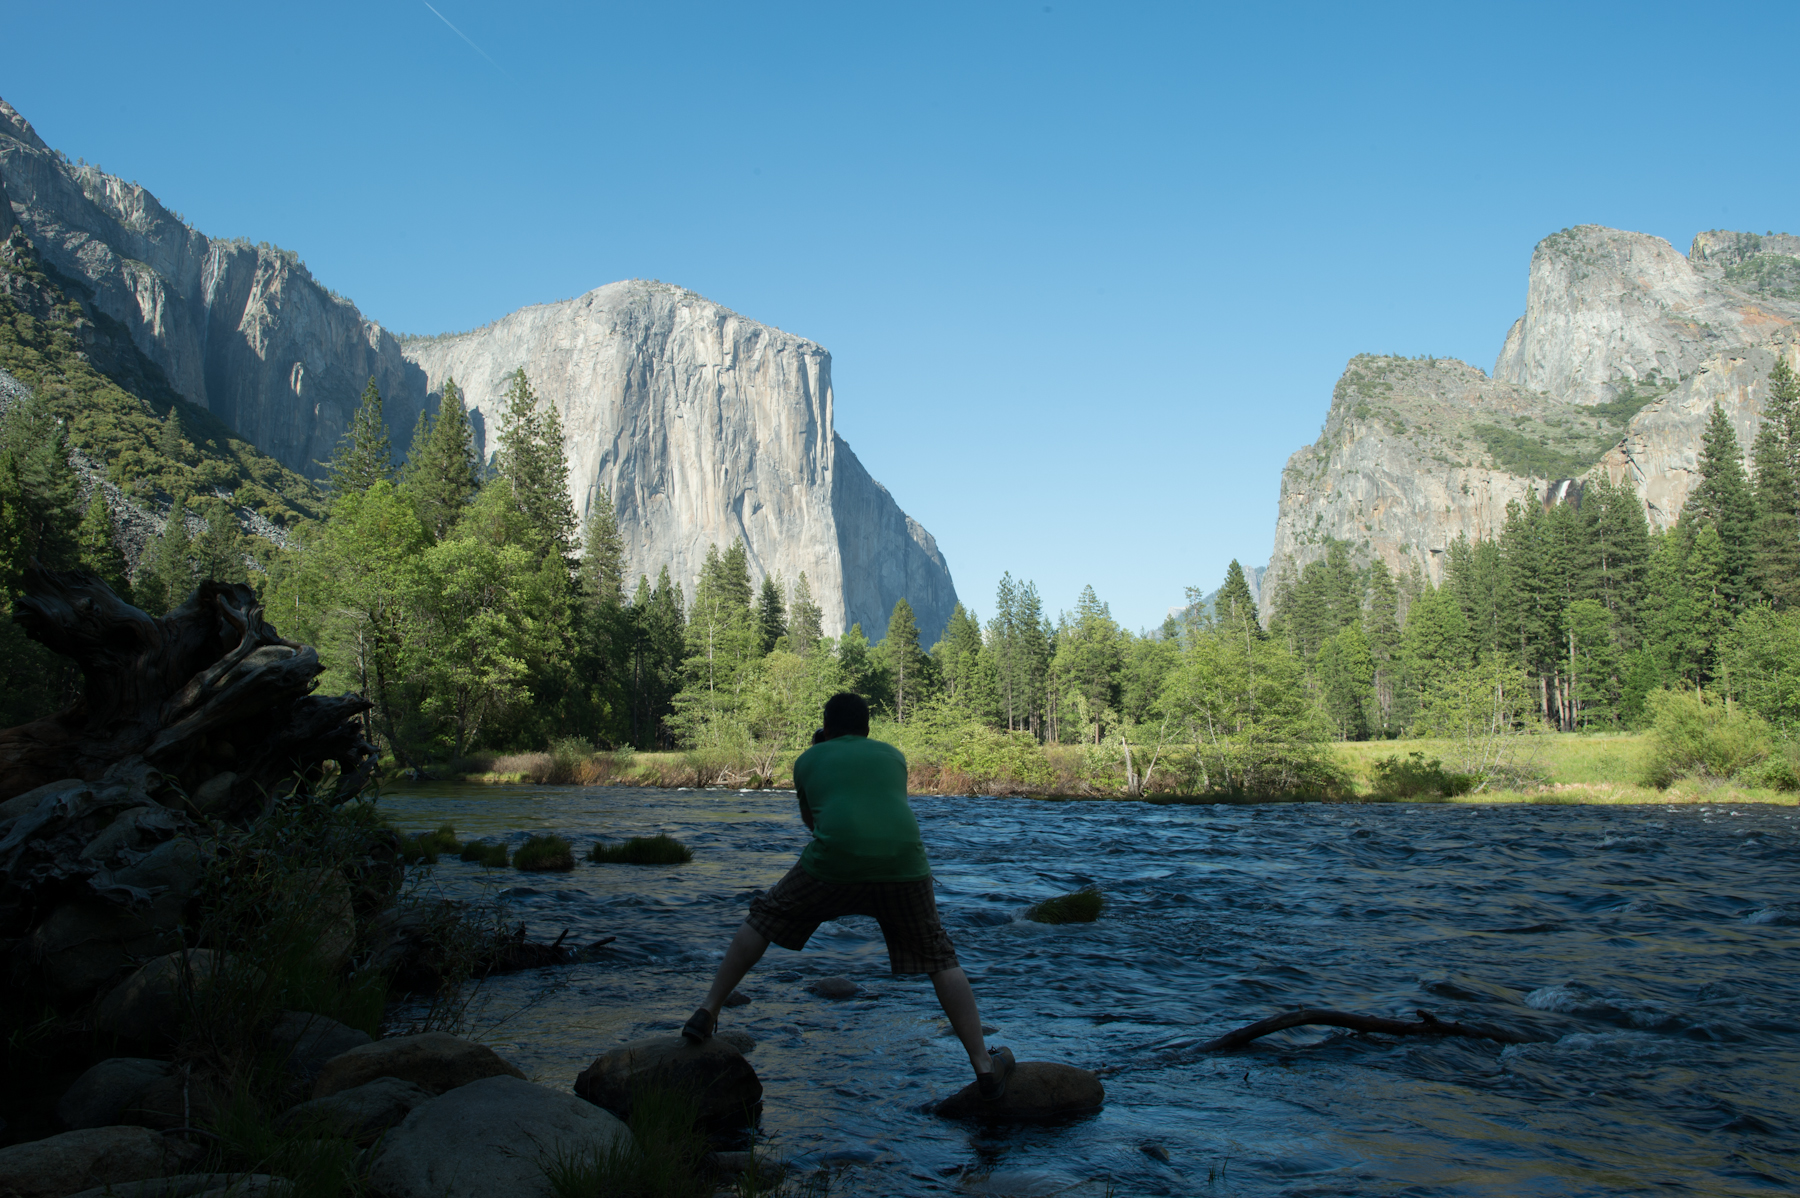
Photographers like this can make shooting Yosemite difficult.


I had been in position for about a half hour, waiting for the best light of the day, when this photographer decided to jump in the middle of my scene and get his shot. This guy walks up, looks at me with my tripod in the water and just walks in front of me to get his "amazing" shot. I knew that he would be gone as quickly as he arrived, so I didn't sweat it.

There are a couple of things you can glean from this photograph to determine as to why his picture wont be all that special.  First off, he will have to be shooting very fast to hold that pose, thereby having the water in his image, not soft but hard looking.  It looks like he will not have anything in the foreground except the water so that is not likely to be very interesting. Also, because of the contrast of Yosemite, his foreground will be too dark or the section of El Captain will be too light.  Since he is hand holding the shot, it's not likely he will be able to create a merge photograph like I will show you in the next section.

****************************************************

After being at this spot for a while, I started looking around at my foreground.  I liked a downed tree off to me left and I also liked the rocks that were right in front of me.  I put on my 24mm lens and decided to make a vertical photograph.  Here is what I started with:


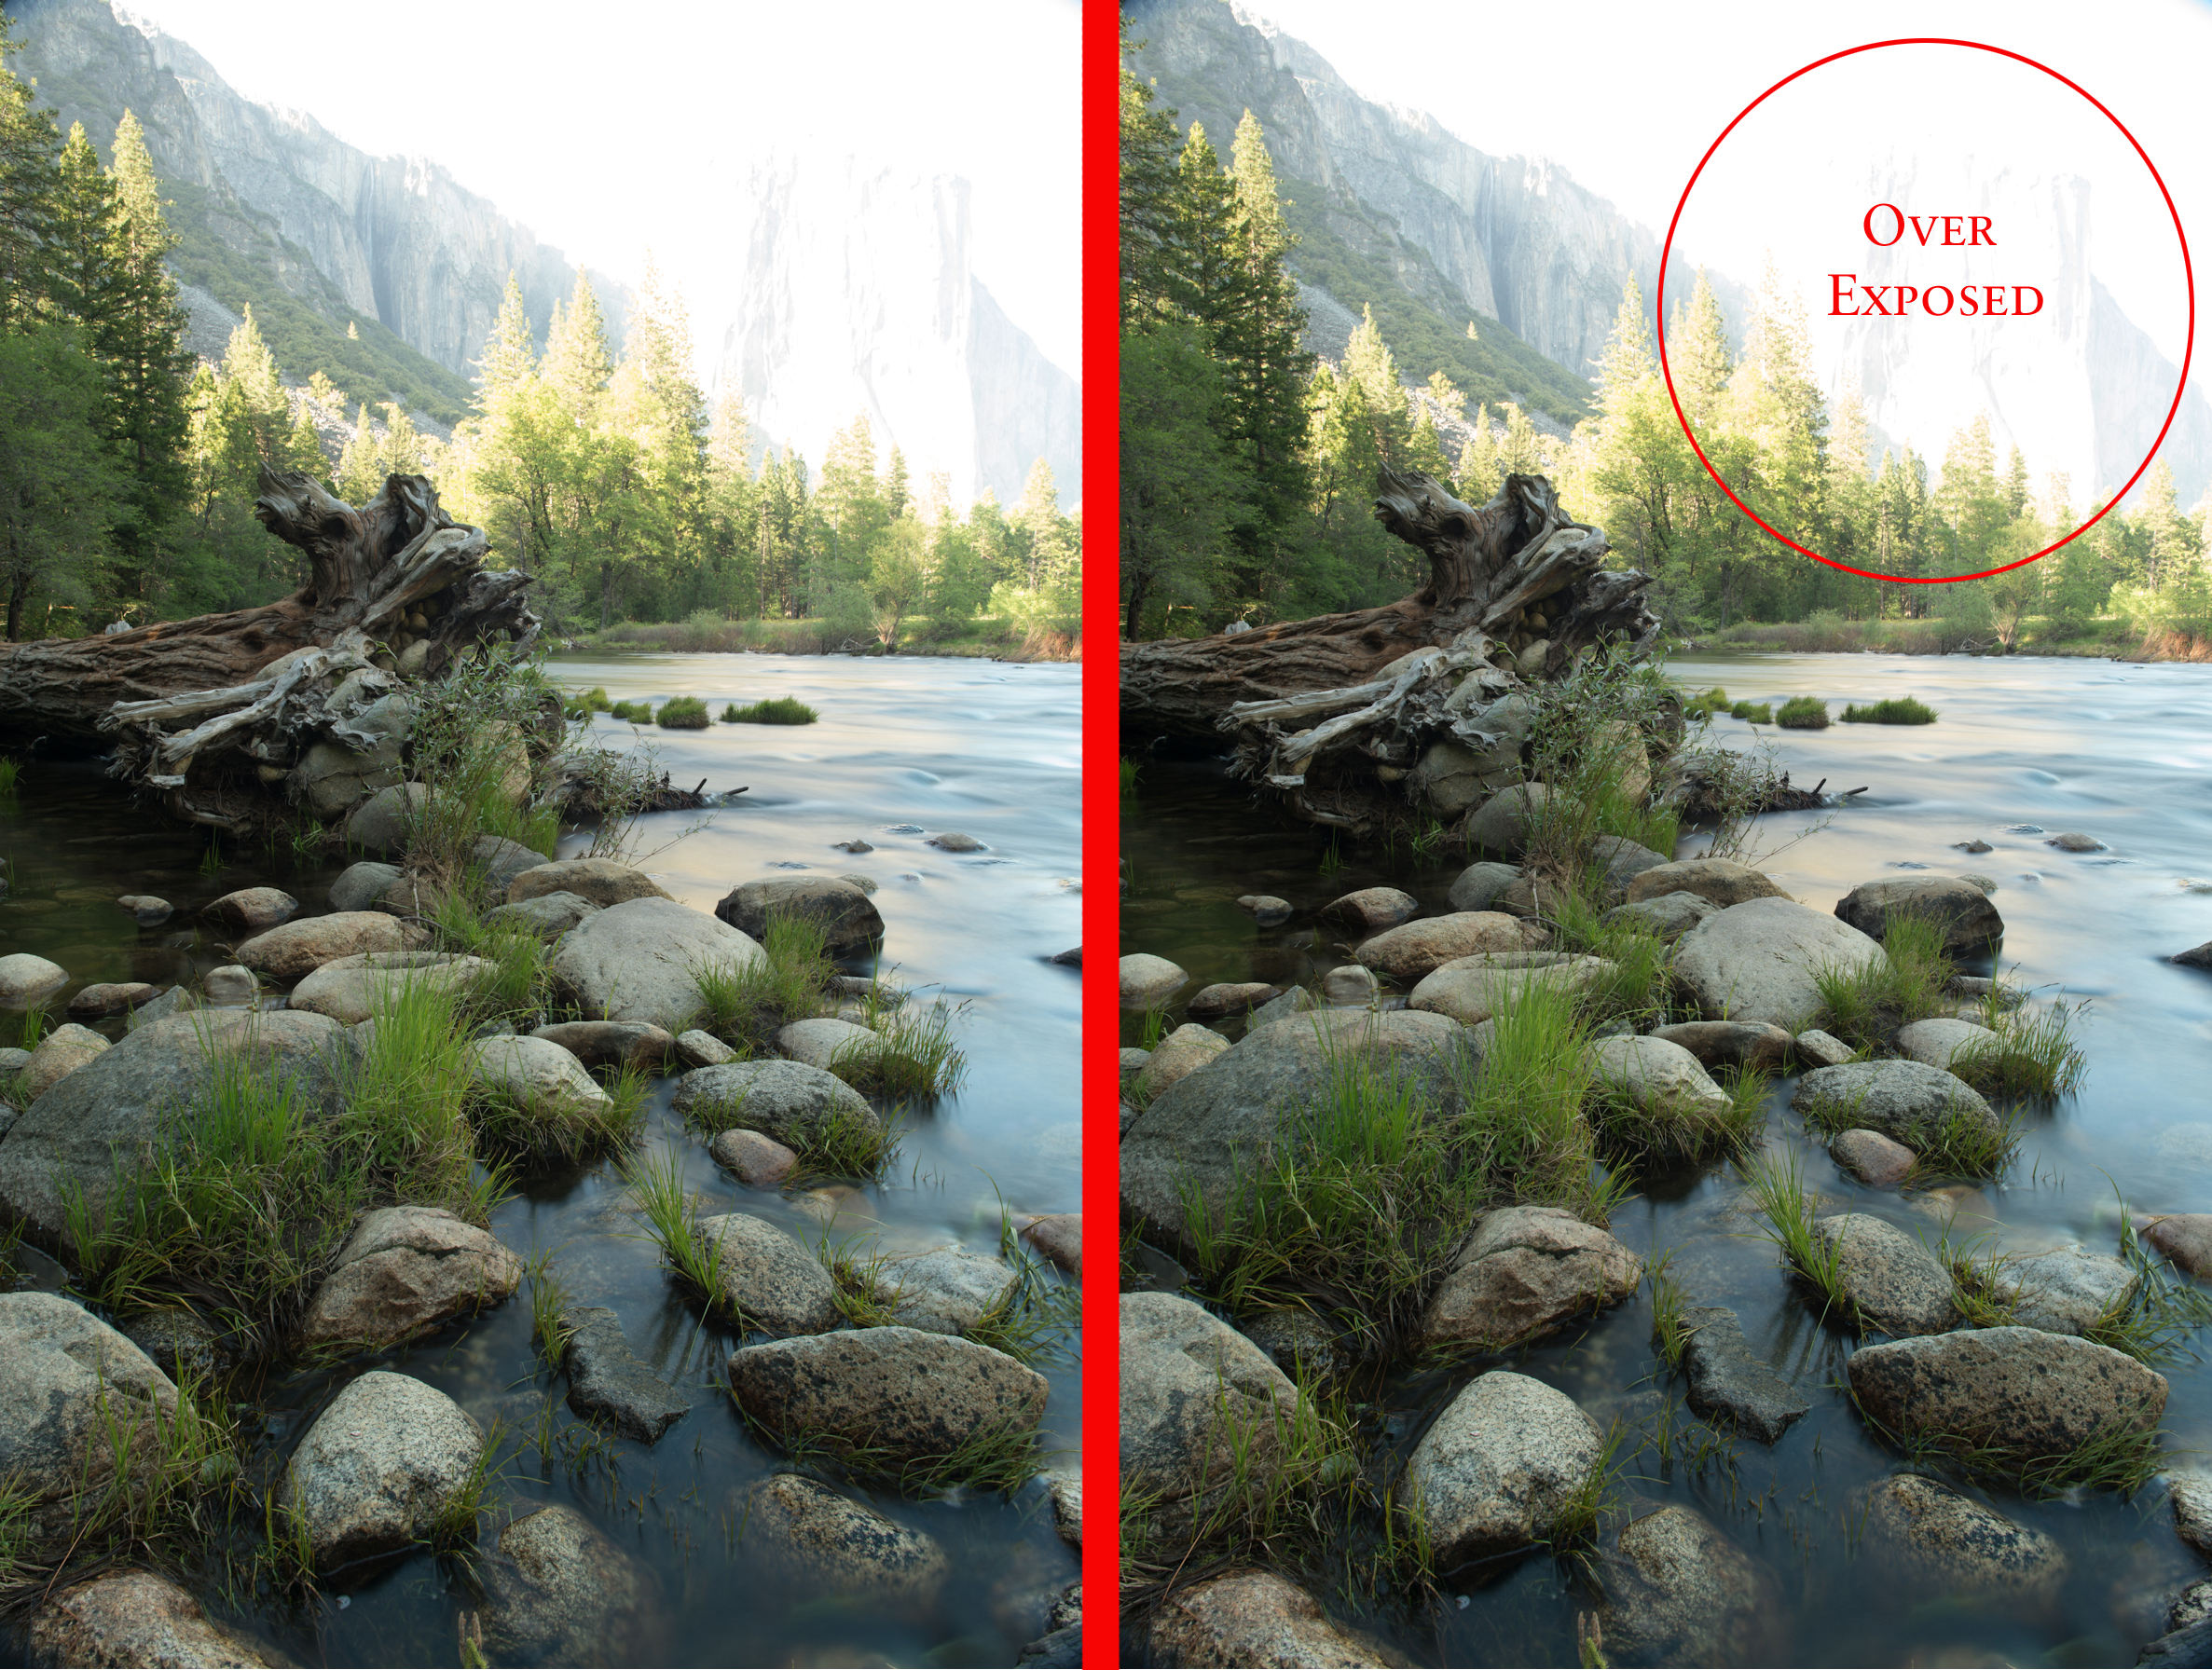
For the composition, I had the rocks and grasses int he foreground lead your eye to the log, which will lead your eye to El Capitan. On the first photograph, the rocks and river were the way that I wanted them, exposure wise  - however, El Capitan was still in bright sunlight and therefore extremely over exposed.

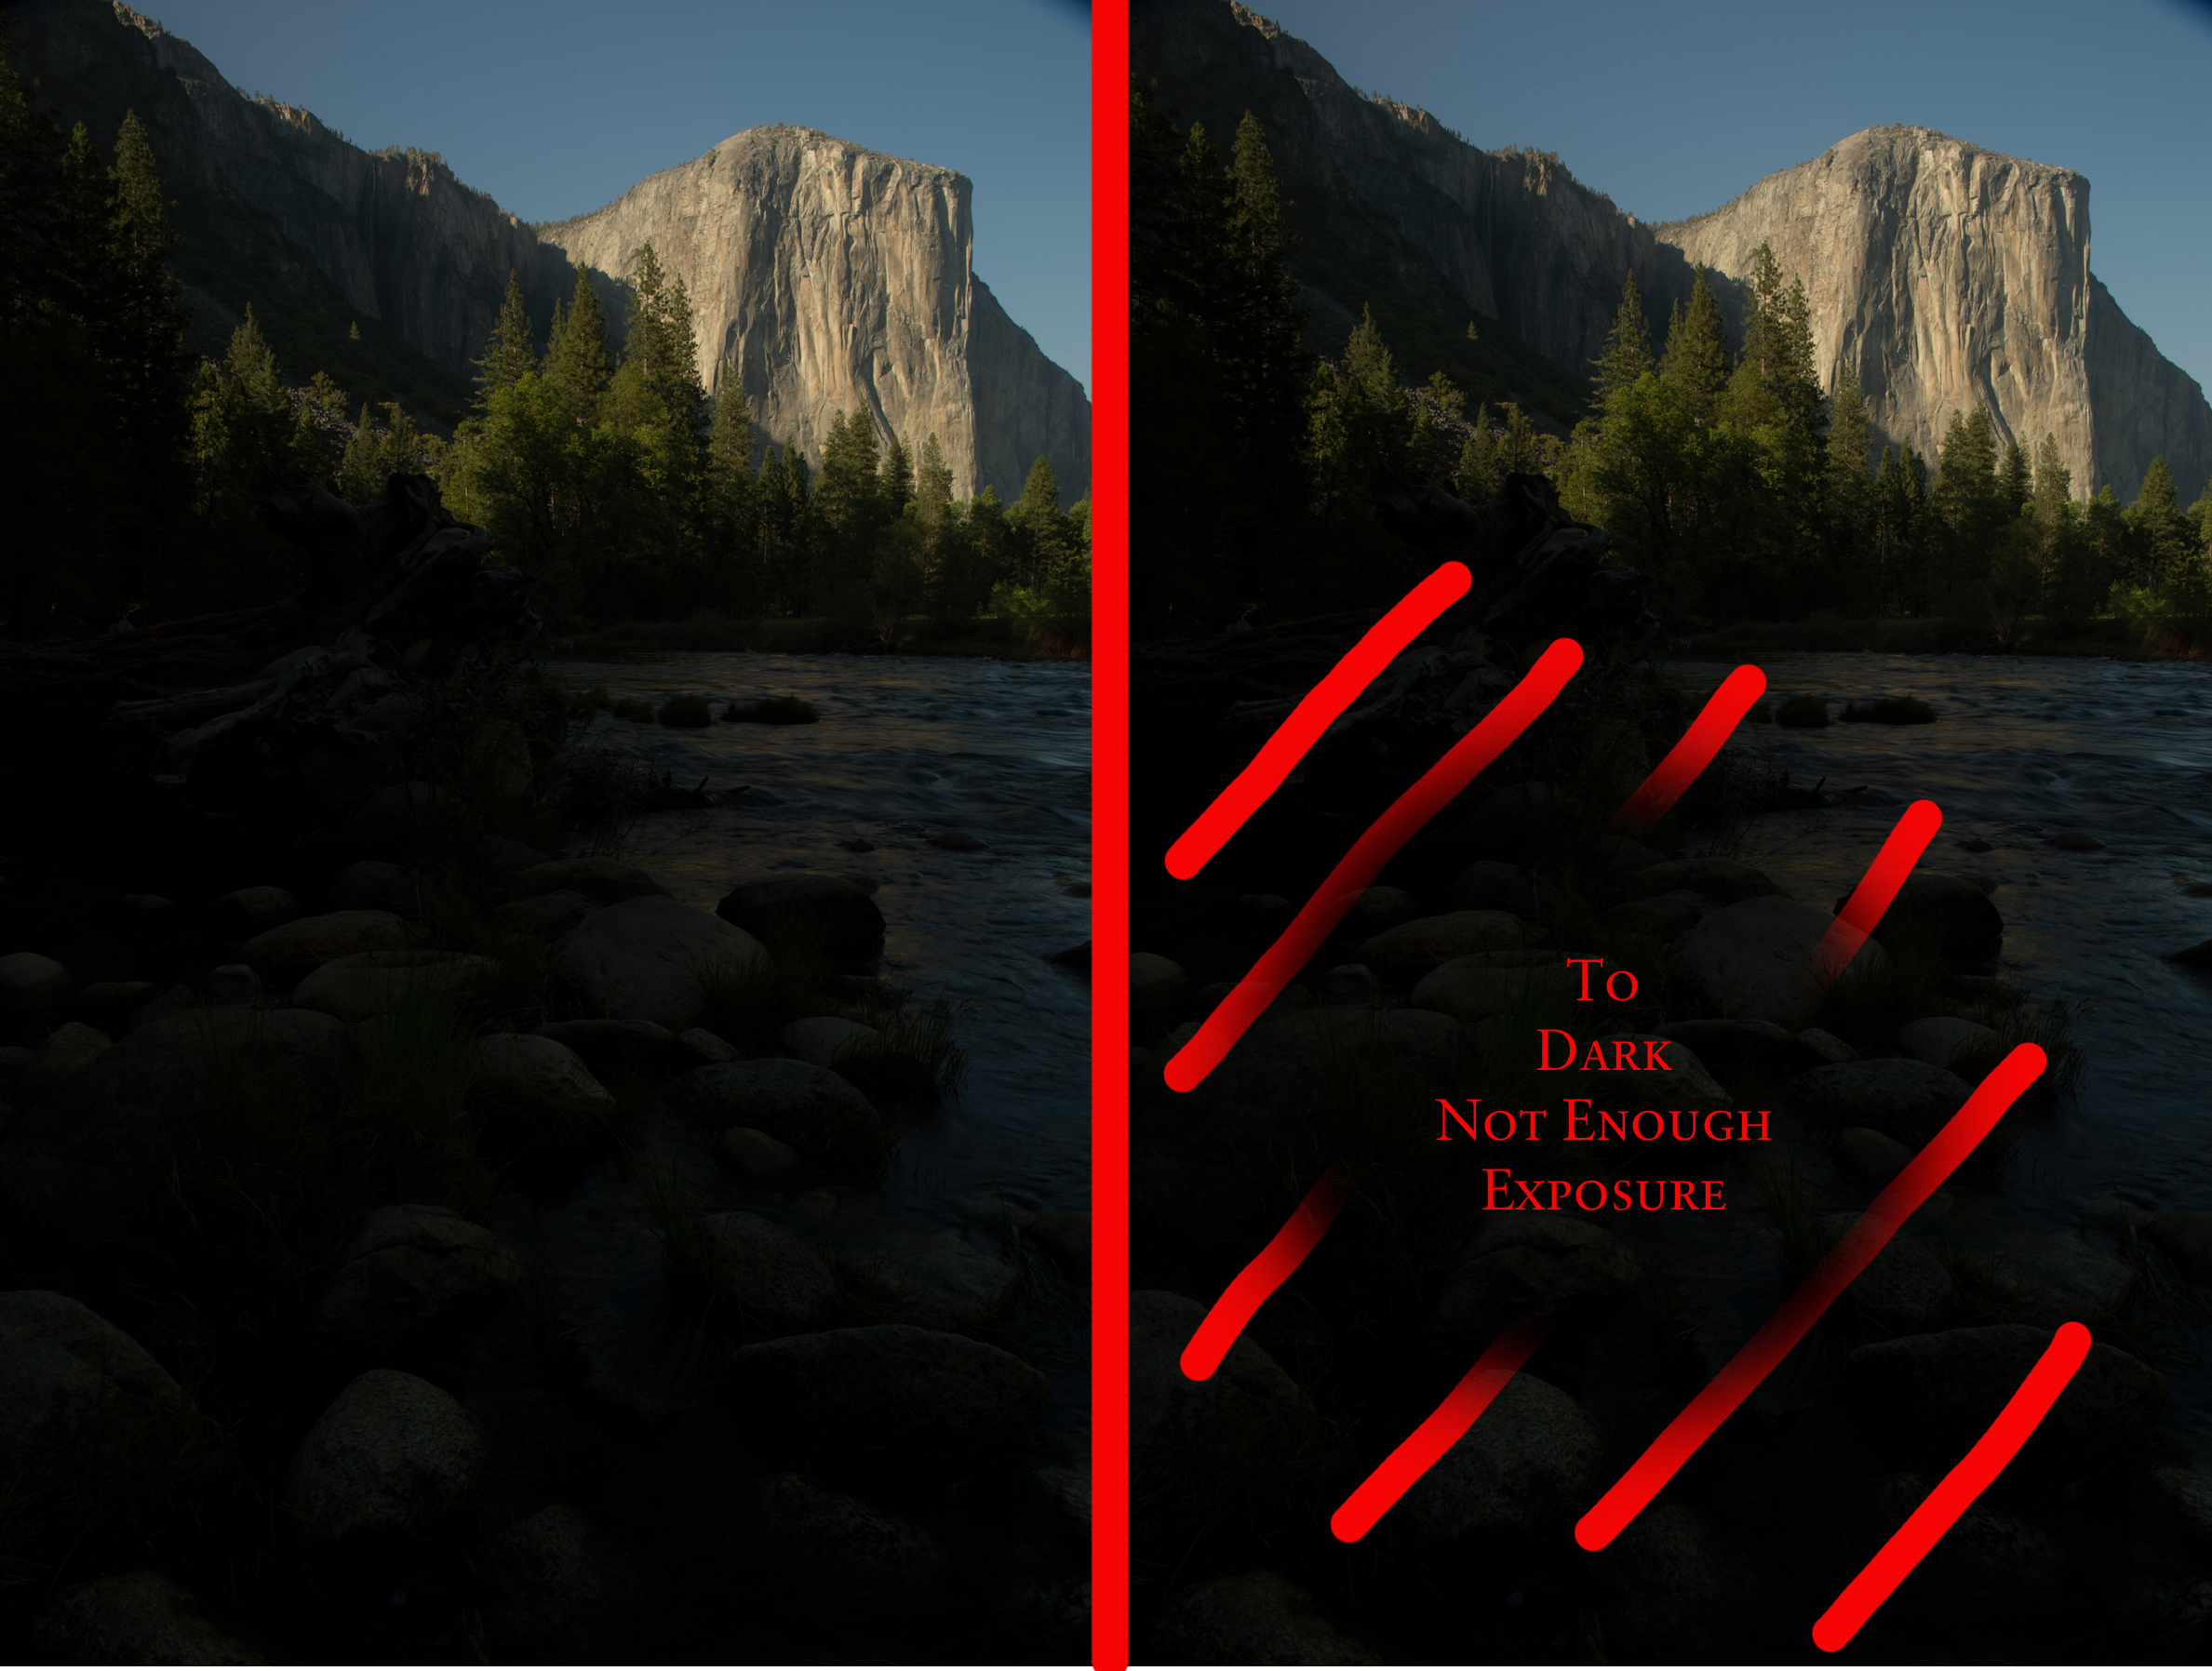
In the second shot, El Capitan was correctly exposed, but the river that was in the shade way way to dark to show any detail.

So I shot both photographs from the same position with everything locked down on a tripod, knowing I was going to get these two images into Photoshop and make the final image there.

********************************

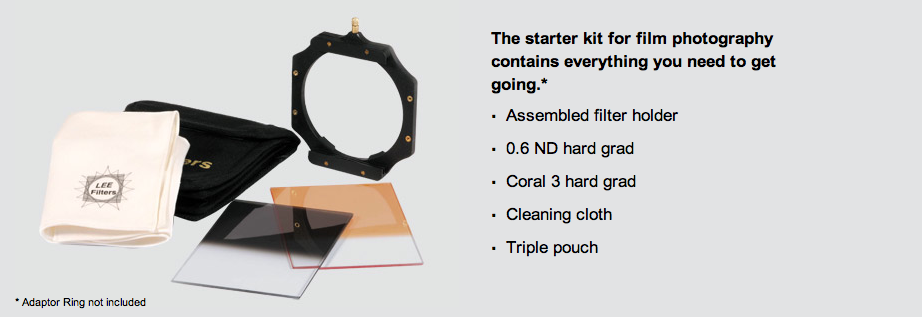
If you don't want to, or can't bring the images into Photoshop, there is a possible solution for you.  Use a graded filter with a filter holder.  These are made by Lee and can be used to darken down a selected area of your image.


While these filter sets are fun to have, they don't give you the precision that Photoshop will give you and if you are already using a Neutral Density filter to get the water to be blurred, another filter and holder system will most certainly create vignetting on the edges of your image if you use a wide angle lens.

**********************************

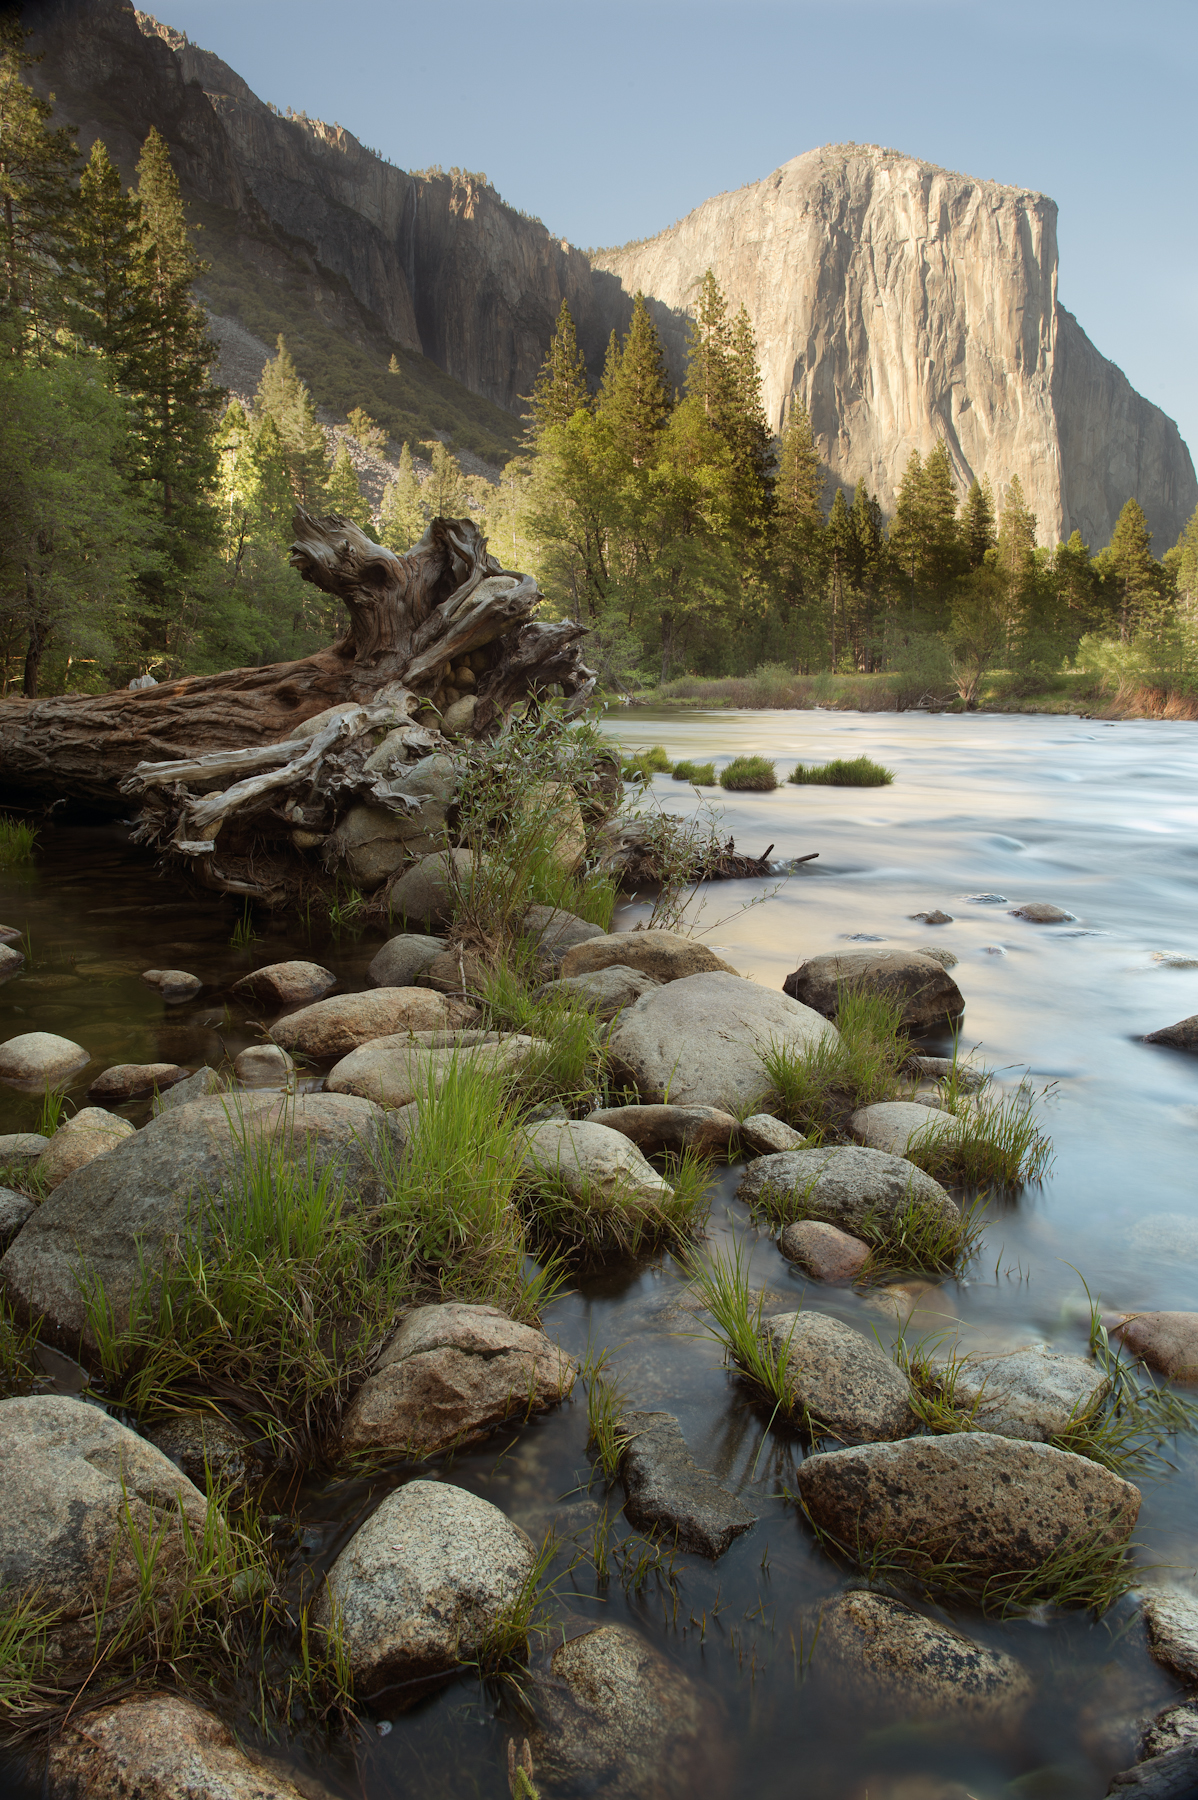
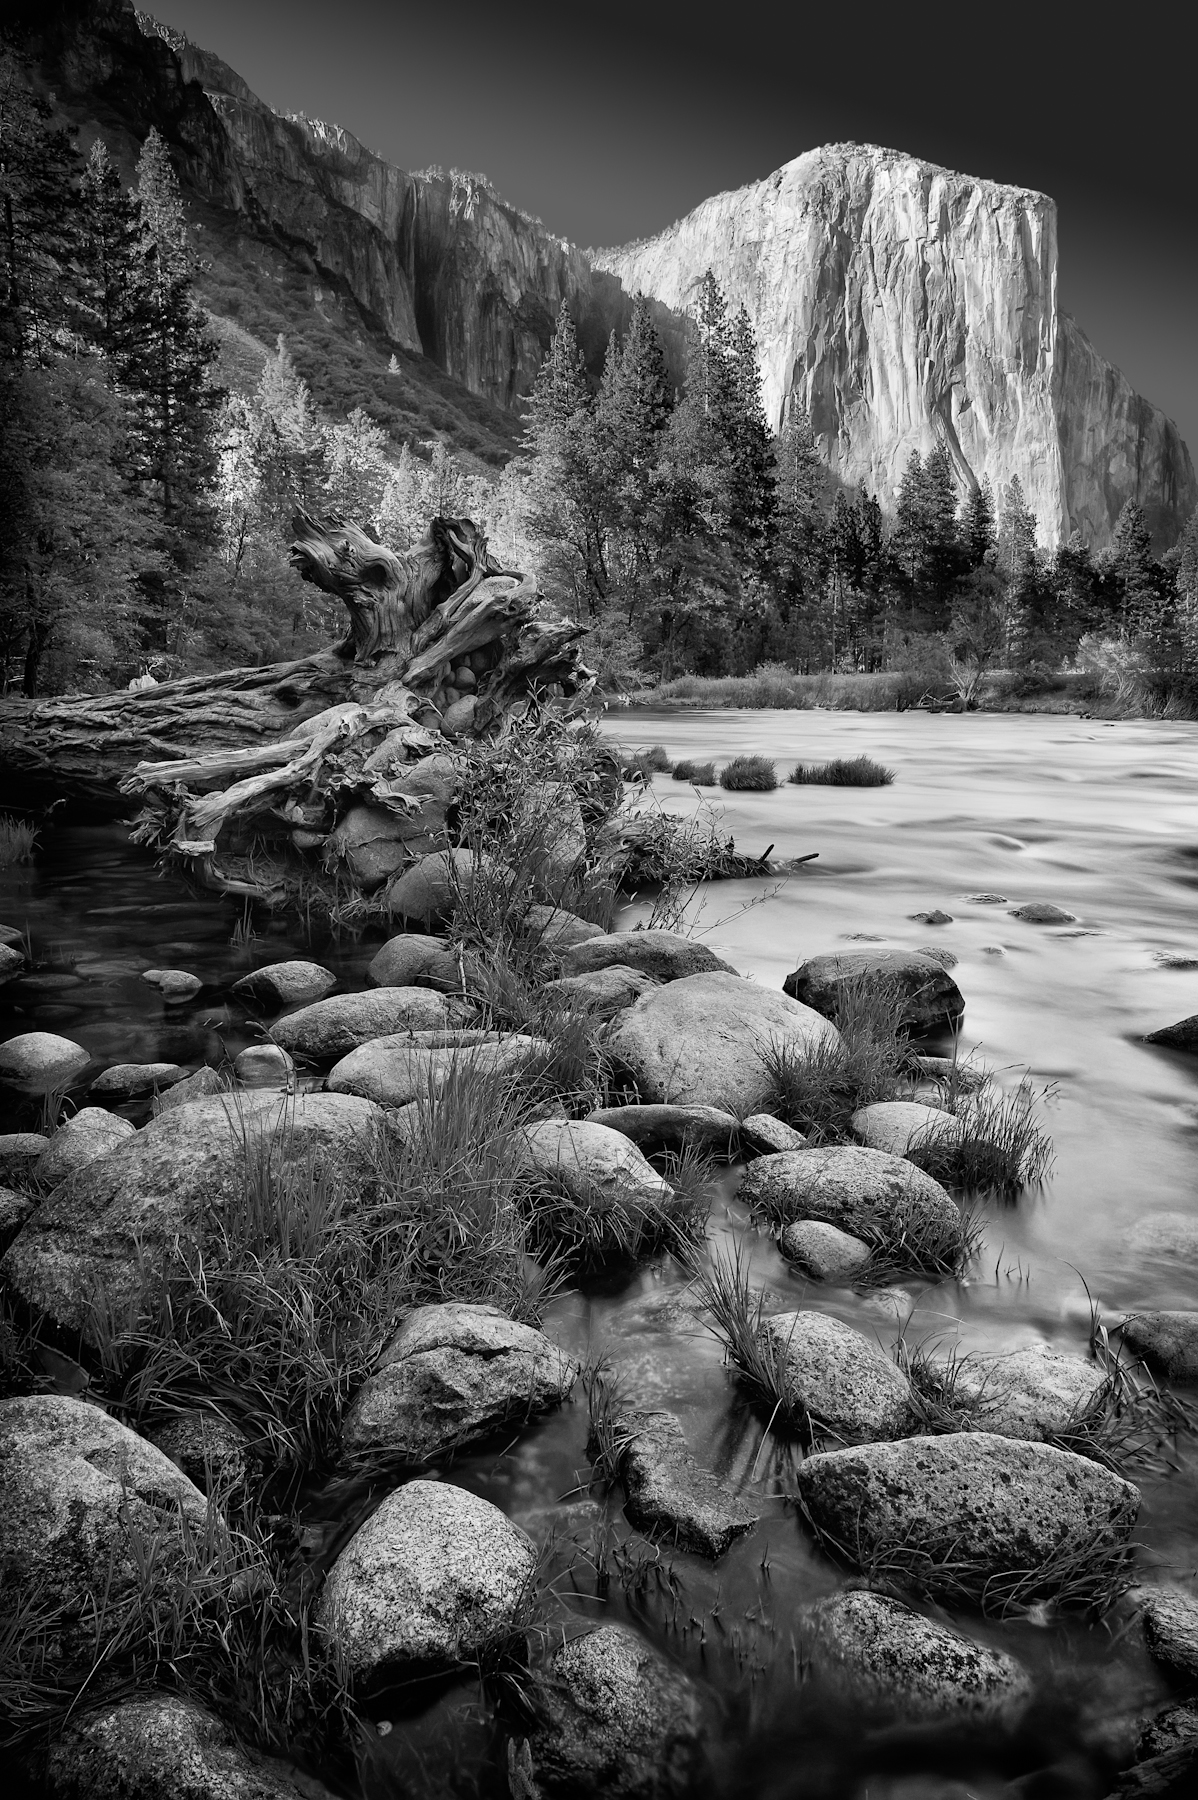
Here is how the image looked after I merged the two best parts of the two images in Photoshop.  I liked it but, didn't love it.  Next was to bring it into Nik Software's Silver EFex Pro 2 software and convert it to black and white.

iPhone 4s Camera

I've been using the iPhone 4s for a few months now and the first thing I wanted to do, was to take some decent photographs with it. I think the 4s is very capable.  While I would not say that it's a substitute for a "real" camera - it works pretty well as long as you are set up correctly.

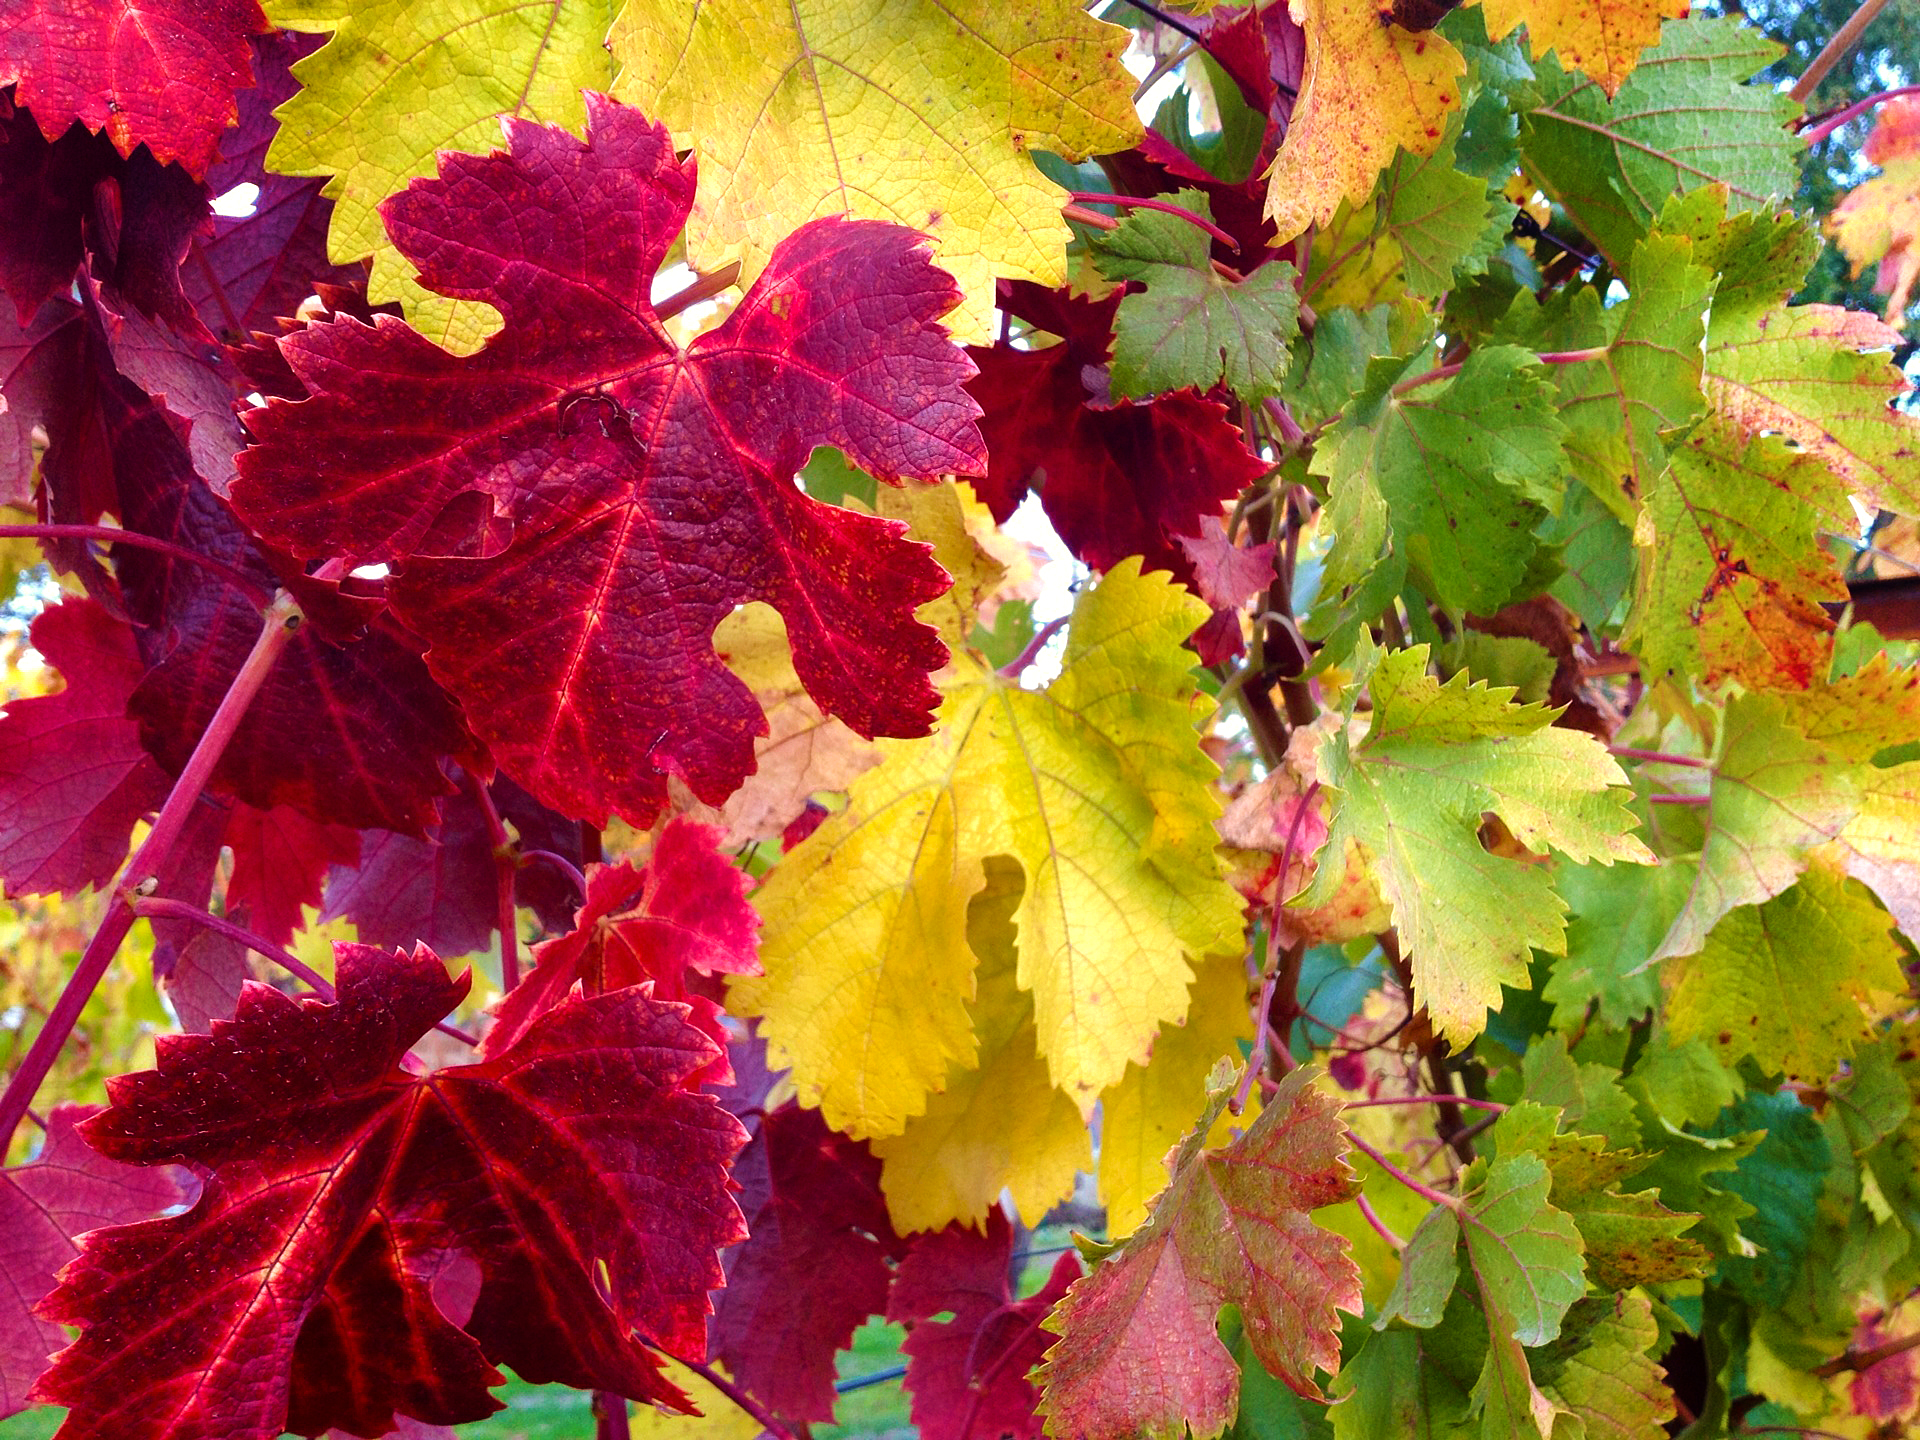
Here are a couple of shots created with the iPhone 4s.  The color range is outstanding while the contrast is pretty good as well.

Here is a close up of one of the grape leaves that shows off some of the sharpness of the tiny lens on the iPhone. This image has a little tweaking to make the background a bit more out of focus, in the software by Nik called Snapseed.  The colors are still rich and vibrant with good detail.


My set up:  When I am serious about getting a good shot with my iPhone - I set the camera down and use a self-timer. (The app I like for the self-timer is Camera +) This app has a great little self-timer but also allows you to focus on the subject while taking a light reading from another part of the image.

Keeping the camera steady is the most important aspect of getting a sharp quality image. There are tripod mounts for your iPhone, but just leaning up against a rock can work wonders.  With the self timer, you are not touching the camera during the instant that the shot is taken, thereby creating the sharpest image possible.

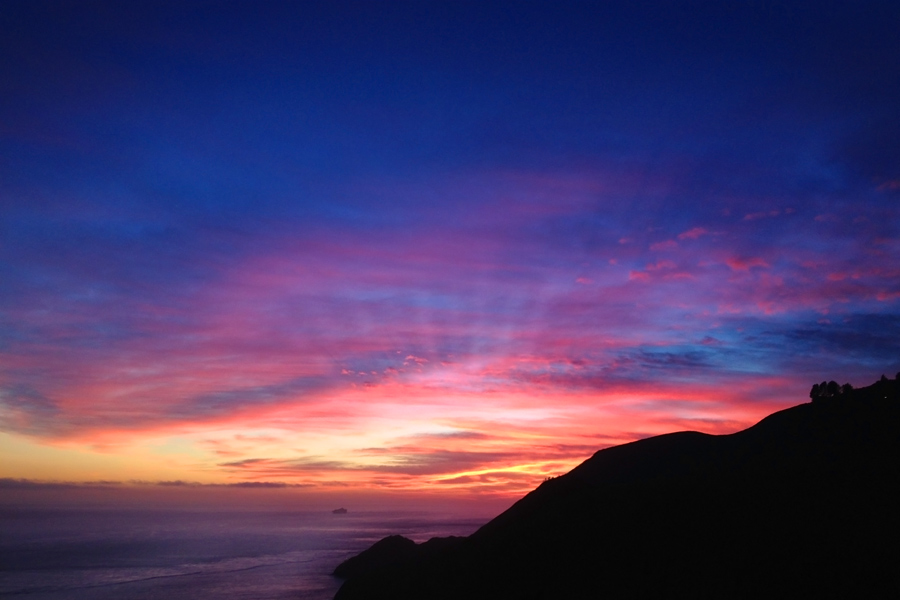
Sunset from the Marin Headlands.


Copyright 2015, Terry VanderHeiden