Lightroom

Lightroom 4 - Proof Book

My excitement for Lightroom 4 wained a little when I realized there was no easy way to make a proof book using the new Book Module. The big sticking point was there was no way to include filenames.  I contacted Blurb and they didn't really read my emails - but directed me toward a video on how to make a book. (It wasn't in that video). I then contacted Adobe - their solution was to copy each filename into each caption cell.  With a typical event being some 1,000 plus images?  I don't think so. I had to come up with a work around to easily convert a collection of images into a nicely printed proof book - with filenames!

Here is how to do it:

Panoramic Portraits

If you photograph family portraits, it is always a good practice to try and create an image that is a little different.   I had the pleasure of photographing the Lucas family, which included Mom, Dad, five daughters, one son and their two dogs. So with this large family we created an image that is not your normal family portrait. To get the image I had in mind, I took out my panoramic gear, had the family sit as still as possible and started to work.

With the 85mm in place, I shot several vertical images going from left to right with a generous overlap to each image.  Then I did the shot again, this time, going from right to left.  For good measure, I shot one more set, left to right. All of these images amounted to about 30 shots total. This Panoramic Rig from Really Right Stuff, allows me to keep the center of the lens perfectly aligned over the exact center of the tripod.  So when the panoramic images are created, they are perfectly aligned with each other.

The next step was to load all these images into Lightroom 4 and figure out which was the best series of 10 images images.

Once the best series of ten images was figured out, I stitched them together using Photoshop.

In Lightroom 4, you select all the images you want to build your panorama with and then right click.  Go to Edit in>Merge to Panorama in Photoshop. This will open up Photoshop and then start placing images on thier own layers and creating layer masks for each one.

You can probably see from the image above where there were a couple of  problems.  It was not with the people, but with the dogs.  They didn't sit entirely still. So even in a quickly shot series of images the dogs were in different positions with each photograph. I figured this might be the case when I was shooting, that is why I shot so many extra photographs.

In one shot, the dog is laying down and in the next shot that was suppose to be blended with it, the dog is sitting up.  Photoshop doesn't know anything about the subject so it does the best job possible lining up the images.

To solve this problem, I had to go back to the original images, where the dogs looked best and then cut them in separately.  By selecting each dog, I was able to pull them out of one photo and then place them into the main combo shot.  I had to consider shadows, sleeves, hands that might be covered up, etc. to make the shot look believable.

Finally the main photograph was done, built out of ten portions of a series of images.  This extra work created a very large file that gave me the ability to print it large and still maintain sharpness and quality.

Final image with people and dogs all in place.

Neutral Density

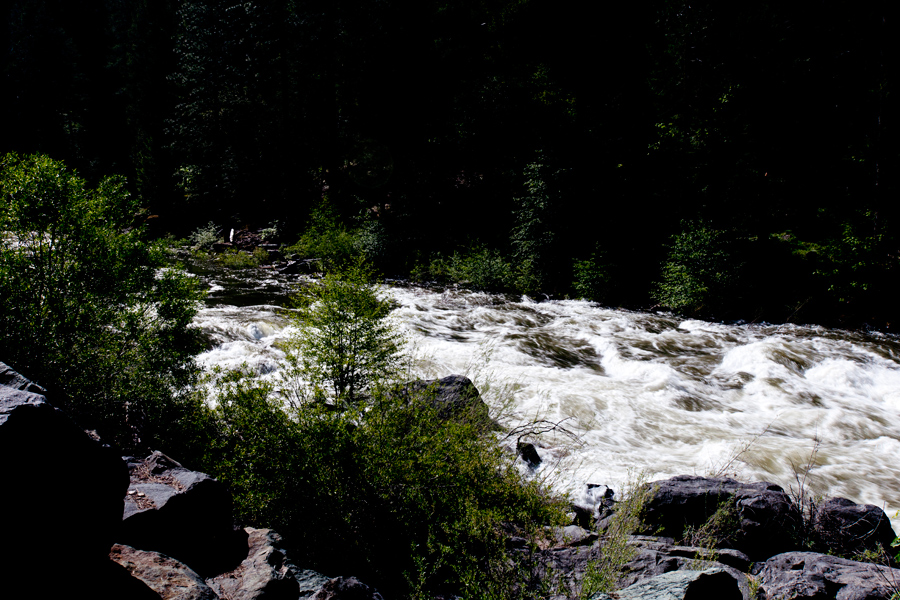
While traveling down the mountain from Lake Tahoe one day, I thought I would stop and get a few shots of the river that churns along side of Highway 50.  By the time I stopped - it was the wrong time of day.  There is an old adage that says that the worst light for photography is between 10am and 6pm - the absolute worst being 12 noon and 2 pm (funny how most weddings are this time of day...)  You guessed it - I stopped around 11:30 am.  The reason is the light is so bad is that it is only coming straight down, not from the sides like early morning and late afternoon where it can be filtered more by the atmosphere to create a softer feel to the light.  It's much less controllable in the middle of the day and most photographers find themselves looking for shadows to photograph in. However, like most people, I was there, not sure when I'd be back - the river was full and why not stop and take a few shots:

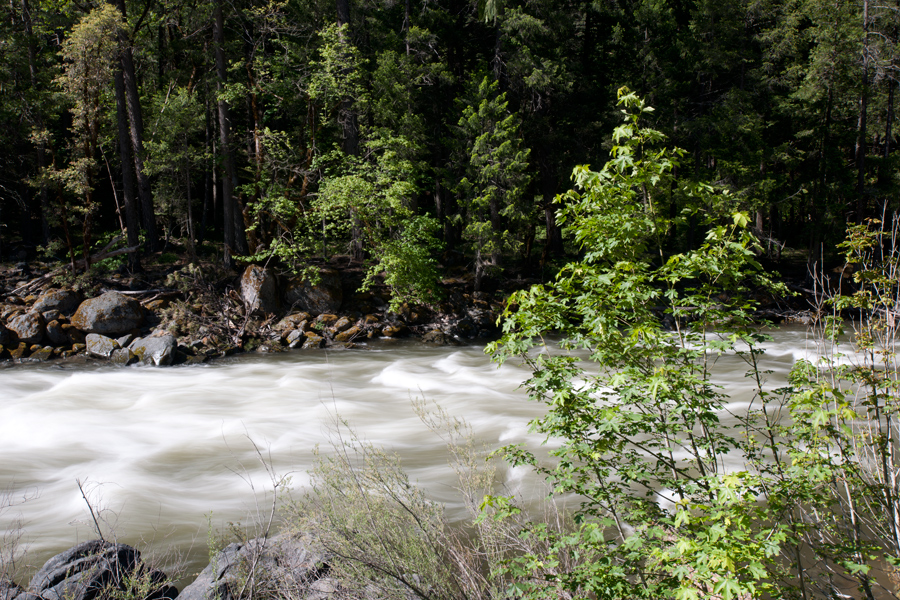
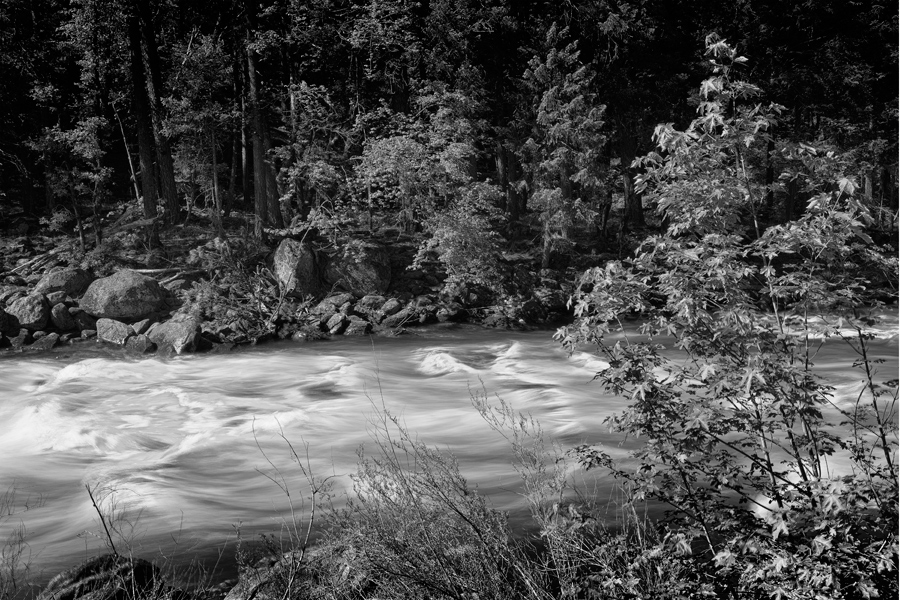
Here is the scene I started with. Fast moving rapids - broad sunlight. Even at a tiny apreture I was shooting at 60th of second.  Way too fast of a shutter speed to try to make the water appear to be smooth ( that needs to be shot about 1/4 sec or less).  I decided to use a Neutral Density filter.  The one I use is made by Singh-Ray. This is a clean toned filter that can darken the scene up to 8 stops if you have a good one.  Once I put the filter on I could shoot the same shot at a much slower shutter speed - thereby blurring the water.

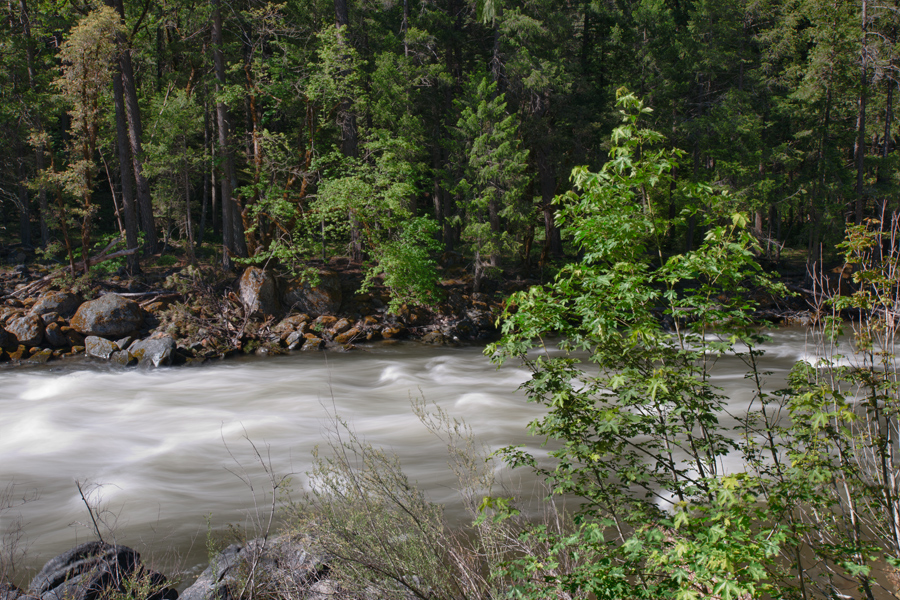
OK, thats somewhat better.  To take a bad lighting scene and make it somewhat usable, I decided to shoot HDR. I used the Nik Software HDR Efex Pro Combining three or more images together in the computer to create a High Dynamic Range photograph. More detail in the shadows and the highlights.


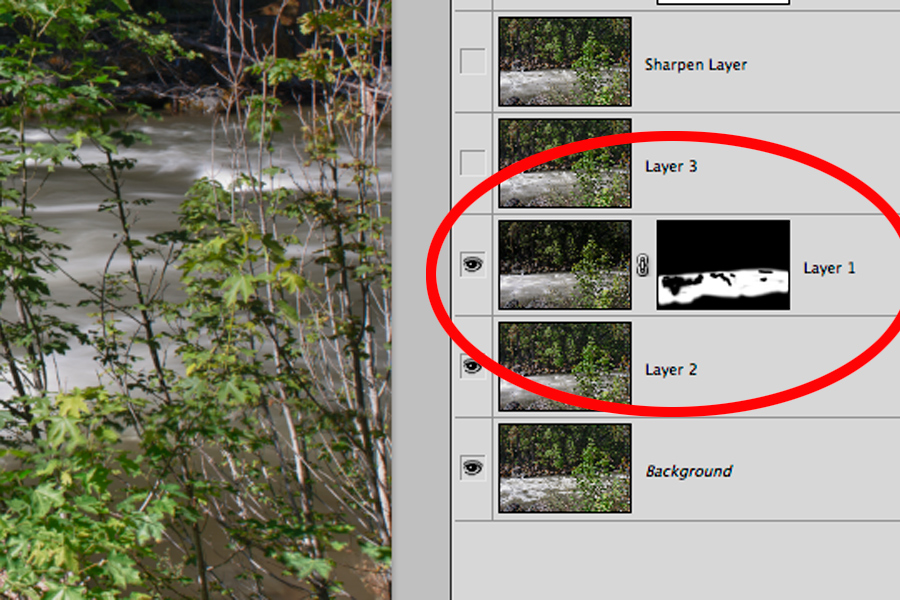
Once I combined the three images, taking the best from each one - I went back into Photoshop and created a layer mask that would reveal some portions of the water that I wanted to add back some contrast and sharpness.

After that, I converted the entire image into black and white with Silver Efex Pro 2 (black and white conversion software)


Copyright 2015, Terry VanderHeiden