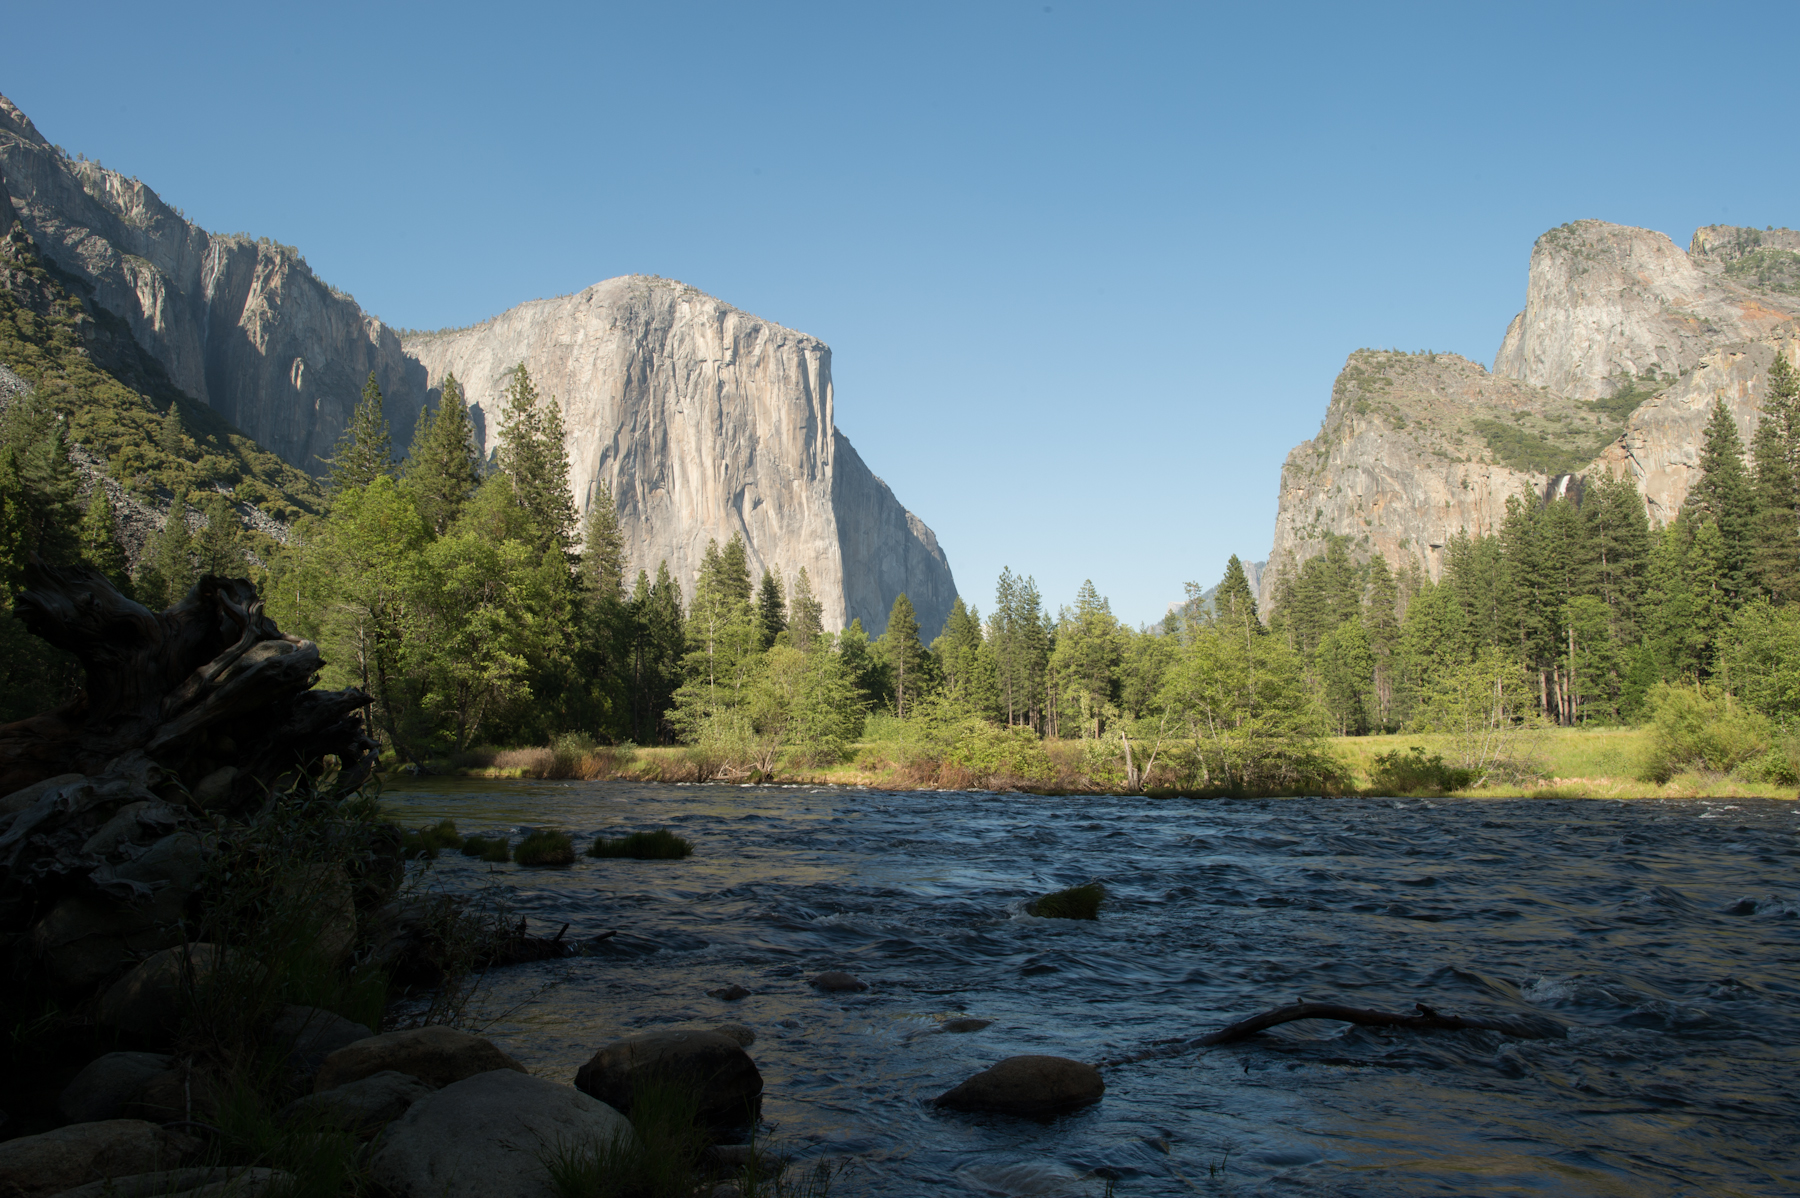
Yosemite is a fantastic place to visit but it can be quite difficult to get the shot that you want because of the conditions. I found this scene near the exit of the valley floor. As you are exiting the park, its on the left side, pull over there is plenty of parking. The Merced river runs right by you with El Capitan in the in the background. This is not a secret spot, in fact, I have seen it many times in photographs. During the three hours we were at this location waiting for the best light, at least 200 people stopped to get this same shot.
The conditions that Yosemite throws at you can be difficult to deal with. First off, is dealing with the people. If you want to shoot pure landscapes, then you aren't likely to want people in the shot. Most people understand and will move out of the way, some people, however, are so self absorbed they have little regard for others around them.
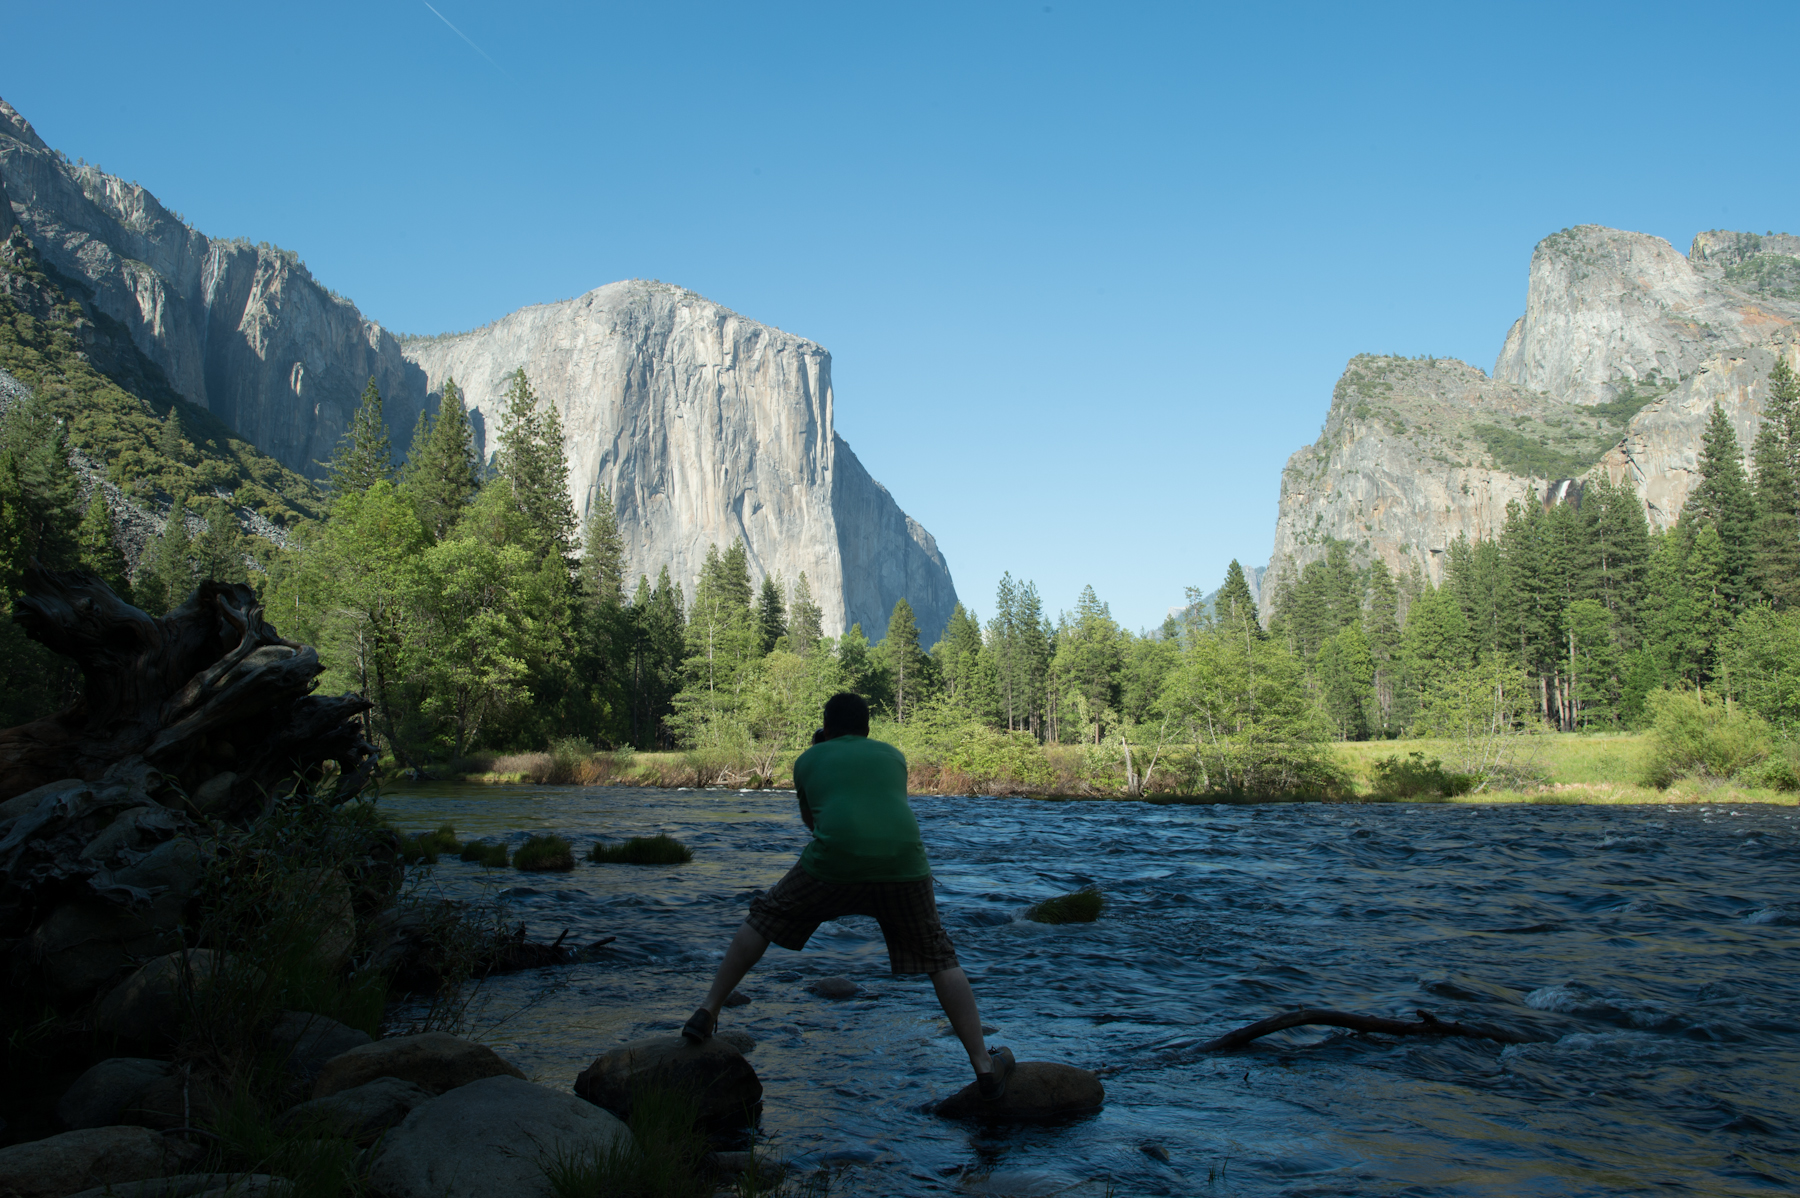
I had been in position for about a half hour, waiting for the best light of the day, when this photographer decided to jump in the middle of my scene and get his shot. This guy walks up, looks at me with my tripod in the water and just walks in front of me to get his "amazing" shot. I knew that he would be gone as quickly as he arrived, so I didn't sweat it.
There are a couple of things you can glean from this photograph to determine as to why his picture wont be all that special. First off, he will have to be shooting very fast to hold that pose, thereby having the water in his image, not soft but hard looking. It looks like he will not have anything in the foreground except the water so that is not likely to be very interesting. Also, because of the contrast of Yosemite, his foreground will be too dark or the section of El Captain will be too light. Since he is hand holding the shot, it's not likely he will be able to create a merge photograph like I will show you in the next section.
****************************************************
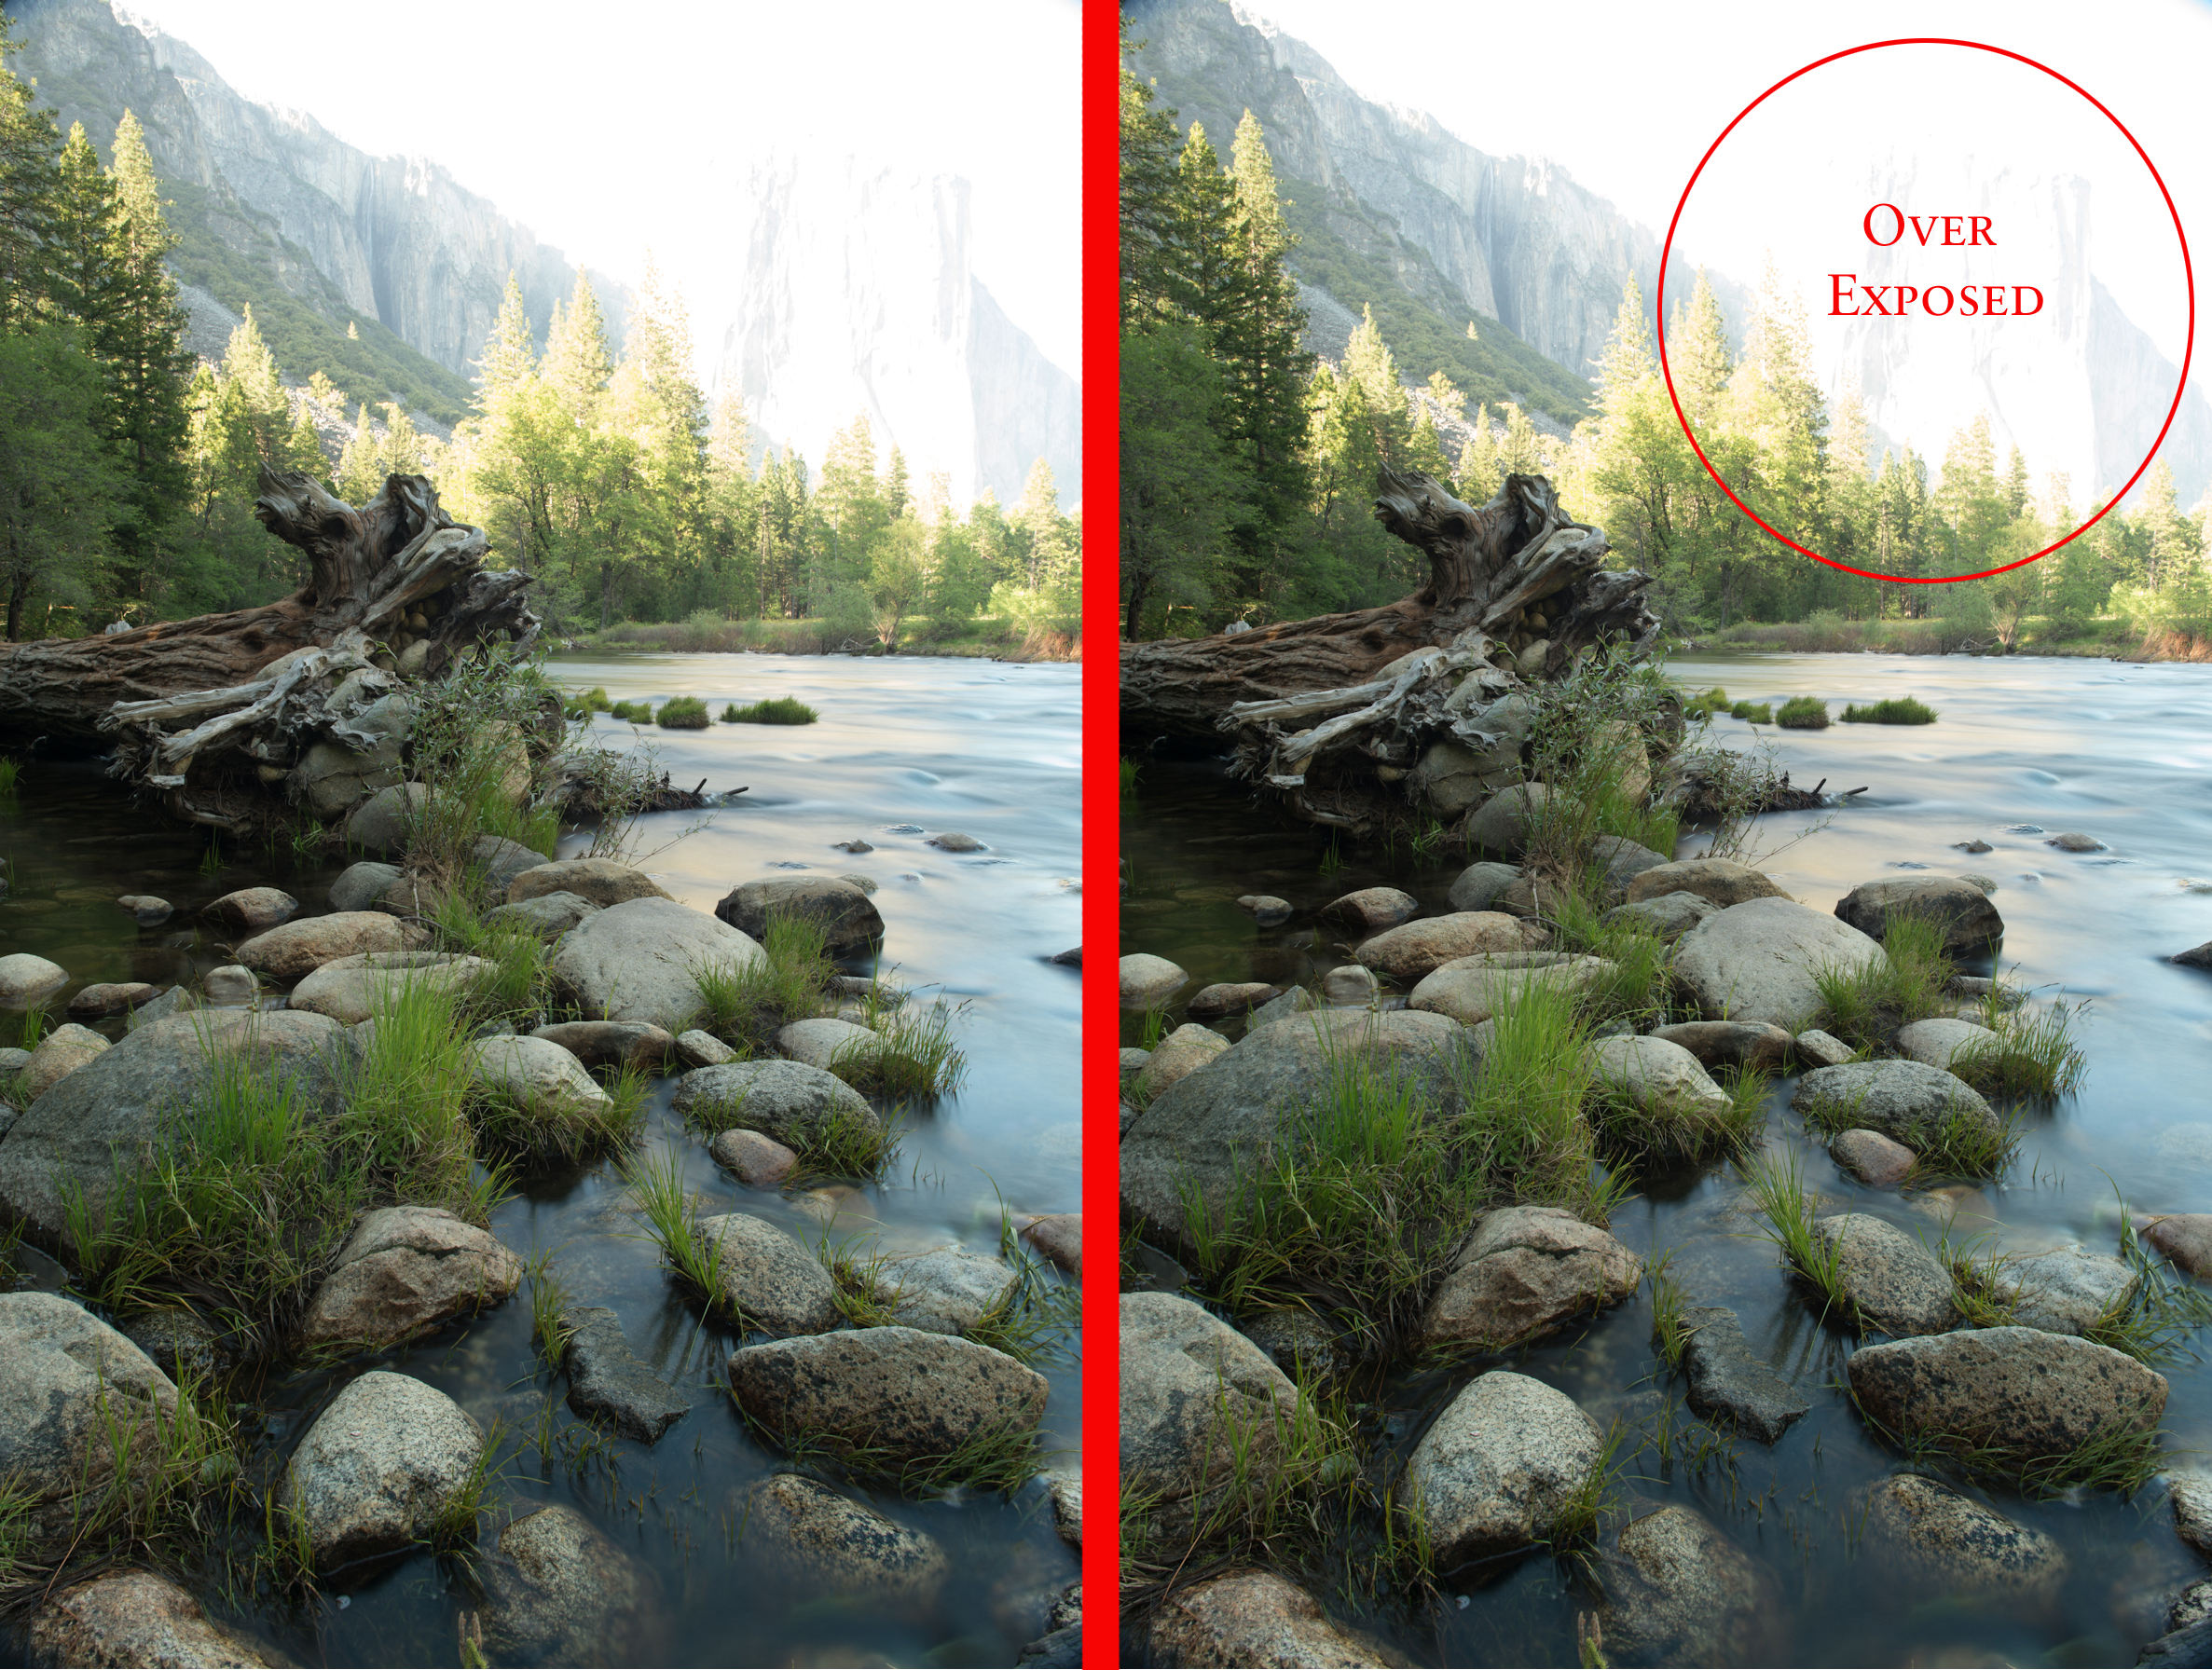
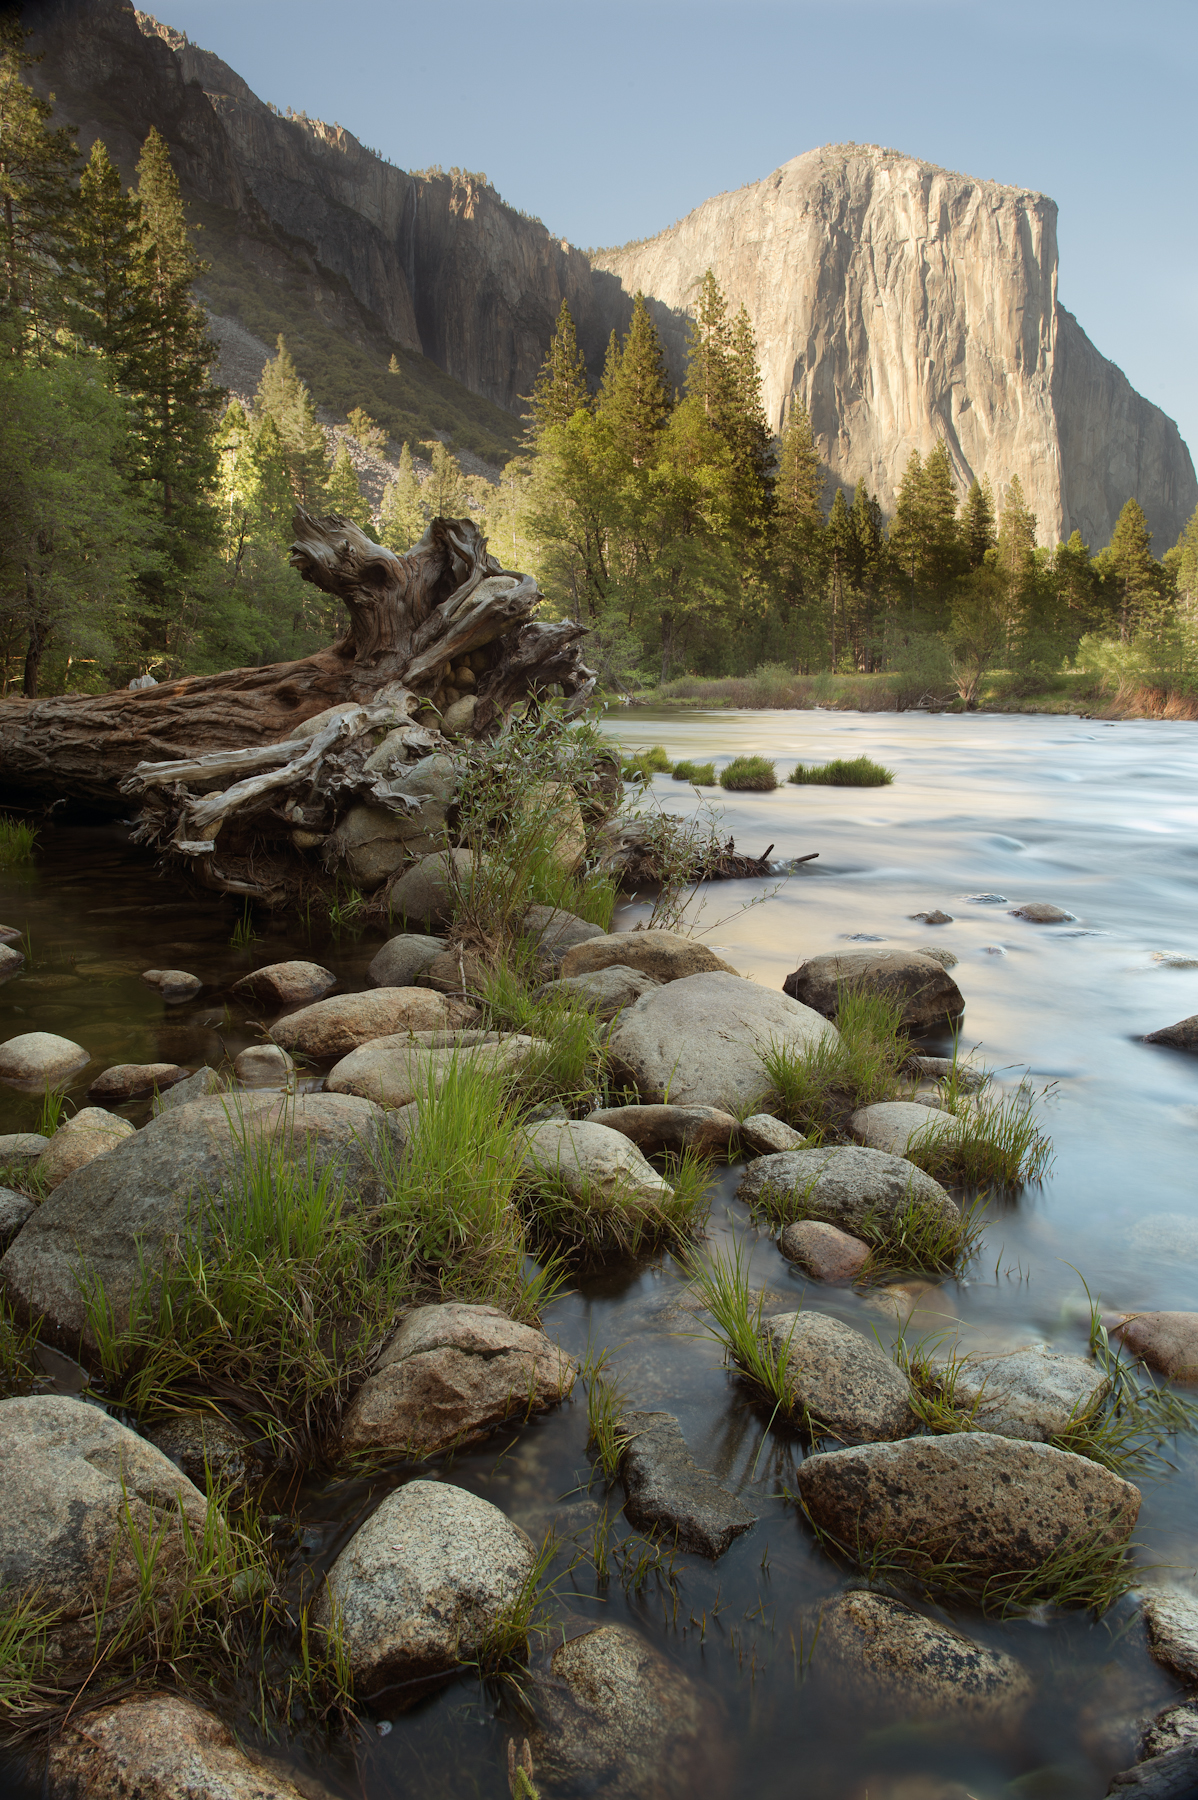
After being at this spot for a while, I started looking around at my foreground. I liked a downed tree off to me left and I also liked the rocks that were right in front of me. I put on my 24mm lens and decided to make a vertical photograph. Here is what I started with:
For the composition, I had the rocks and grasses int he foreground lead your eye to the log, which will lead your eye to El Capitan. On the first photograph, the rocks and river were the way that I wanted them, exposure wise - however, El Capitan was still in bright sunlight and therefore extremely over exposed.
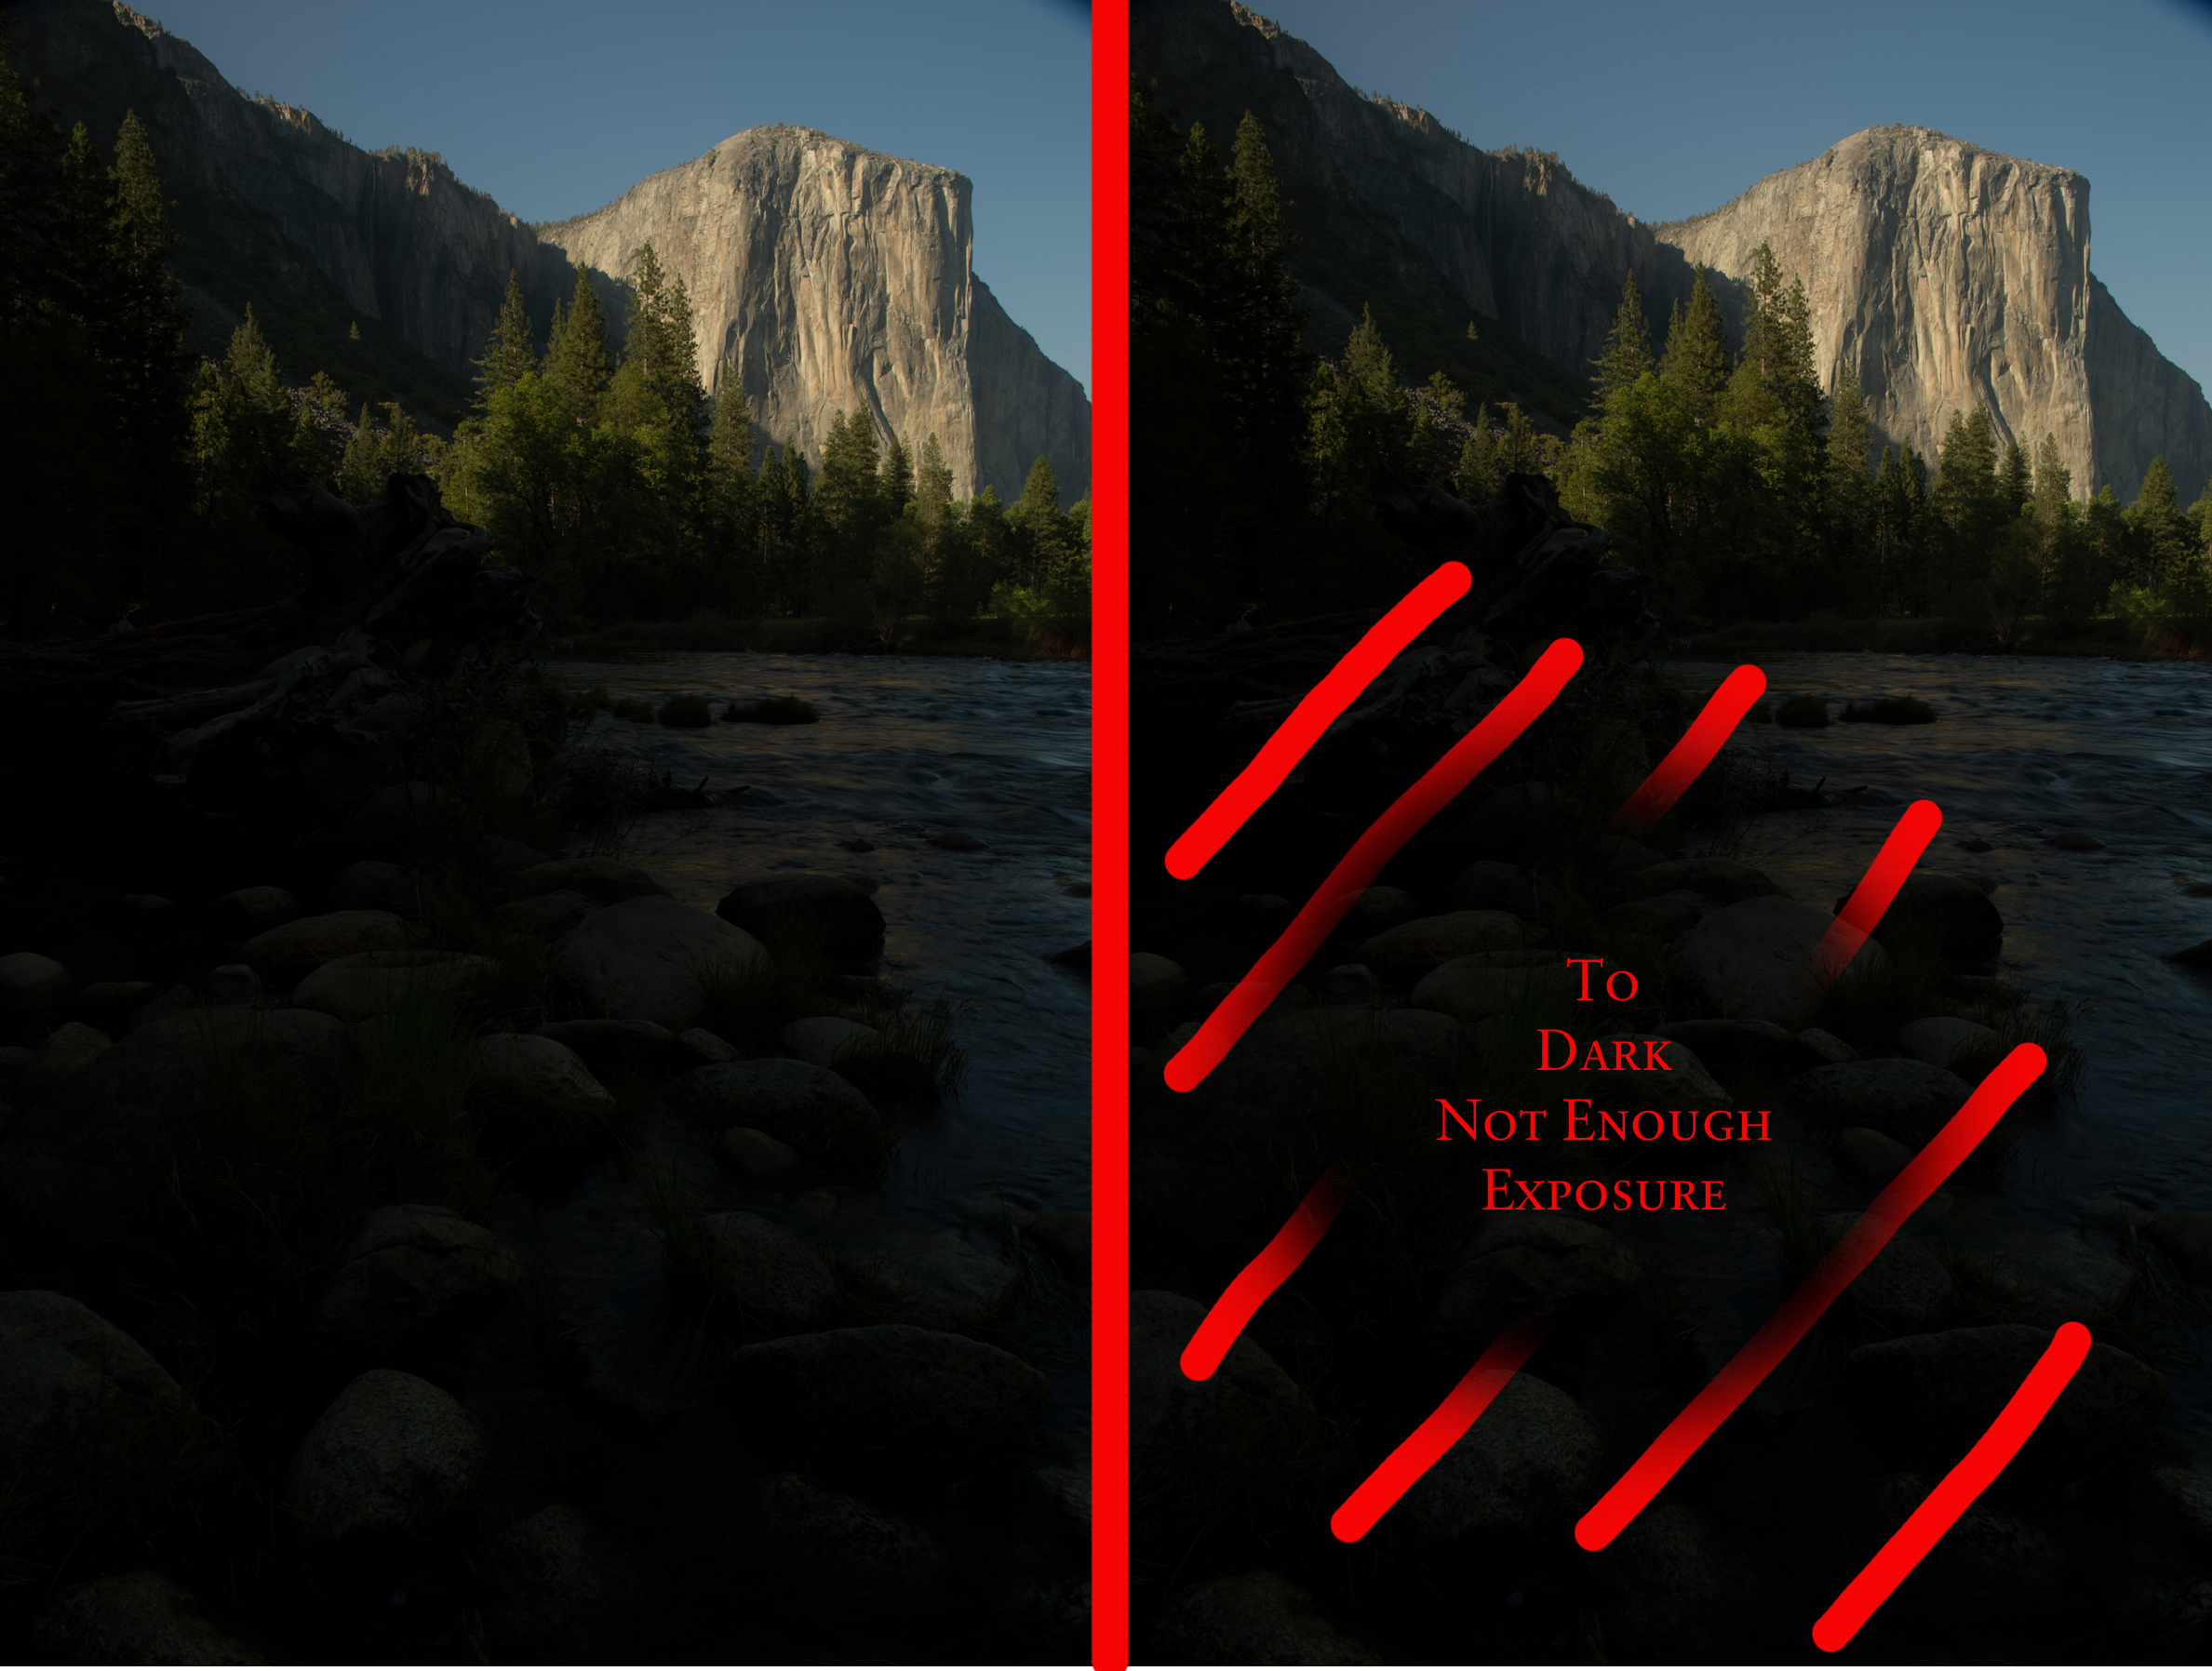
In the second shot, El Capitan was correctly exposed, but the river that was in the shade way way to dark to show any detail.
So I shot both photographs from the same position with everything locked down on a tripod, knowing I was going to get these two images into Photoshop and make the final image there.
********************************
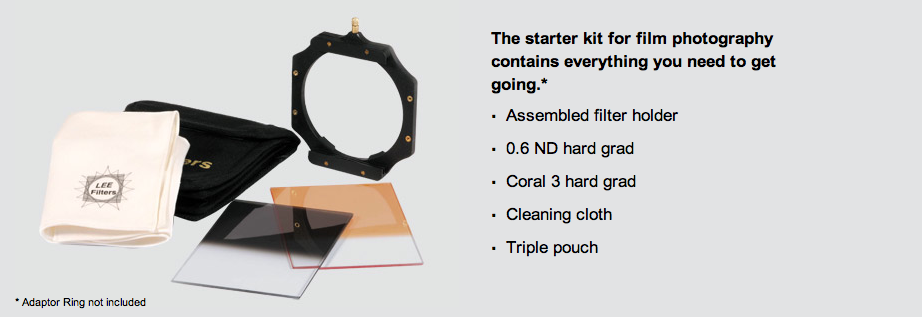
If you don't want to, or can't bring the images into Photoshop, there is a possible solution for you. Use a graded filter with a filter holder. These are made by Lee and can be used to darken down a selected area of your image.
While these filter sets are fun to have, they don't give you the precision that Photoshop will give you and if you are already using a Neutral Density filter to get the water to be blurred, another filter and holder system will most certainly create vignetting on the edges of your image if you use a wide angle lens.
**********************************
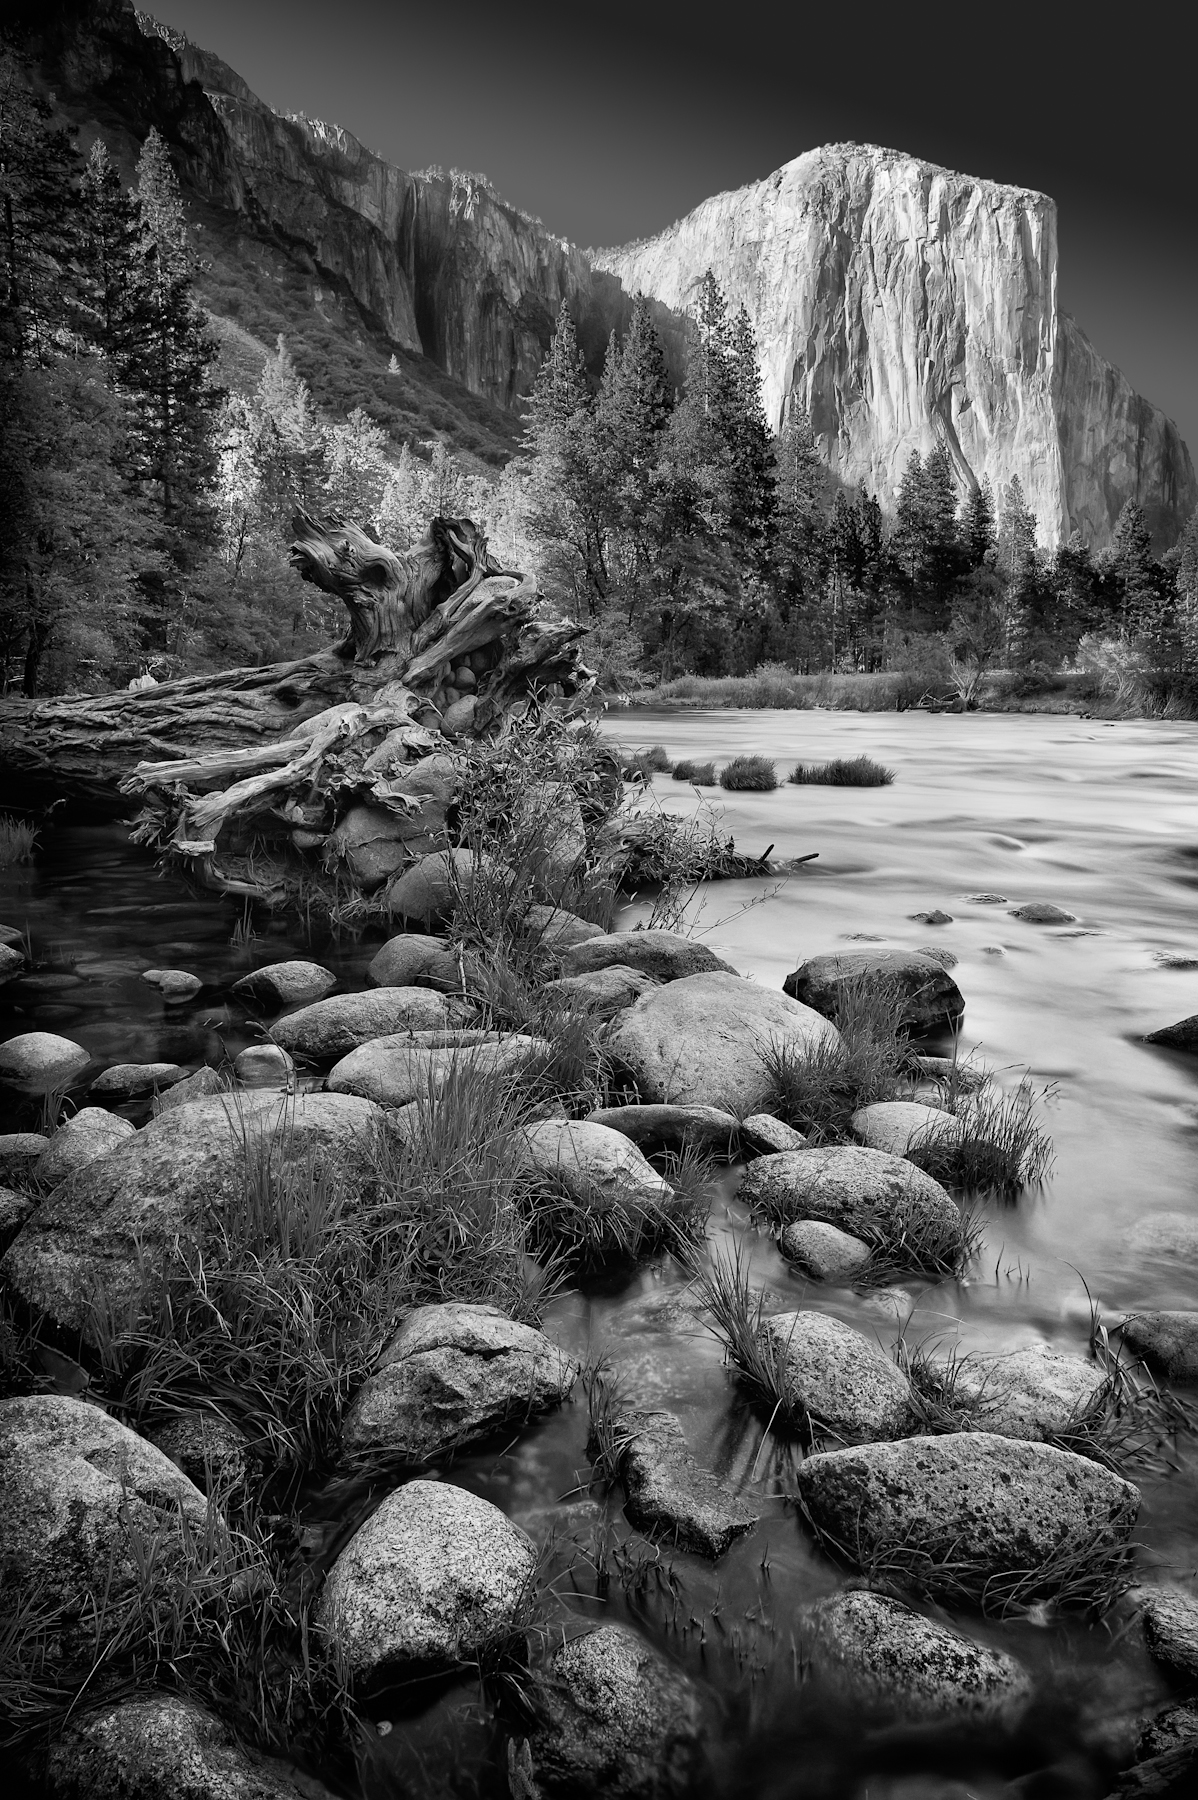
Here is how the image looked after I merged the two best parts of the two images in Photoshop. I liked it but, didn't love it. Next was to bring it into Nik Software's Silver EFex Pro 2 software and convert it to black and white.
