Photography

Panoramic Images

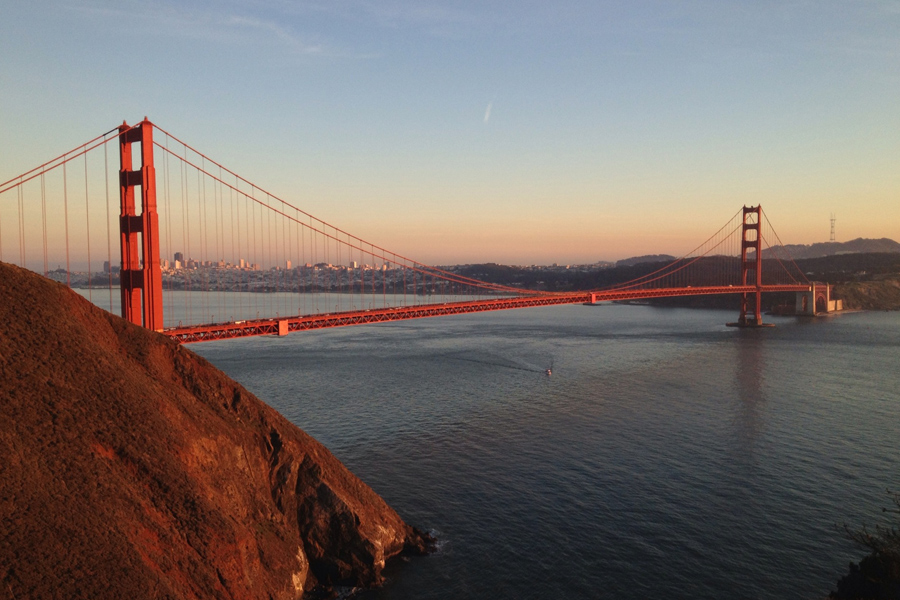
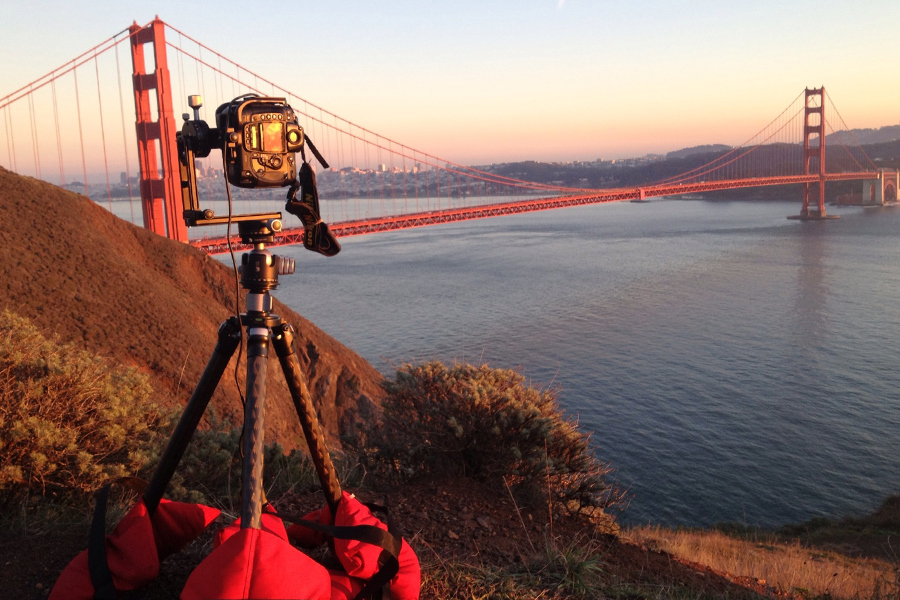
In order to create panoramic images properly, you need to have the correct set up and a little luck. Here is my set up as I got prepared to shoot the iconic Golden Gate Bridge, in San Francisco.

As the sun was setting I had my camera's tripod anchored down with heavy sandbags.  The tripod, head and panoramic head are all from Really Right Stuff.  The tripod is made of carbon fiber to make it light but very sturdy. The Panorama Package is the Ultimate-Pro Omni Pivot Package. The process is to shoot an image, move the camera a designated distance and shoot again.  After all the shots are complete, they are "stitched" together in Photoshop to make one complete panoramic image. If you place your camera in the vertical position, you can put more images together for the final shot.  The more images you use to create the final shot, the larger it will be.  However, with the more images you create of one scene, the more chance of something going wrong.  One blurry image, or one poorly exposed image, or one image with a digital flaw in a set could ruin the entire scene and you would have to start over. In this case, starting over would mean missing that perfect window of light.

With this set up, I can get the center of the camera lens exactly over the center point of the tripod - that way, when I turn the camera to make several images - they are all perfectly aligned.

Here is the view as I waited for sundown.  The lucky part was this particular evening yielded very little wind. If you are shooting a low light evening photograph like this, no wind is of particular interest to the photographer. Consider that if there is anywhere near the normal wind, (as there always seems to be at the Marin Headlands)  the camera could move during one of the exposures thereby producing a blurry image. Each of the final shots were captured at about 5 second exposures for each one, so camera shake is a huge consideration.  The other problem with wind, is that it could make your subject move.  At any given time, the Golden Gate Bridge is moving due to temperature changes and it is built to withstand heavy winds.  The maximum recorded movement of the bridge was about 7 feet of the span bowing up and down during a storm in 1982. However, not worry the Golden Gate Bridge is built to flex up to 27 feet.

Little known facts aside, even just a small amount of wind could make the bridge sway over a five second exposure. This evening the wind was almost non-existent.

All of the shots were created with the mirror locked up as another level of protection against camera shake.

The final shot  was created with 28 separate images that were stitched together in Photoshop.  The resulting image is 65 inches wide in it's raw form - so enlarging it to mammoth proportions will be an easy step. The image is incredibly sharp. Upon close inspection the viewer can see detail in the bridge as well as the city in the background.

Portraits Shouldn't Wait

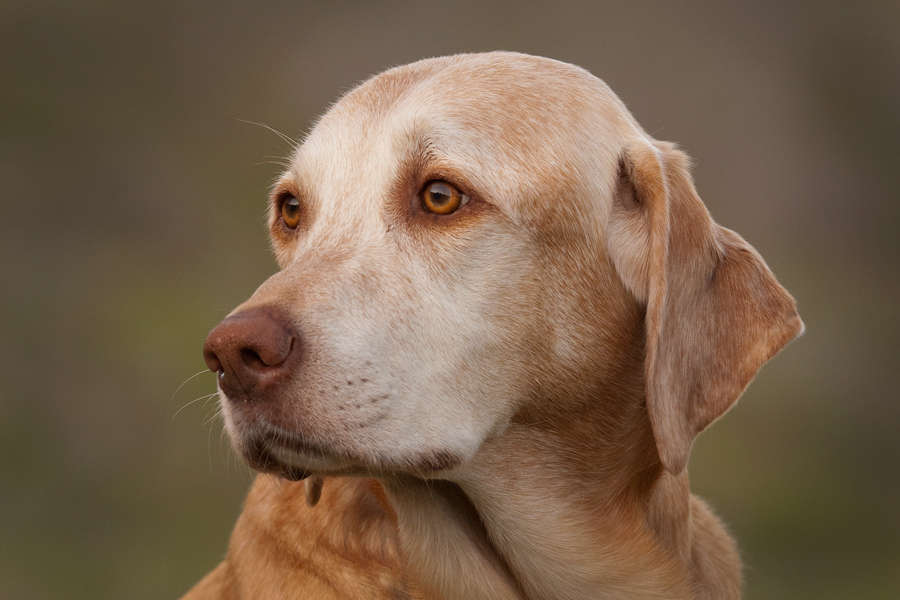
Occasionally I am asked to photograph a special session. Something a customer need in a hurry for one reason or another. In this case, the portrait session was of a golden lab named Tucker.  My dog, Tucker the Beagle, and he share the same name and I know, first hand, how special the bond can be between a dog and their owner.

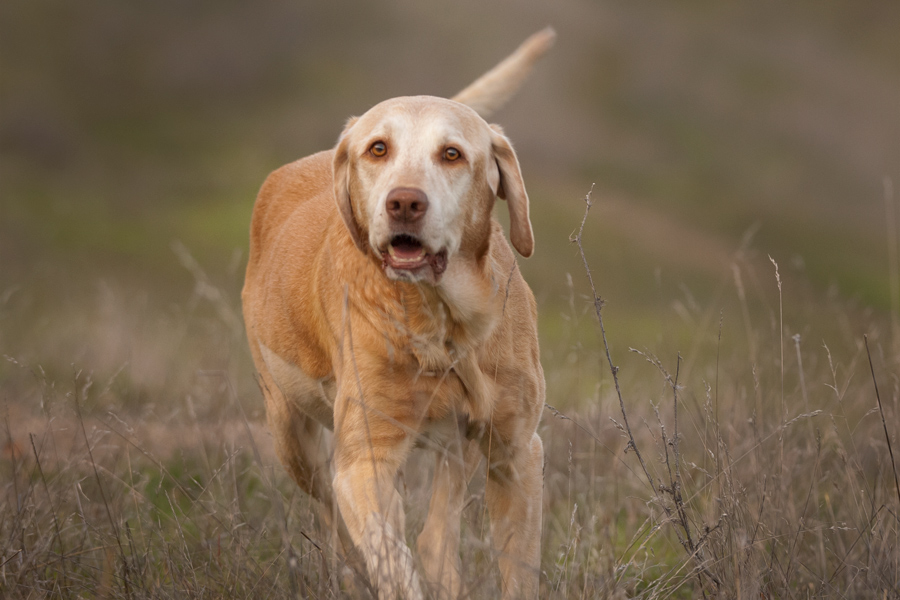
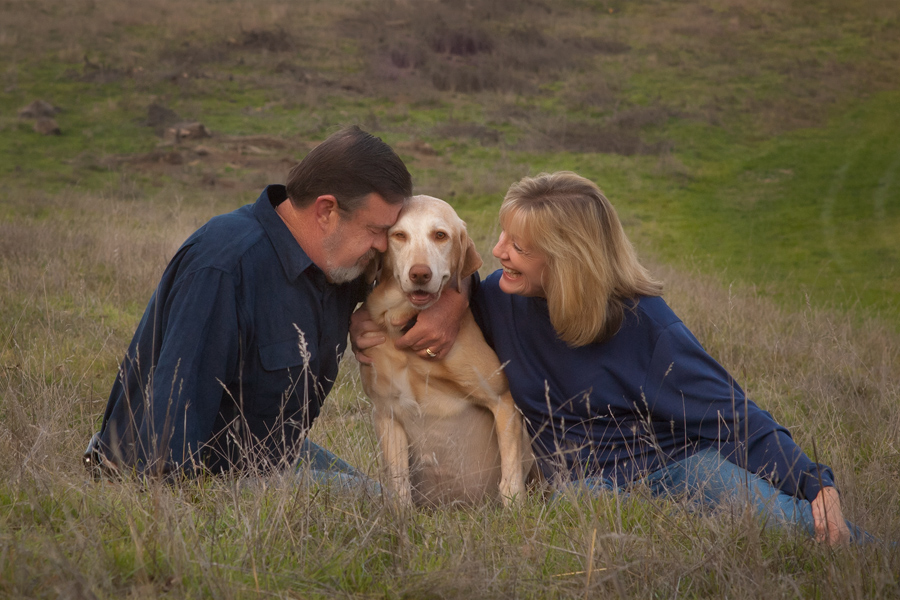
Tucker was diagnosed with a very aggressive cancer and the owners asked me to do a portrait session as soon as possible, while he still felt good enough to go out.  We were able to get out to do the session just two days after I received their call. The afternoon was spent running in the hills in the cool fall weather, capturing intimate moments with the family and many singular portraits of Tucker the Lab. We had a great time.


Sadly, Tucker passed away four days after our photo session.  The lesson is, don't wait if you think you would like a portrait session.  Whether you use me or any other photographer, don't put it off.


New Portrait Web Site

I now have a brand new HD portrait web site - www.imagelightportraits.com Check it out when you have time. All the images are scalable to full screen.  So no matter how large your monitor is - you can make the images as big as you want.  It takes a little more time at upload, but I think it's worth it.


There are new samples of family portraits on the site.  The holiday season is sometimes the only chance during the year to get a family portrait where everyone is in attendance. Something to think about.

***

Maybe its getting to be that time to update your LinkedIn photograph if you are looking to move up in your career. Check out the Business Portraits.

Take a look at the Environmental Portraits where we photograph people in their environment.  Everyone has a story, tell it with a portrait.


My other web sites: www.imagelight.com and www.imagelightweddings.com

Save Your Ass Software

If you are a digital photographer, you need to know about a MUST HAVE software.  No it doesn't help you with color balance or the focus your images for you but it can save your ass. Here is the story:

Last month I shot an event and was editing the thousands of images in Lightroom.  I came across a section that seemed to have some images missing. In fact under closer inspection about 140 images were missing.

I went through every card I had to see all the files and everything was uploaded.  Curious, I thought (actually, "curious" was not the word that immediately came to mind).  -  I knew I shot subjects that were not in my collection of images. I started to get desperate.

Most digital photographers will tell you that because of the technology we are quite often paranoid about our images.  Back-ups backing up back-ups, etc. When images that you KNOW you shot don't appear, it can be quite unsettling.

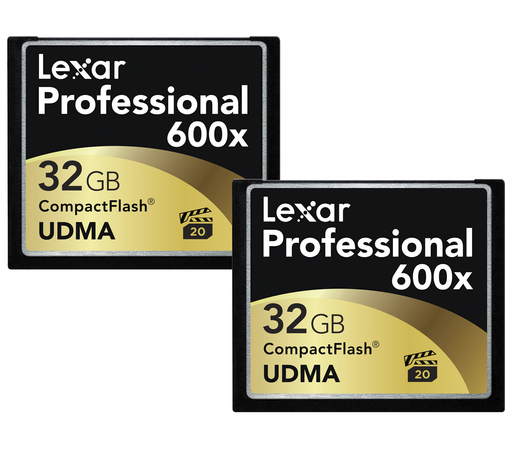
I downloaded a software from Lexar called: Image Rescue 4 Software and started going through all my cards.  Eventually I found the offending card, that would not even read on my computer - I ran the software on it and there were all my images, plus many more.

I didn't realize this but when you take digital photographs (on to your media card) and then format the card - they are not gone.  In fact, the images reside on that card until other images cover them up. If you take a card and fill it up with images on one camera, put that same card in a different camera and reformat it, and shoot only 50 images - you will have the fifty new images of course, but you will also have all those old images still there.  These old images can only be accessed by a recovery software like the Lexar version.

I encourage any digital photographer to get the software and know how to use it. It can save you a lot of grief.


Neutral Density

While traveling down the mountain from Lake Tahoe one day, I thought I would stop and get a few shots of the river that churns along side of Highway 50.  By the time I stopped - it was the wrong time of day.  There is an old adage that says that the worst light for photography is between 10am and 6pm - the absolute worst being 12 noon and 2 pm (funny how most weddings are this time of day...)  You guessed it - I stopped around 11:30 am.  The reason is the light is so bad is that it is only coming straight down, not from the sides like early morning and late afternoon where it can be filtered more by the atmosphere to create a softer feel to the light.  It's much less controllable in the middle of the day and most photographers find themselves looking for shadows to photograph in. However, like most people, I was there, not sure when I'd be back - the river was full and why not stop and take a few shots:

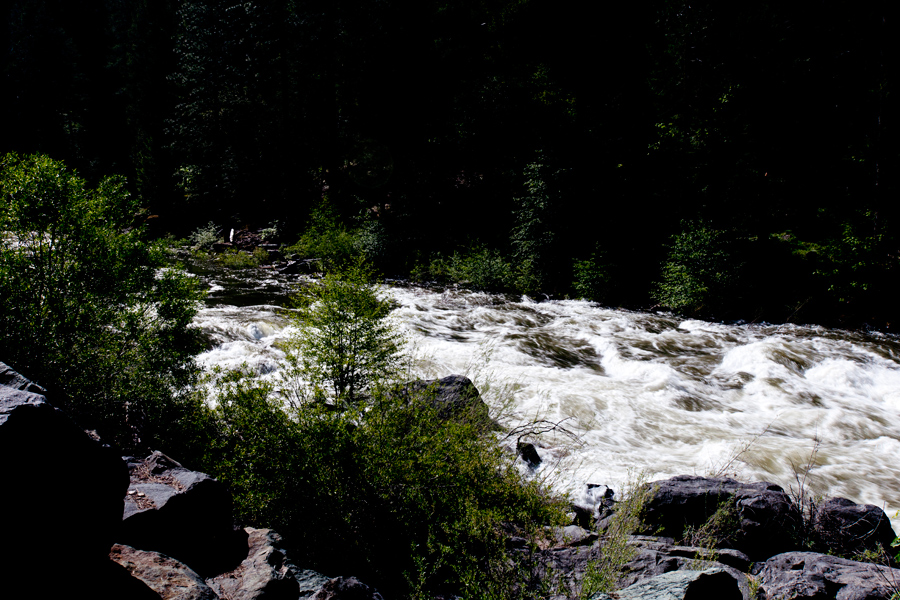
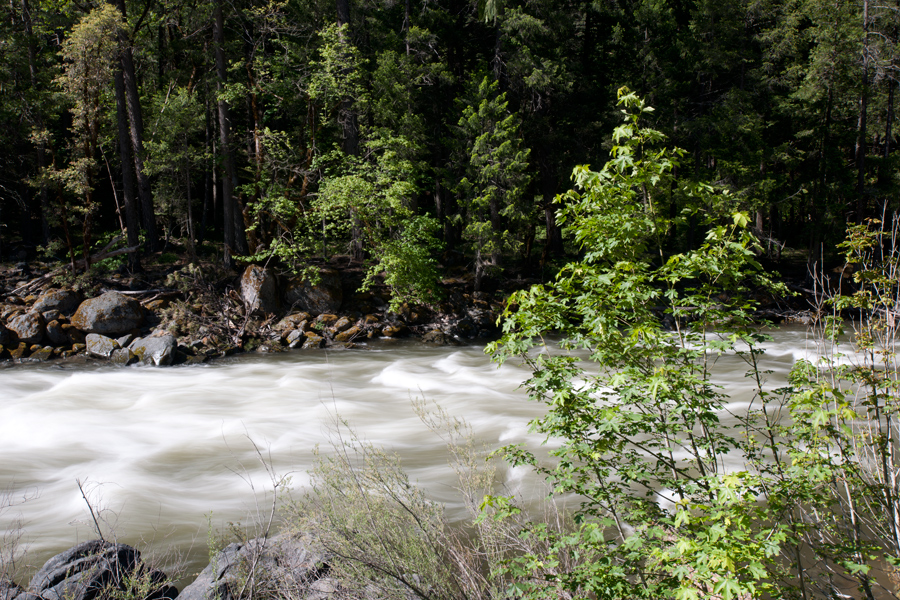
Here is the scene I started with. Fast moving rapids - broad sunlight. Even at a tiny apreture I was shooting at 60th of second.  Way too fast of a shutter speed to try to make the water appear to be smooth ( that needs to be shot about 1/4 sec or less).  I decided to use a Neutral Density filter.  The one I use is made by Singh-Ray. This is a clean toned filter that can darken the scene up to 8 stops if you have a good one.  Once I put the filter on I could shoot the same shot at a much slower shutter speed - thereby blurring the water.

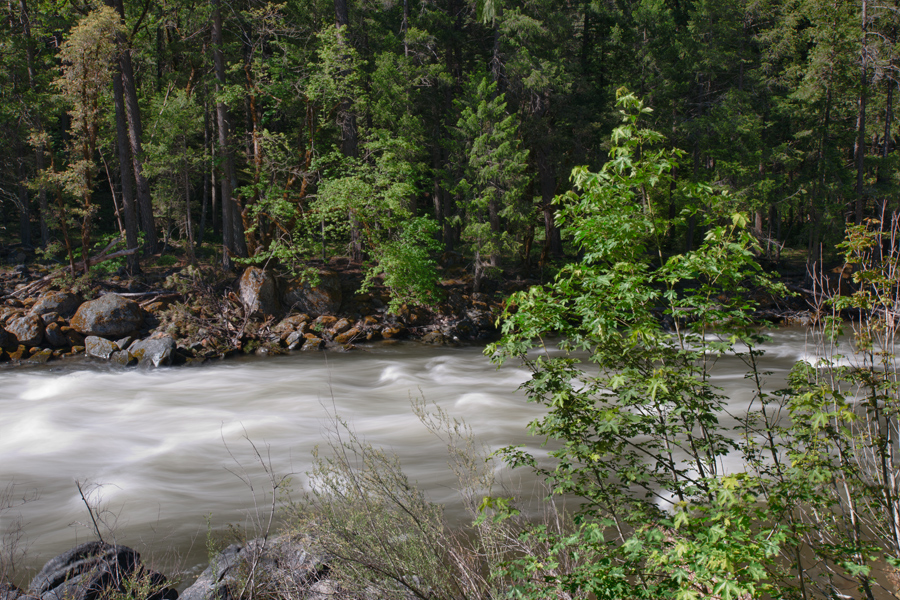
OK, thats somewhat better.  To take a bad lighting scene and make it somewhat usable, I decided to shoot HDR. I used the Nik Software HDR Efex Pro Combining three or more images together in the computer to create a High Dynamic Range photograph. More detail in the shadows and the highlights.


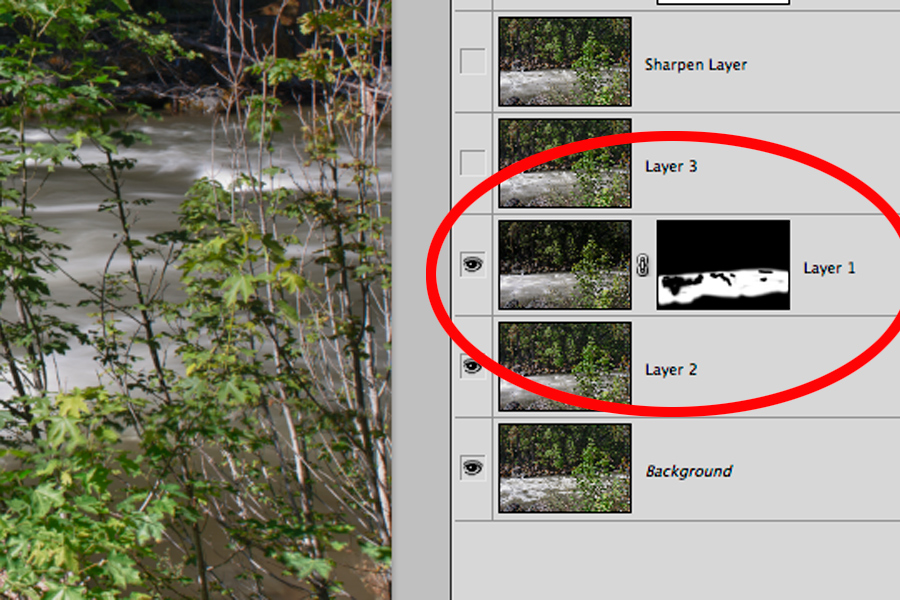
Once I combined the three images, taking the best from each one - I went back into Photoshop and created a layer mask that would reveal some portions of the water that I wanted to add back some contrast and sharpness.

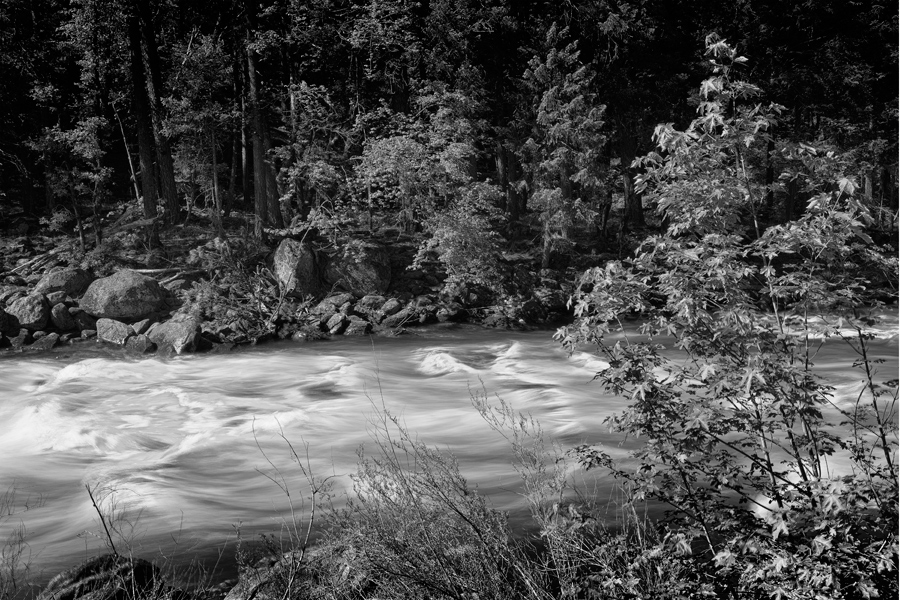
After that, I converted the entire image into black and white with Silver Efex Pro 2 (black and white conversion software)


Copyright 2015, Terry VanderHeiden