Photoshop

Panoramic Images

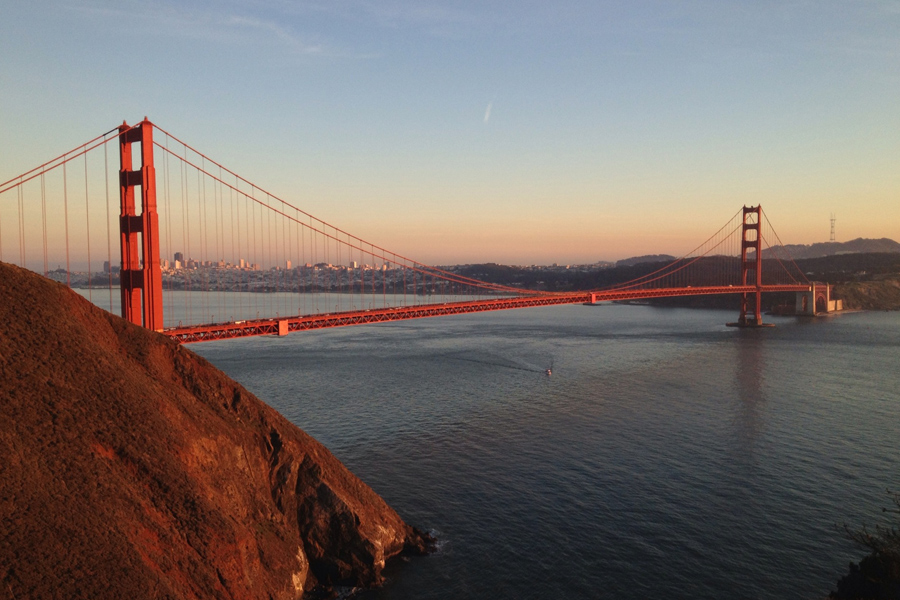
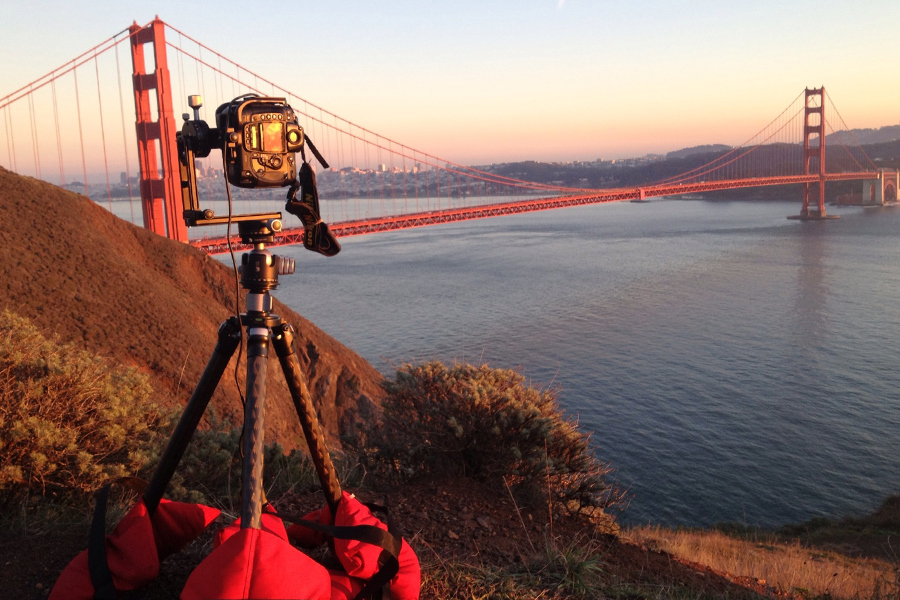
In order to create panoramic images properly, you need to have the correct set up and a little luck. Here is my set up as I got prepared to shoot the iconic Golden Gate Bridge, in San Francisco.

As the sun was setting I had my camera's tripod anchored down with heavy sandbags.  The tripod, head and panoramic head are all from Really Right Stuff.  The tripod is made of carbon fiber to make it light but very sturdy. The Panorama Package is the Ultimate-Pro Omni Pivot Package. The process is to shoot an image, move the camera a designated distance and shoot again.  After all the shots are complete, they are "stitched" together in Photoshop to make one complete panoramic image. If you place your camera in the vertical position, you can put more images together for the final shot.  The more images you use to create the final shot, the larger it will be.  However, with the more images you create of one scene, the more chance of something going wrong.  One blurry image, or one poorly exposed image, or one image with a digital flaw in a set could ruin the entire scene and you would have to start over. In this case, starting over would mean missing that perfect window of light.

With this set up, I can get the center of the camera lens exactly over the center point of the tripod - that way, when I turn the camera to make several images - they are all perfectly aligned.

Here is the view as I waited for sundown.  The lucky part was this particular evening yielded very little wind. If you are shooting a low light evening photograph like this, no wind is of particular interest to the photographer. Consider that if there is anywhere near the normal wind, (as there always seems to be at the Marin Headlands)  the camera could move during one of the exposures thereby producing a blurry image. Each of the final shots were captured at about 5 second exposures for each one, so camera shake is a huge consideration.  The other problem with wind, is that it could make your subject move.  At any given time, the Golden Gate Bridge is moving due to temperature changes and it is built to withstand heavy winds.  The maximum recorded movement of the bridge was about 7 feet of the span bowing up and down during a storm in 1982. However, not worry the Golden Gate Bridge is built to flex up to 27 feet.

Little known facts aside, even just a small amount of wind could make the bridge sway over a five second exposure. This evening the wind was almost non-existent.

All of the shots were created with the mirror locked up as another level of protection against camera shake.

The final shot  was created with 28 separate images that were stitched together in Photoshop.  The resulting image is 65 inches wide in it's raw form - so enlarging it to mammoth proportions will be an easy step. The image is incredibly sharp. Upon close inspection the viewer can see detail in the bridge as well as the city in the background.

Neutral Density

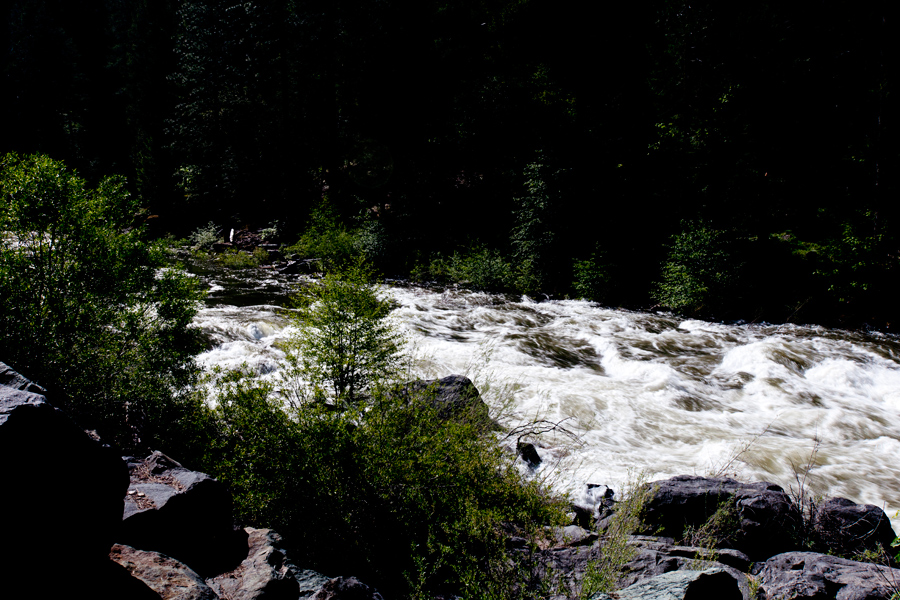
While traveling down the mountain from Lake Tahoe one day, I thought I would stop and get a few shots of the river that churns along side of Highway 50.  By the time I stopped - it was the wrong time of day.  There is an old adage that says that the worst light for photography is between 10am and 6pm - the absolute worst being 12 noon and 2 pm (funny how most weddings are this time of day...)  You guessed it - I stopped around 11:30 am.  The reason is the light is so bad is that it is only coming straight down, not from the sides like early morning and late afternoon where it can be filtered more by the atmosphere to create a softer feel to the light.  It's much less controllable in the middle of the day and most photographers find themselves looking for shadows to photograph in. However, like most people, I was there, not sure when I'd be back - the river was full and why not stop and take a few shots:

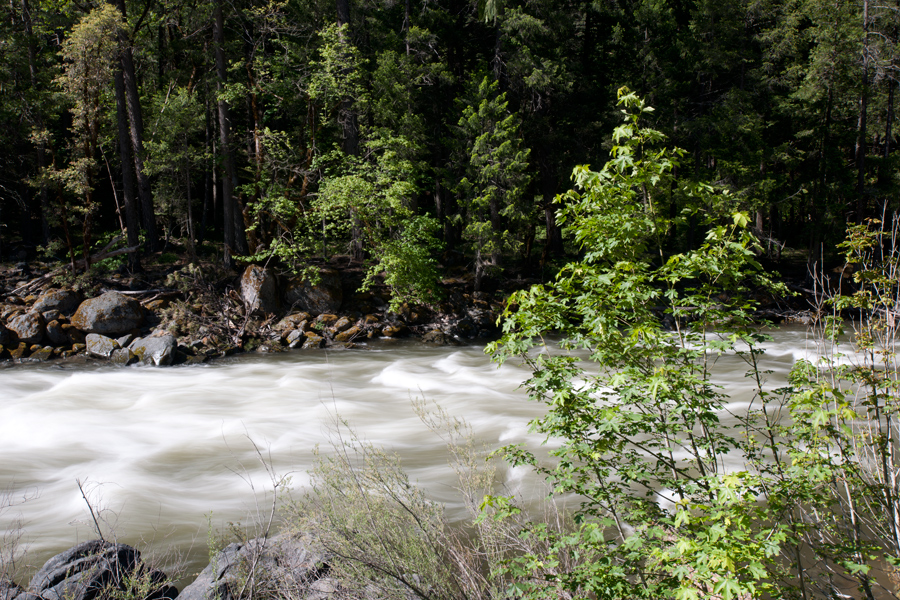
Here is the scene I started with. Fast moving rapids - broad sunlight. Even at a tiny apreture I was shooting at 60th of second.  Way too fast of a shutter speed to try to make the water appear to be smooth ( that needs to be shot about 1/4 sec or less).  I decided to use a Neutral Density filter.  The one I use is made by Singh-Ray. This is a clean toned filter that can darken the scene up to 8 stops if you have a good one.  Once I put the filter on I could shoot the same shot at a much slower shutter speed - thereby blurring the water.

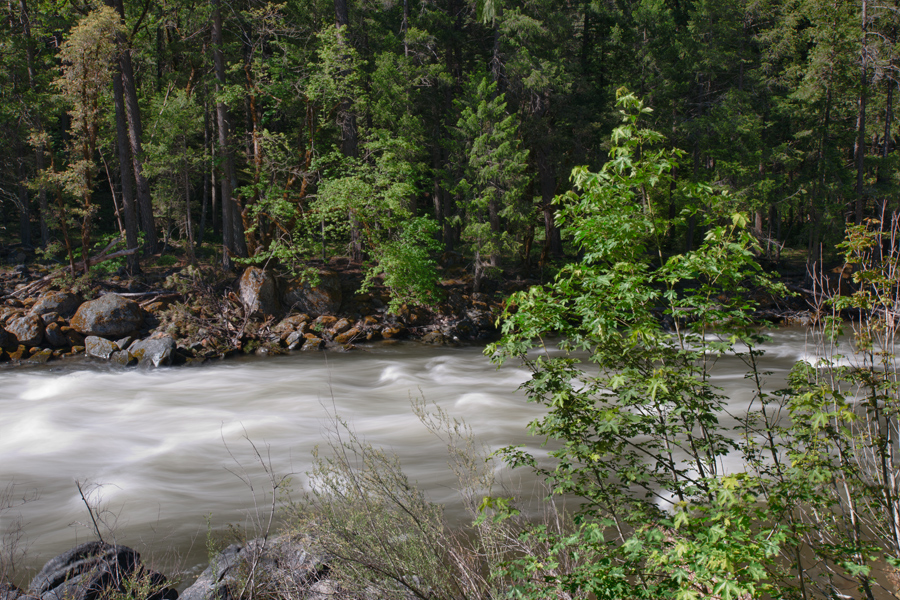
OK, thats somewhat better.  To take a bad lighting scene and make it somewhat usable, I decided to shoot HDR. I used the Nik Software HDR Efex Pro Combining three or more images together in the computer to create a High Dynamic Range photograph. More detail in the shadows and the highlights.


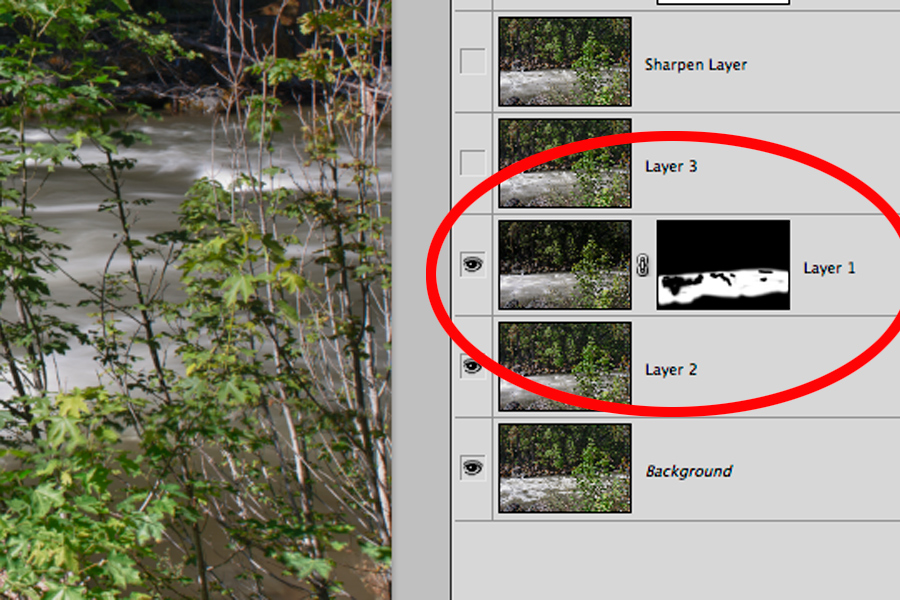
Once I combined the three images, taking the best from each one - I went back into Photoshop and created a layer mask that would reveal some portions of the water that I wanted to add back some contrast and sharpness.

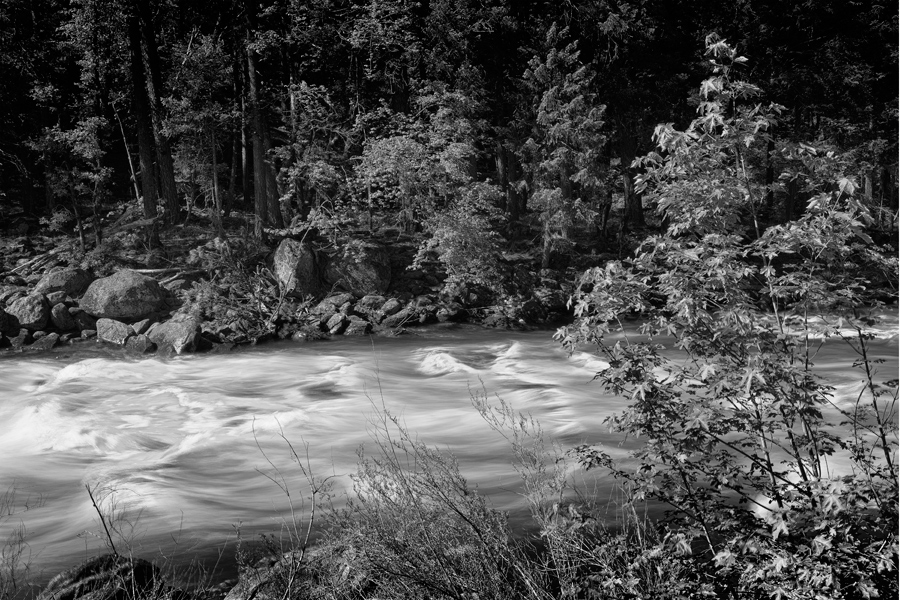
After that, I converted the entire image into black and white with Silver Efex Pro 2 (black and white conversion software)


Evolution of a Shot

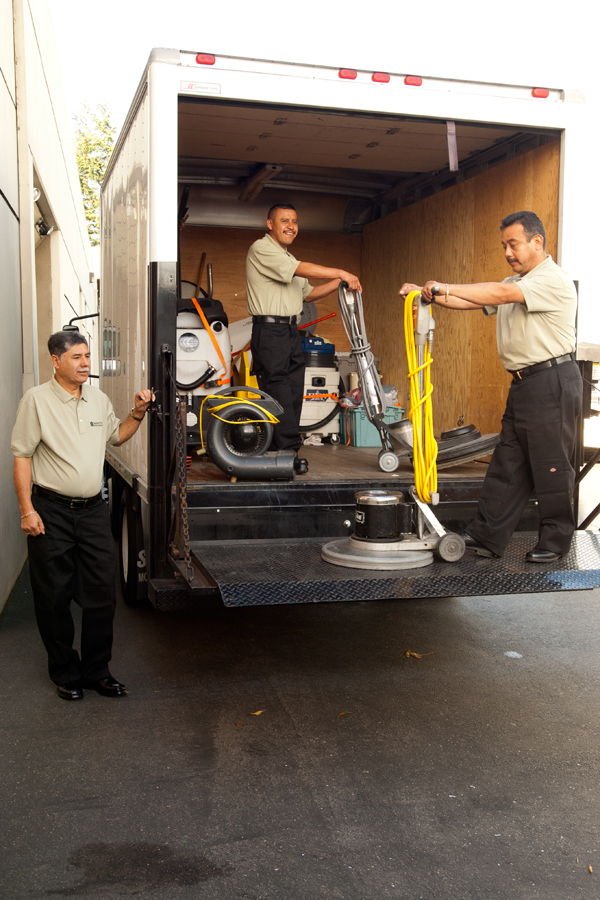
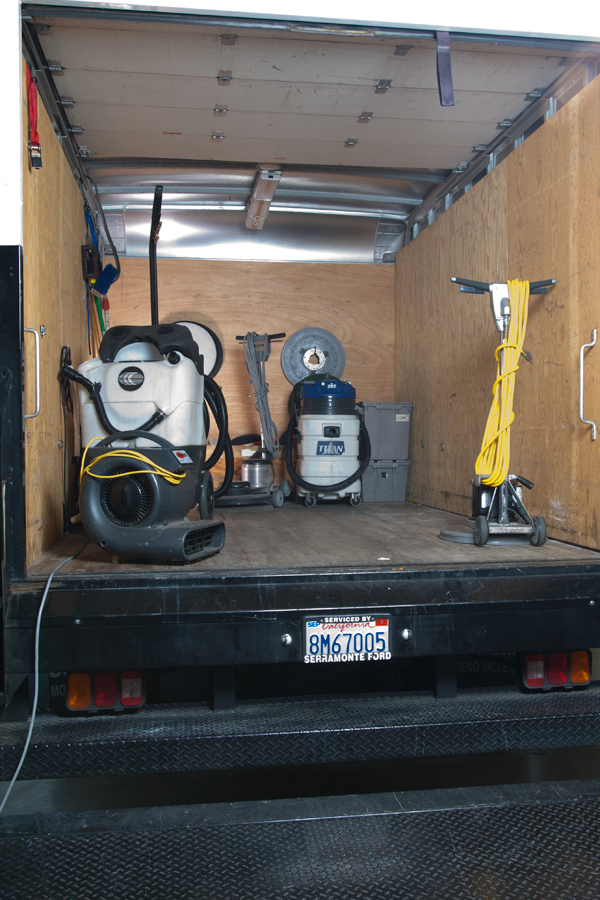
Most of my photographs for clients don't end up as we start.  There is almost always an evolution to the images.  Here is an example: One of the services that this client offers is janitorial service.  So they wanted to have three of their workers on one of their trucks looking like they were working. So here is how we started:


As you can see, it doesn't look like anyone is working, there is too much "stuff" in the back of the truck and the light was not that good with the washed out background around the truck.  So the first thing we did, is to move the truck inside where we could control the light. As much as I try to be on location at the proper time of day there always comes a time that the outdoor light isn't working.


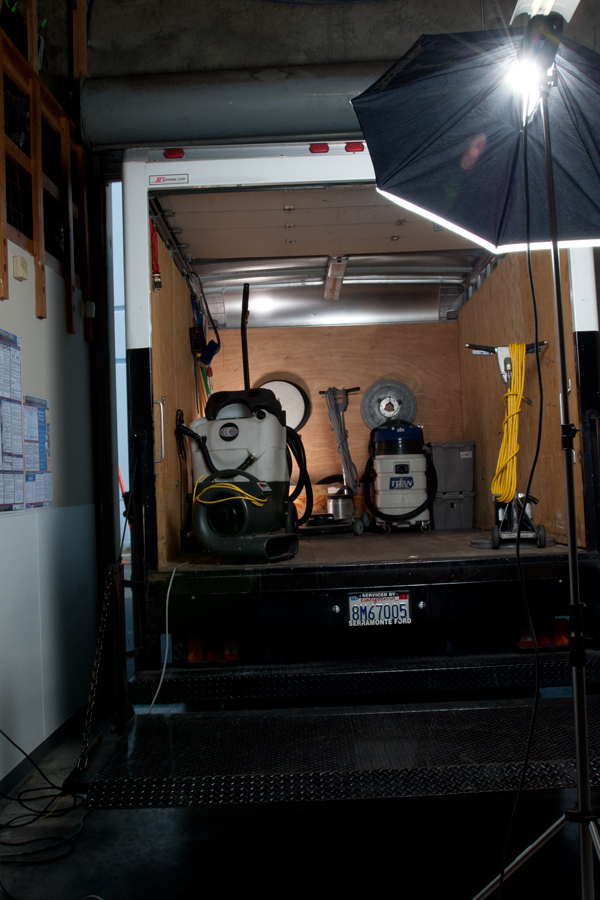
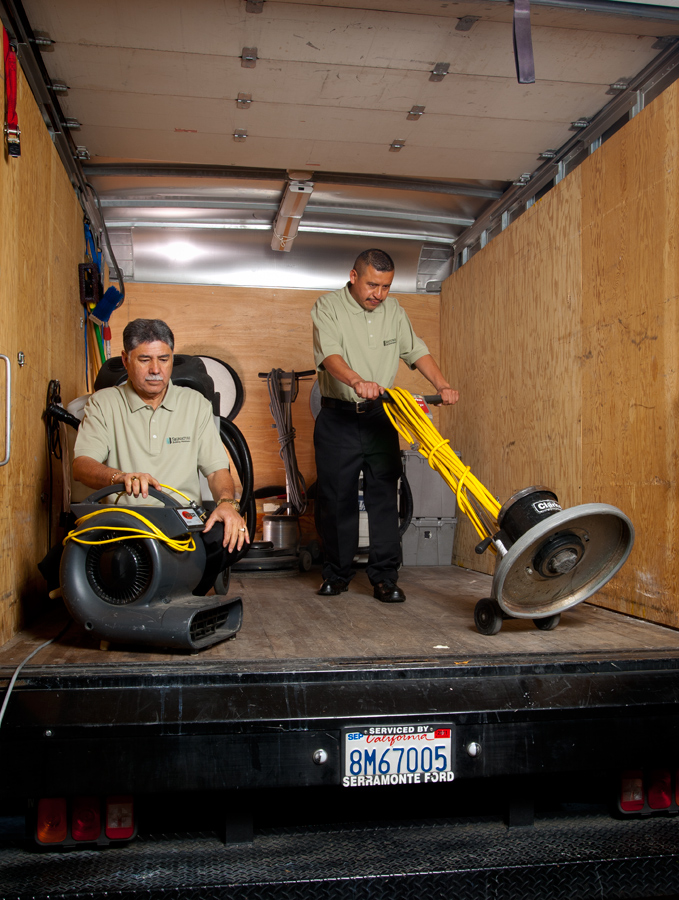
We have now added a light in the back of the truck to light up the interior better and also added a soft light in front and removed loads of things out of the truck.


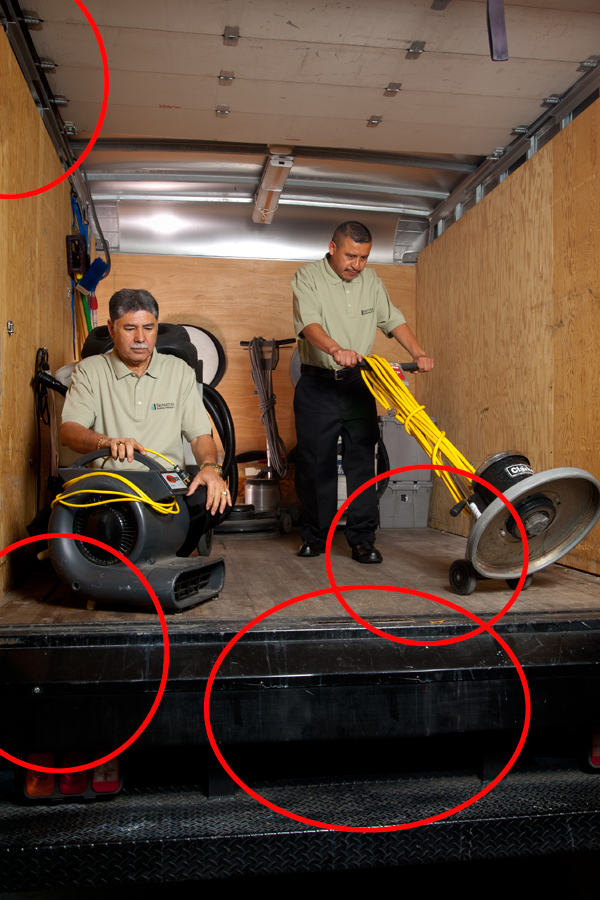
After we add the workers back in we will need to do some Photoshop work on the final image.


Some of the changes we made was to remove the license plate (copy a portion of the frame of the truck and pasted it over the plate) remove one of our light cords, remove debris that was stuck to the floor of the truck, remove a red strap that kind of caught the viewer's eye.


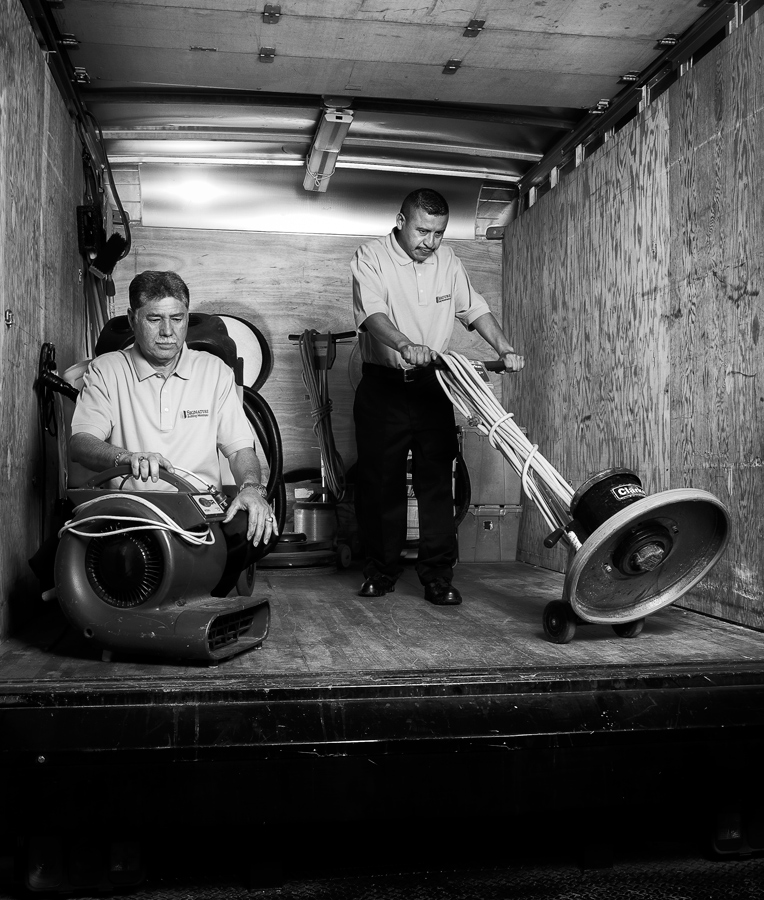
Here is the final image, coverted into black and white, using Nik Silver eFex II.  In this program you can control the contrast of the image and sharpen areas that need the extra structure.

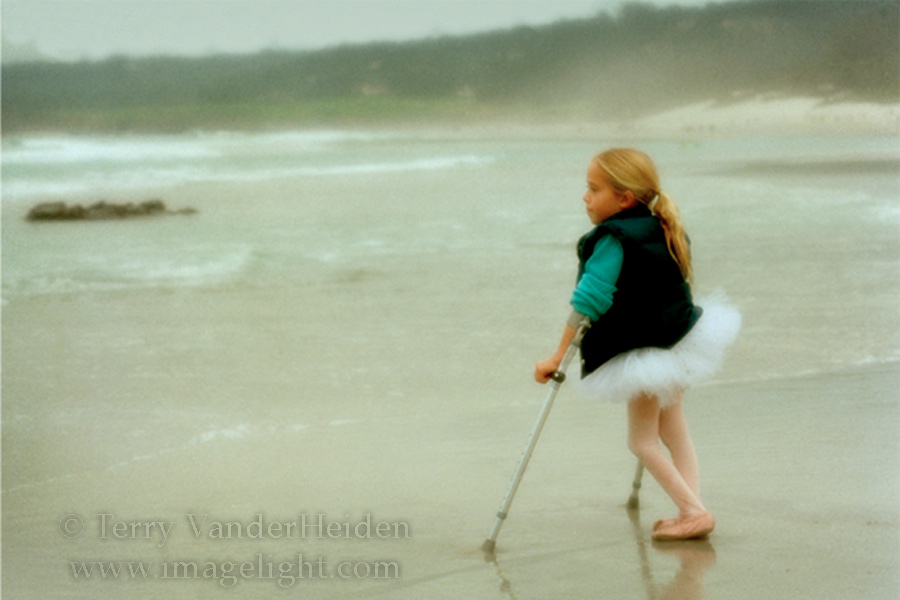
Dancing In a Daydream

One of my most popular images I have ever shot, took only a few seconds to set up. The story behind this shot I created years ago is simple.  I was on vacation in Carmel with my wife and I had just bought a new lens and was down on the beach working with it one day.  I saw this tiny  little girl having a great time at the beach.  She would walk down to the water and back up as the waves came gently in.  She spent about a minute near the water's edge and went back to her family.

I thought that would make a good photograph so I went up to her dad and asked if I could take a couple of shots of her daughter.  I gave him my card and told him to contact me and I would send him some prints in an exchange for a signed model release. He asked if I wanted her to change he clothes or anything and I said no, I want to just recreate was I saw a few minutes earlier.

The girl followed me down to the water's edge and I shot about five frames.   I got what I wanted on the first frame and then took a couple of back up shots. Forty-five seconds, tops.

When I came back home and processed the images, I knew I had something special.  A few weeks later I was contacted by the father of the little girl and I sent him some prints and he sent me a signed model release.

I have since won several awards with this image both on local level and on a national level.  One my most popular and it took less than a minute with almost no set up.  I titled it: Dancing In A Daydream for competition.


Before and After

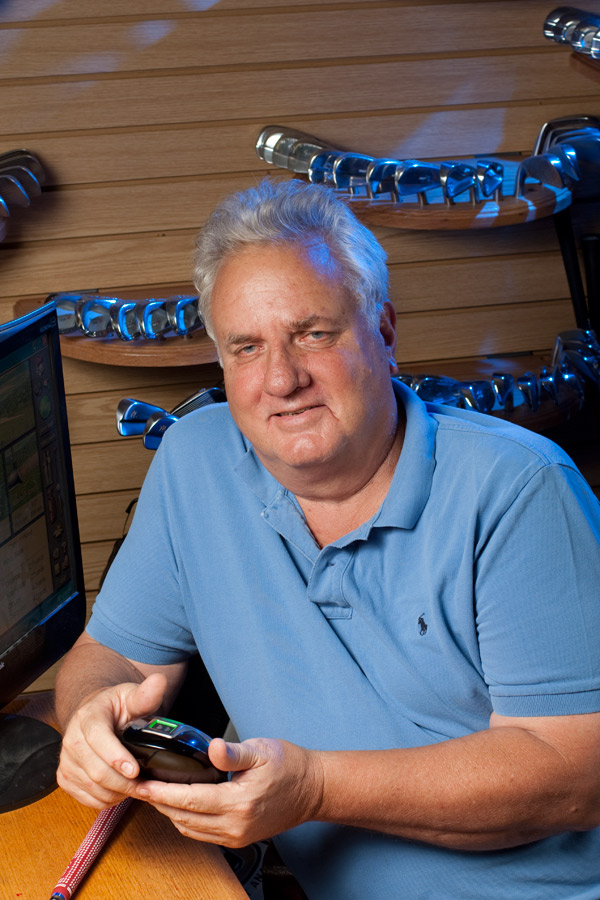
Last week I was asked to create an image for a cover of Golf Today Magazine.  I had little time since the deadline was only a day away. Upon arrival, I found some of my background options limited.  The lighting was poor, (florescent lights from above), so I knew I had to add my own light. With all the product gathered around in this shop, I couldn't use my large studio lights because I just didn't have the space.  So I used a couple of small SB800 lights and I used the TTL in the Nikon system for exposure. This is a fantastic way to get a good artificial light exposure quickly.

With one light into place I saw that I had a nice soft light as my main light and I had to add a background light.  Since this was a scientific lab (for golf) I decided to gel the background light with a blue gel and lower the exposure for that light to get a richer blue.

With the lights adding blue, I had the subject change his shirt to a blue to match the colors on the steel club heads in the background. I then went into Photoshop and spent some time bringing out his eyes, softening the skin and other normal retouching processes.

Before Enhancements

After Enhancements

Finally it was sent to the magazine just under deadline and here is the mock up from the magazine.

GT_Cover-1

Copyright 2015, Terry VanderHeiden