Building Stock Photography

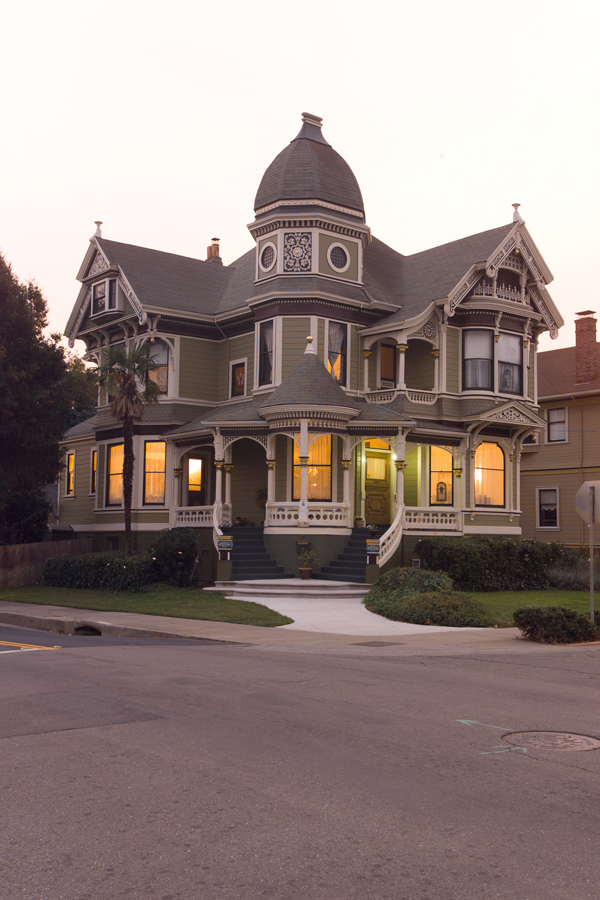
Stock photography is fantastic way to be reminded about past images. I was asked to photograph a victorian home for Alameda Magazine back in 2004.  I scouted the location and then returned at the best time of day to get the image I wanted.  I was disappointed that the owners were not home at the time, since there were some things that wanted to take some liberties with, for the image.  For example, they had some political signs in the front yard that needed removing, along with a few other things I wanted to change.  I returned a few days later after making an appointment with the owners about taking the photograph of their home.  We took down the signs, and I had them turn on all the lights in the house. Unfortunately, not every room in the old home had lights to turn on!  Undaunted, I shot a series of images as sun dropped in the sky and figured I could fix a few things in Photoshop later.

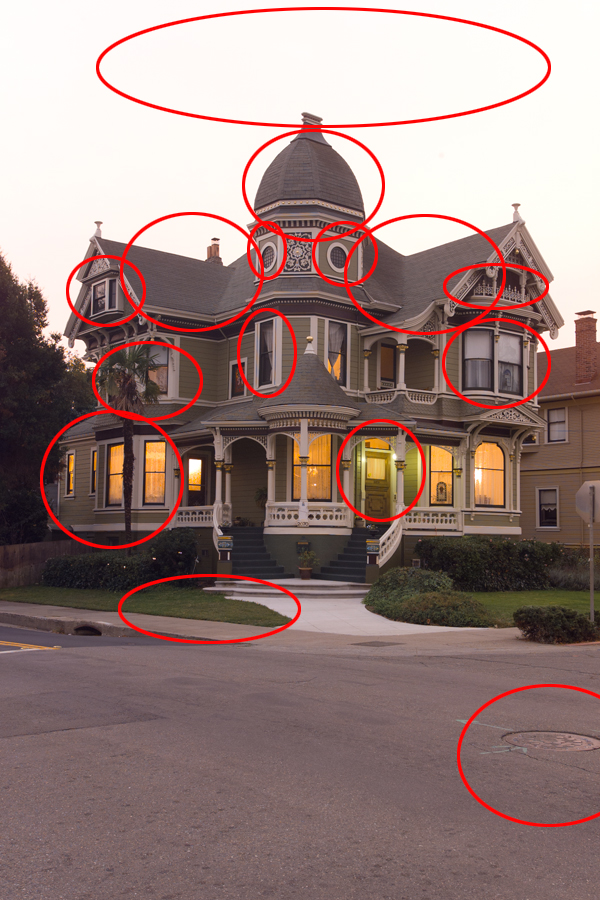
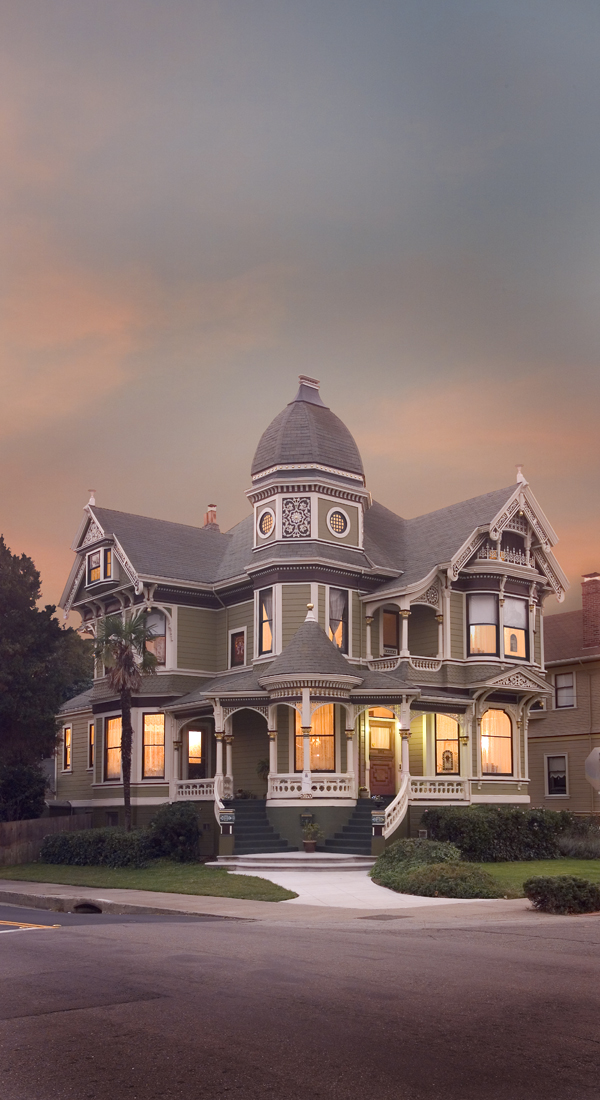
The first thing I realized was the sky wasn't very nice. Pure white is not all that compelling. Thankfully, I shot some sky photographs near this home a day or two earlier so I grabbed those out of archive. Next I had to do some tonal changes to the front of the house. After some change of levels, burning and dodging, and color correction I started to see the image I was looking for.

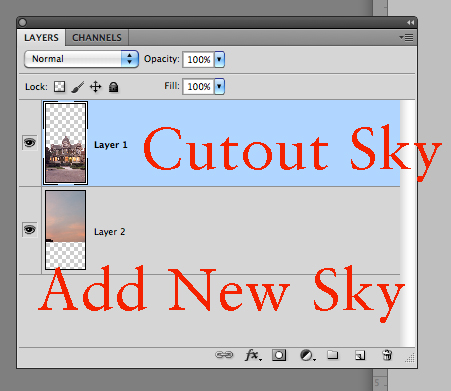
I selected out the top edge of the home and dropped it out so I could place in any sky I wanted at that point.  I tried to find an evening sky that looked compatible.

 Lastly, I had to go into the image and fix the details.  Some of the changes are marked above.  Taking out the man-hole cover, fixing the shaggy lawn, turning on lights in rooms that did not even have lights. Color correcting the front porch light. Darkening the street, softening  the side buildings to bring focus to the Victorian.  Fun stuff.

 Extra sky was added to give room for the magazine to print the magazine title and other information.  The great thing about this image is that has been sold several times.  Just last week, some eight years after it ran the first time, The Alameda Civic Ballet will be using it in one of their campaigns. Stock photography, the gift that keeps on giving.

Sea Otters

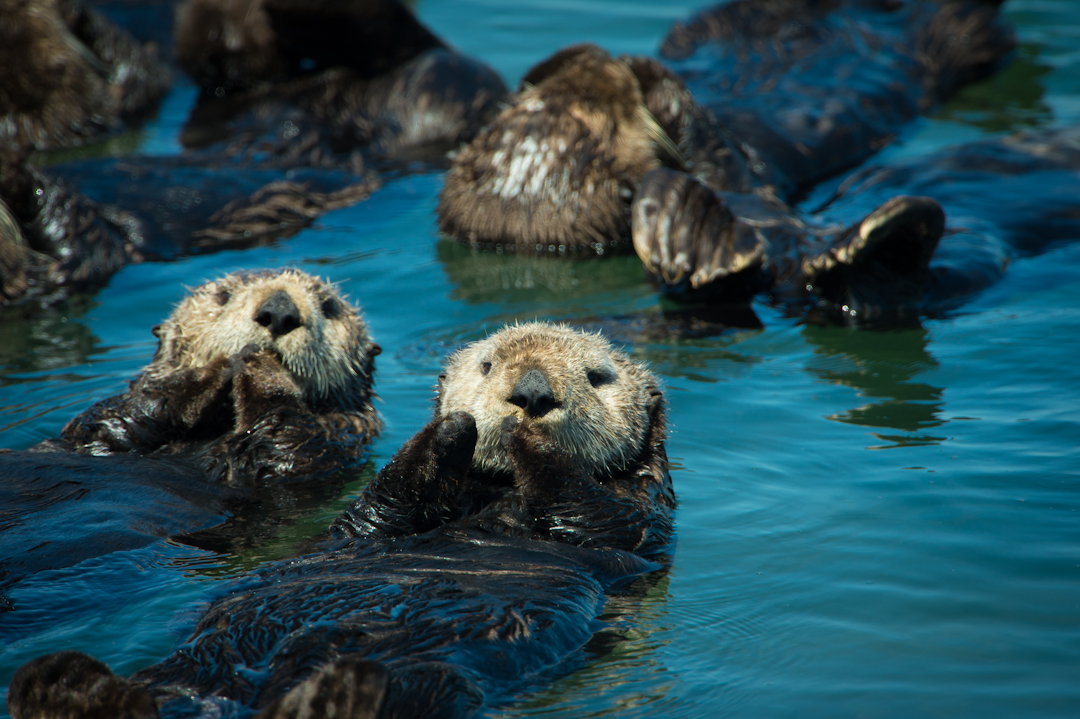
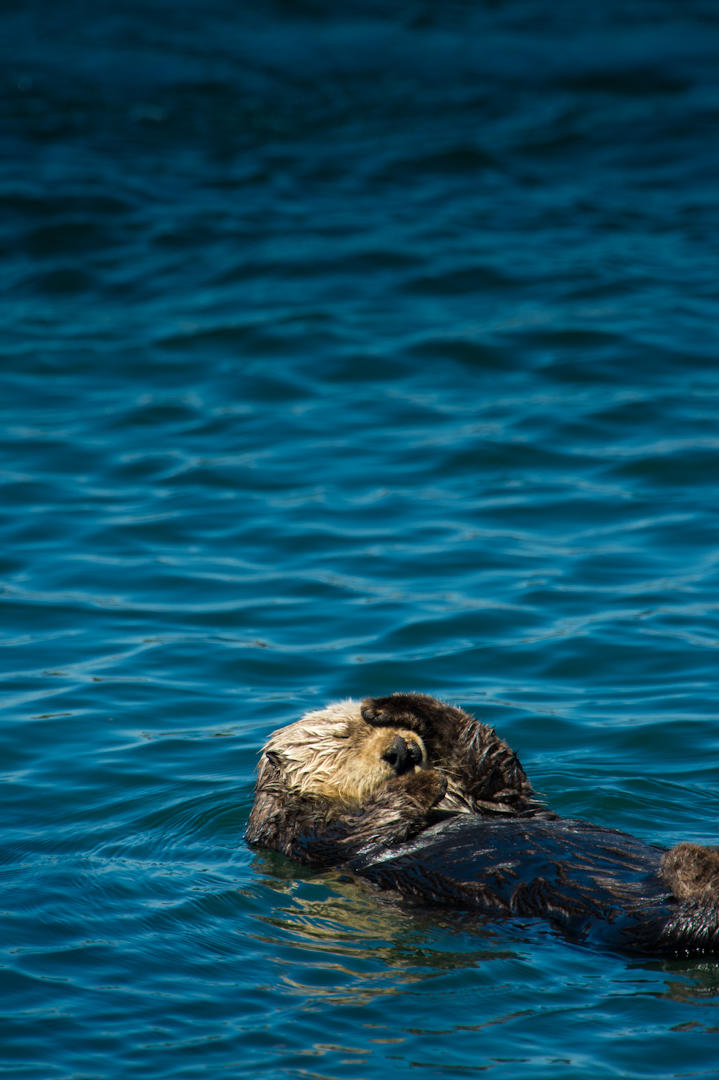
The endangered California Sea Otter is a fantastic subject for photographing.  While in the Monterey area of California, I happened upon a group lounging in the sun and took out my 600mm lens with 1.7 converter and started shooting.  They drifted in a small inlet as they cleaned themselves and floated in the sun.  When the opportunity arises to photograph wildlife, make sure to make the best of it.  Move around if you can to get different angles. In this case I photographed groups as well as individuals.

Whenever possible always try to get some vertical as well as horizontal images. I always try to shoot some images with space to the left, space to the right and space above on a vertical to allow for a magazine to use your photograph as a cover. This will allow them the needed space to print your image "full bleed" (meaning that the whole page will be used for your photograph) and to have space for the magazine name, and story topics.

Following the Hawk

The other night I decided I would go out to my favorite regional park Lake Chabot and do some work with my new wildlife lens.  Photography has changed in that the sensors in today's camera's are outstanding.  In the Nikon D4 that I shoot, the ISO can be run up to a very high number to compensate for the low light of the evening sunset.  This coupled with a very fast lens, 600mm f/4 -the wildlife opportunities are boundless.

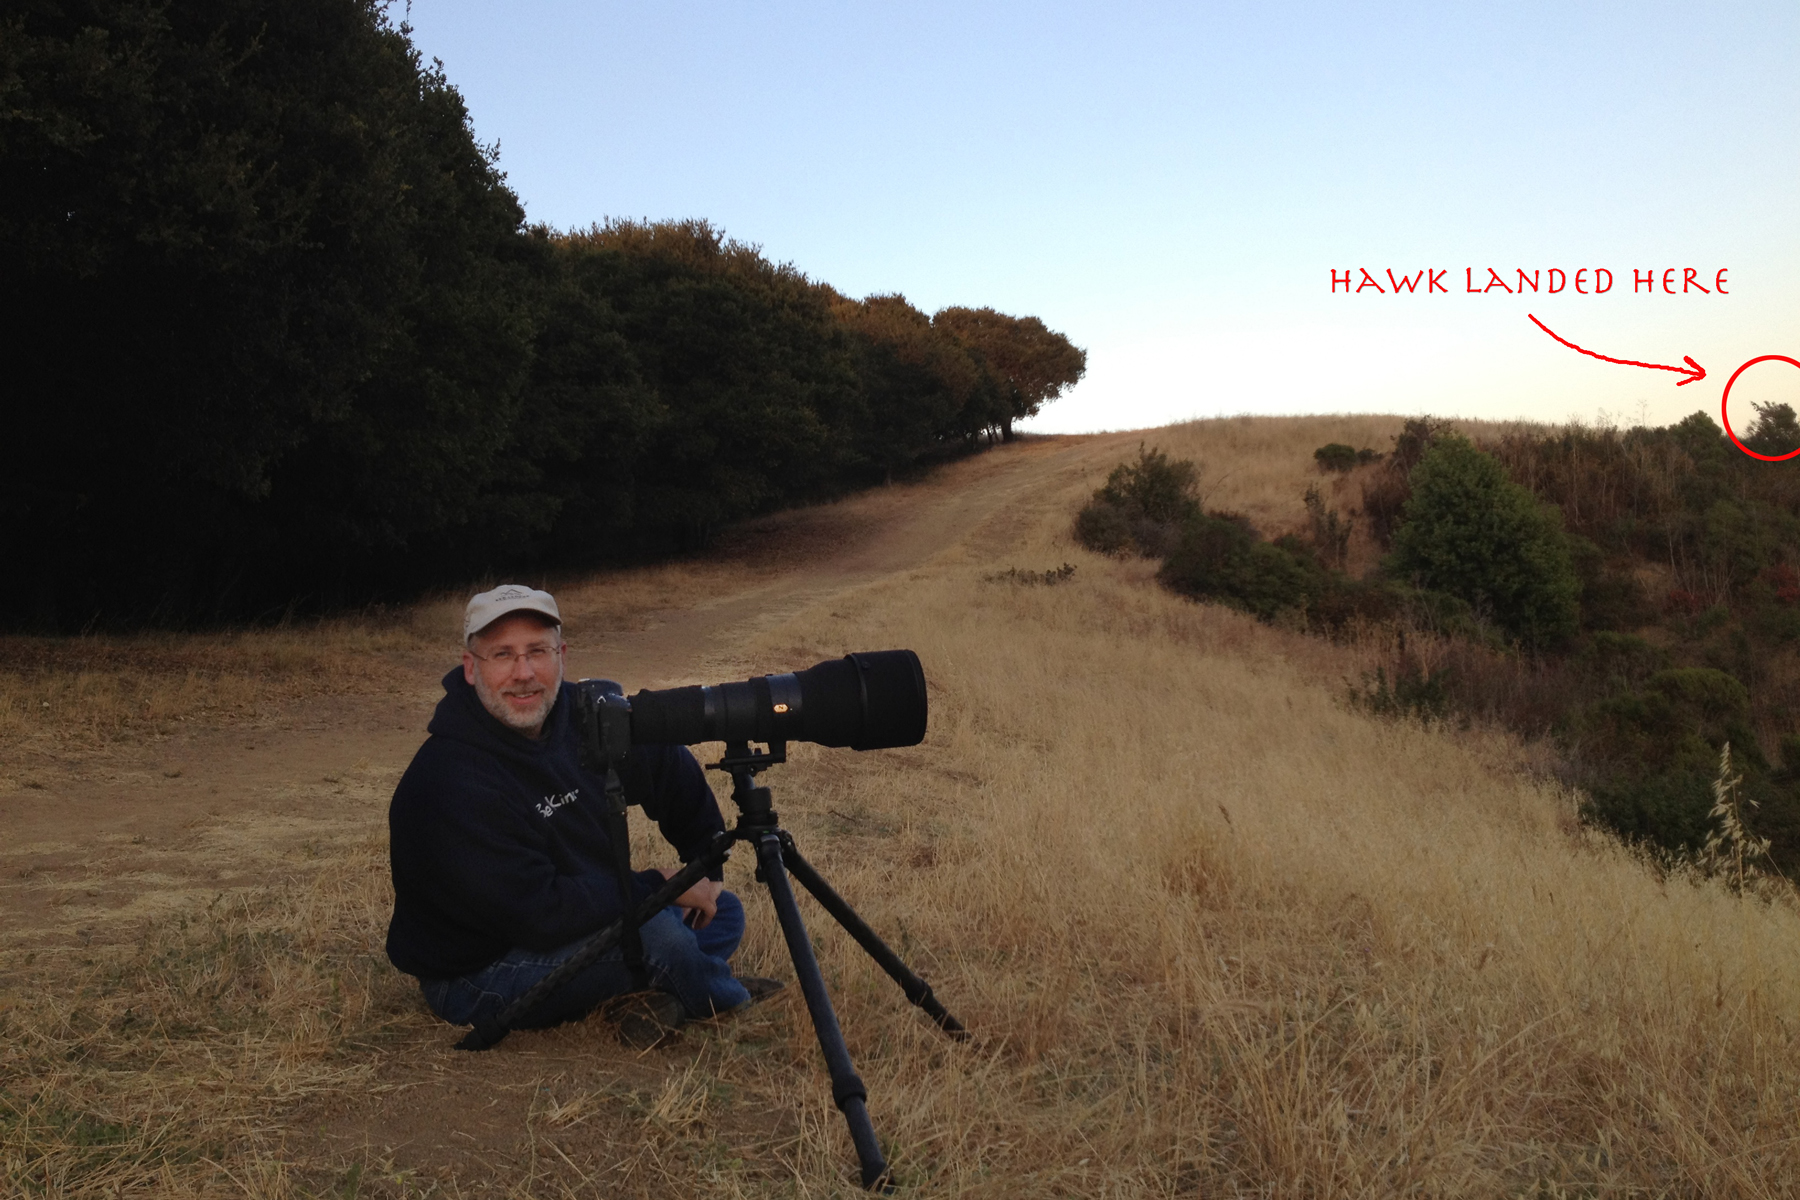
I had been watching a couple of young Red Tail Hawk hunt the surrounding hillsides.  Since I wasn't going to try to disguise myself as a bush, I set the lens down where I knew the light would be nice on my subject.  I had hoped that one of the hawks would start working the hill in the sunlight and I got lucky.

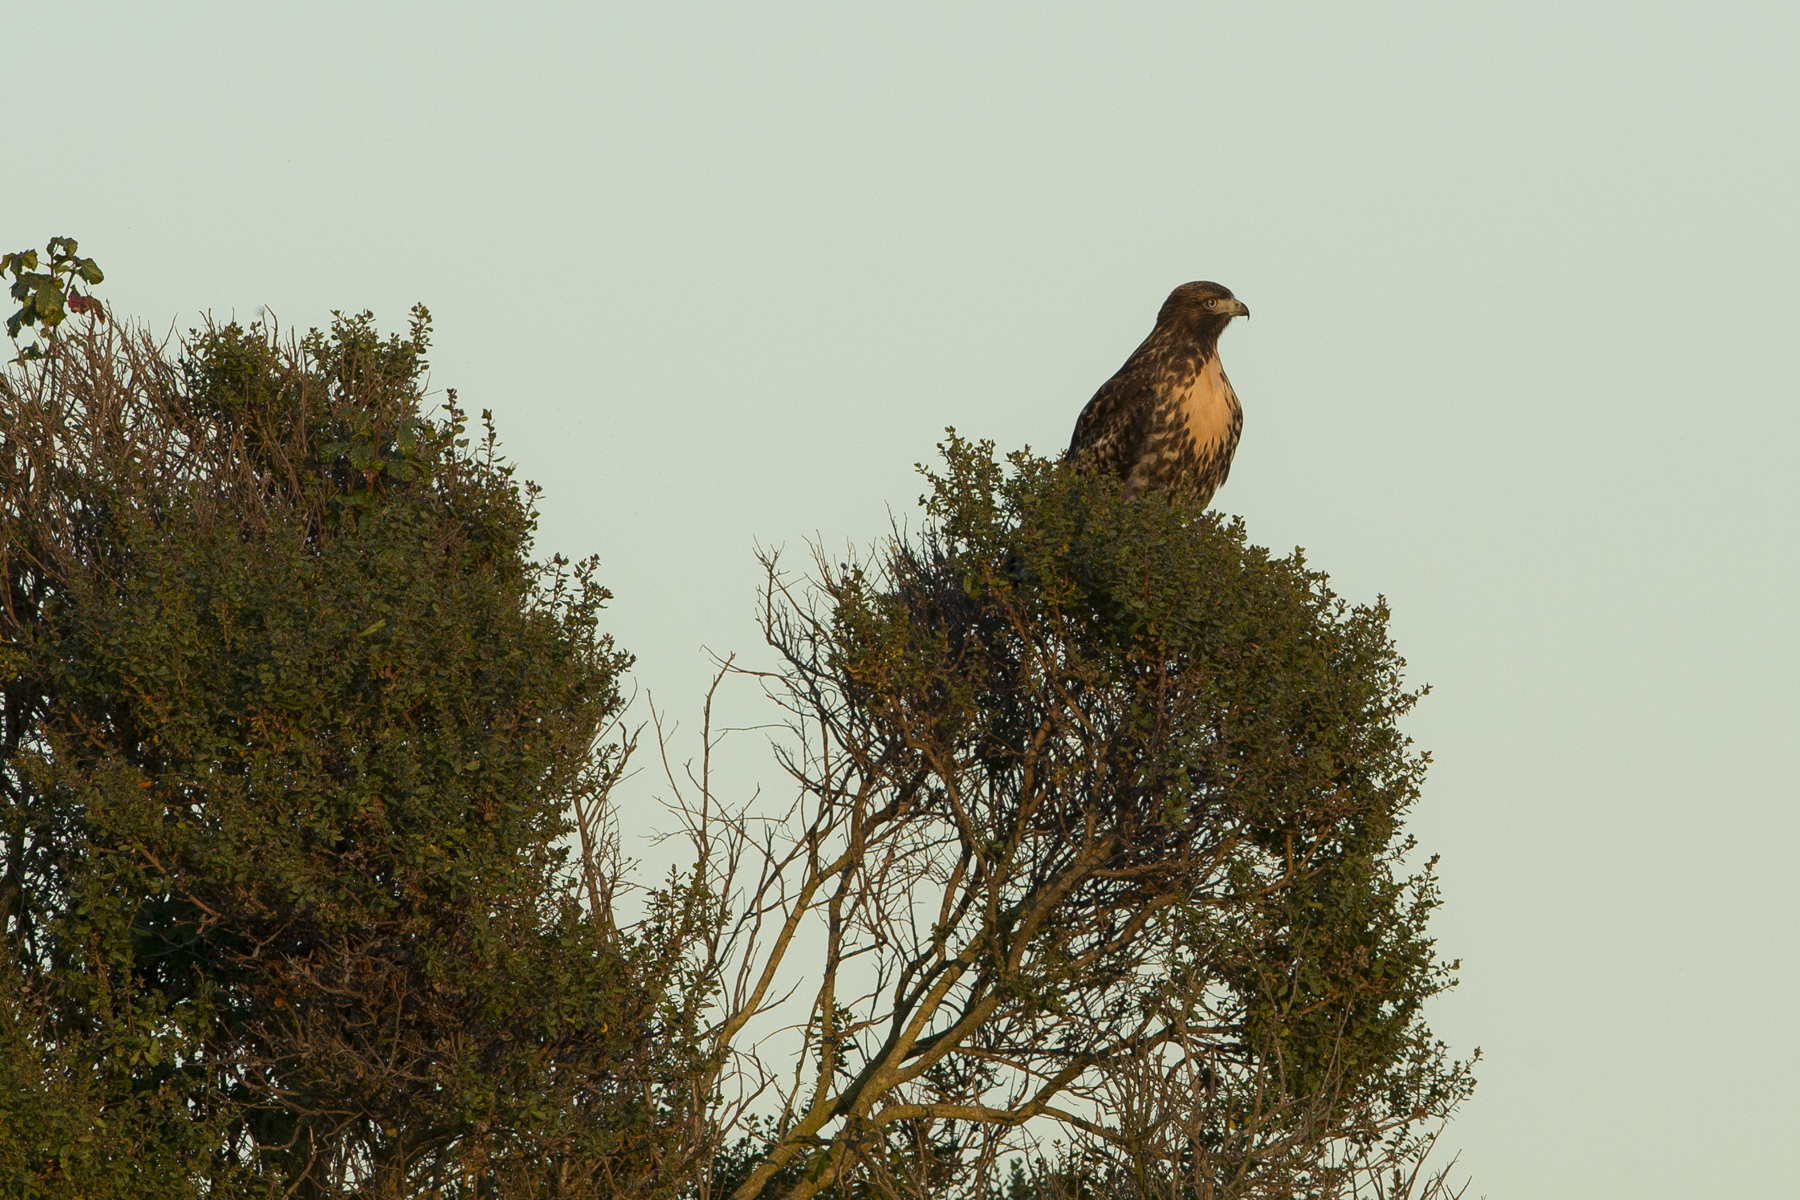
This youngster landed on a bush to see what was on the menu this evening - so it enabled me to get into position to photograph him when he would take off.

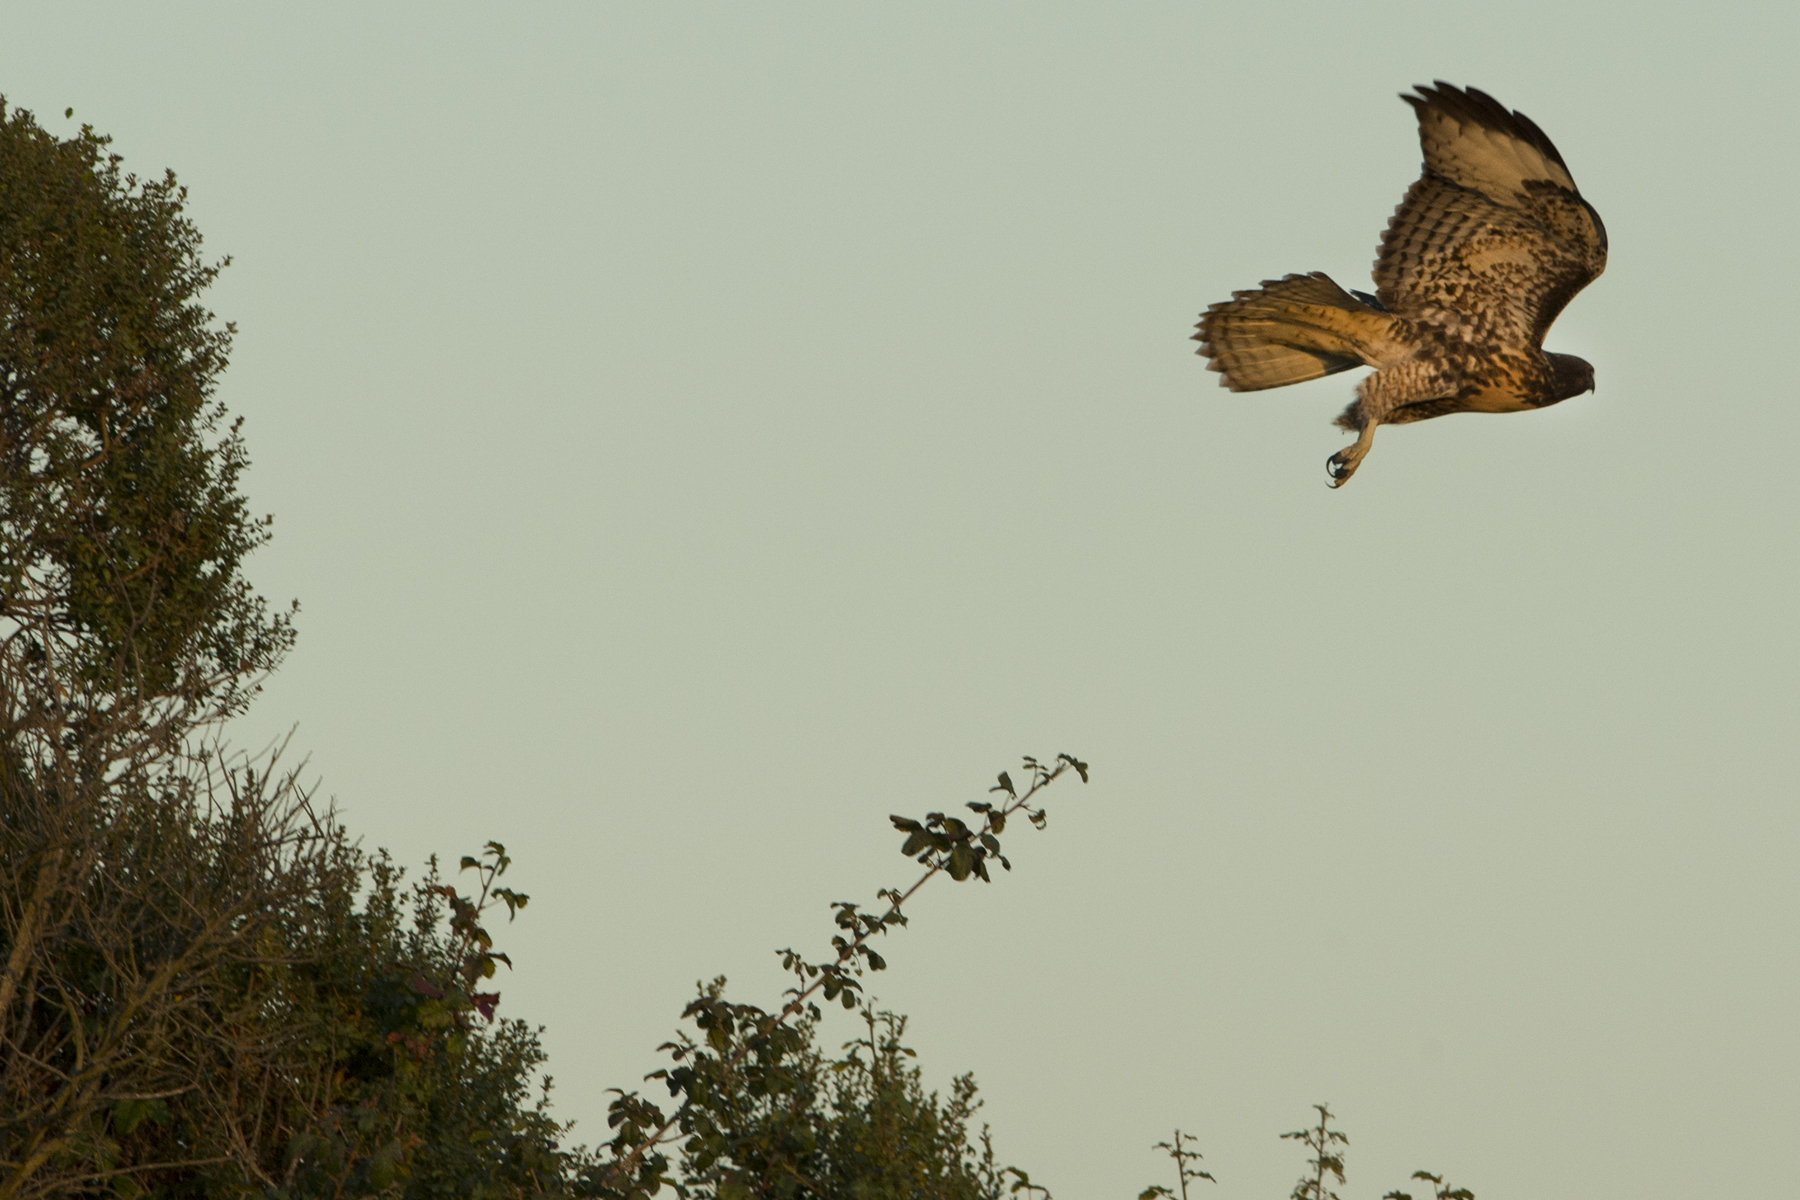
He didn't stay too long, maybe about 20 seconds, but that was enough time for me to frame up the shot, check my exposure and lock in a good focus.

I was able to buzz through about 10 frames before he was lost in the shadows - but I'll be back and I'm fairly certain the hawk will be there as well.


Lightroom 4 - Proof Book

My excitement for Lightroom 4 wained a little when I realized there was no easy way to make a proof book using the new Book Module. The big sticking point was there was no way to include filenames.  I contacted Blurb and they didn't really read my emails - but directed me toward a video on how to make a book. (It wasn't in that video). I then contacted Adobe - their solution was to copy each filename into each caption cell.  With a typical event being some 1,000 plus images?  I don't think so. I had to come up with a work around to easily convert a collection of images into a nicely printed proof book - with filenames!

Here is how to do it:

Panoramic Portraits

If you photograph family portraits, it is always a good practice to try and create an image that is a little different.   I had the pleasure of photographing the Lucas family, which included Mom, Dad, five daughters, one son and their two dogs. So with this large family we created an image that is not your normal family portrait. To get the image I had in mind, I took out my panoramic gear, had the family sit as still as possible and started to work.

With the 85mm in place, I shot several vertical images going from left to right with a generous overlap to each image.  Then I did the shot again, this time, going from right to left.  For good measure, I shot one more set, left to right. All of these images amounted to about 30 shots total. This Panoramic Rig from Really Right Stuff, allows me to keep the center of the lens perfectly aligned over the exact center of the tripod.  So when the panoramic images are created, they are perfectly aligned with each other.

The next step was to load all these images into Lightroom 4 and figure out which was the best series of 10 images images.

Once the best series of ten images was figured out, I stitched them together using Photoshop.

In Lightroom 4, you select all the images you want to build your panorama with and then right click.  Go to Edit in>Merge to Panorama in Photoshop. This will open up Photoshop and then start placing images on thier own layers and creating layer masks for each one.

You can probably see from the image above where there were a couple of  problems.  It was not with the people, but with the dogs.  They didn't sit entirely still. So even in a quickly shot series of images the dogs were in different positions with each photograph. I figured this might be the case when I was shooting, that is why I shot so many extra photographs.

In one shot, the dog is laying down and in the next shot that was suppose to be blended with it, the dog is sitting up.  Photoshop doesn't know anything about the subject so it does the best job possible lining up the images.

To solve this problem, I had to go back to the original images, where the dogs looked best and then cut them in separately.  By selecting each dog, I was able to pull them out of one photo and then place them into the main combo shot.  I had to consider shadows, sleeves, hands that might be covered up, etc. to make the shot look believable.

Finally the main photograph was done, built out of ten portions of a series of images.  This extra work created a very large file that gave me the ability to print it large and still maintain sharpness and quality.

Final image with people and dogs all in place.

Copyright 2015, Terry VanderHeiden