
Here is a quick breakdown of some small, subtle changes that can affect an image greatly. Seldom is there any photograph that goes to publication without any Lightroom or Photoshop work on the image. I usually comes down to taste as to what work you want to do on an image.
When shooting animals in an enclosure (at the zoo) there are some challenges you are going to run into. The first biggest challenge is met in that the animals are right there! No spending days trekking through the wilderness to "hopefully" find what you want to photograph.
Here is where I started with the image right out of the camera. While the lighting was not perfect nor the background, the animal was at least looking at me.
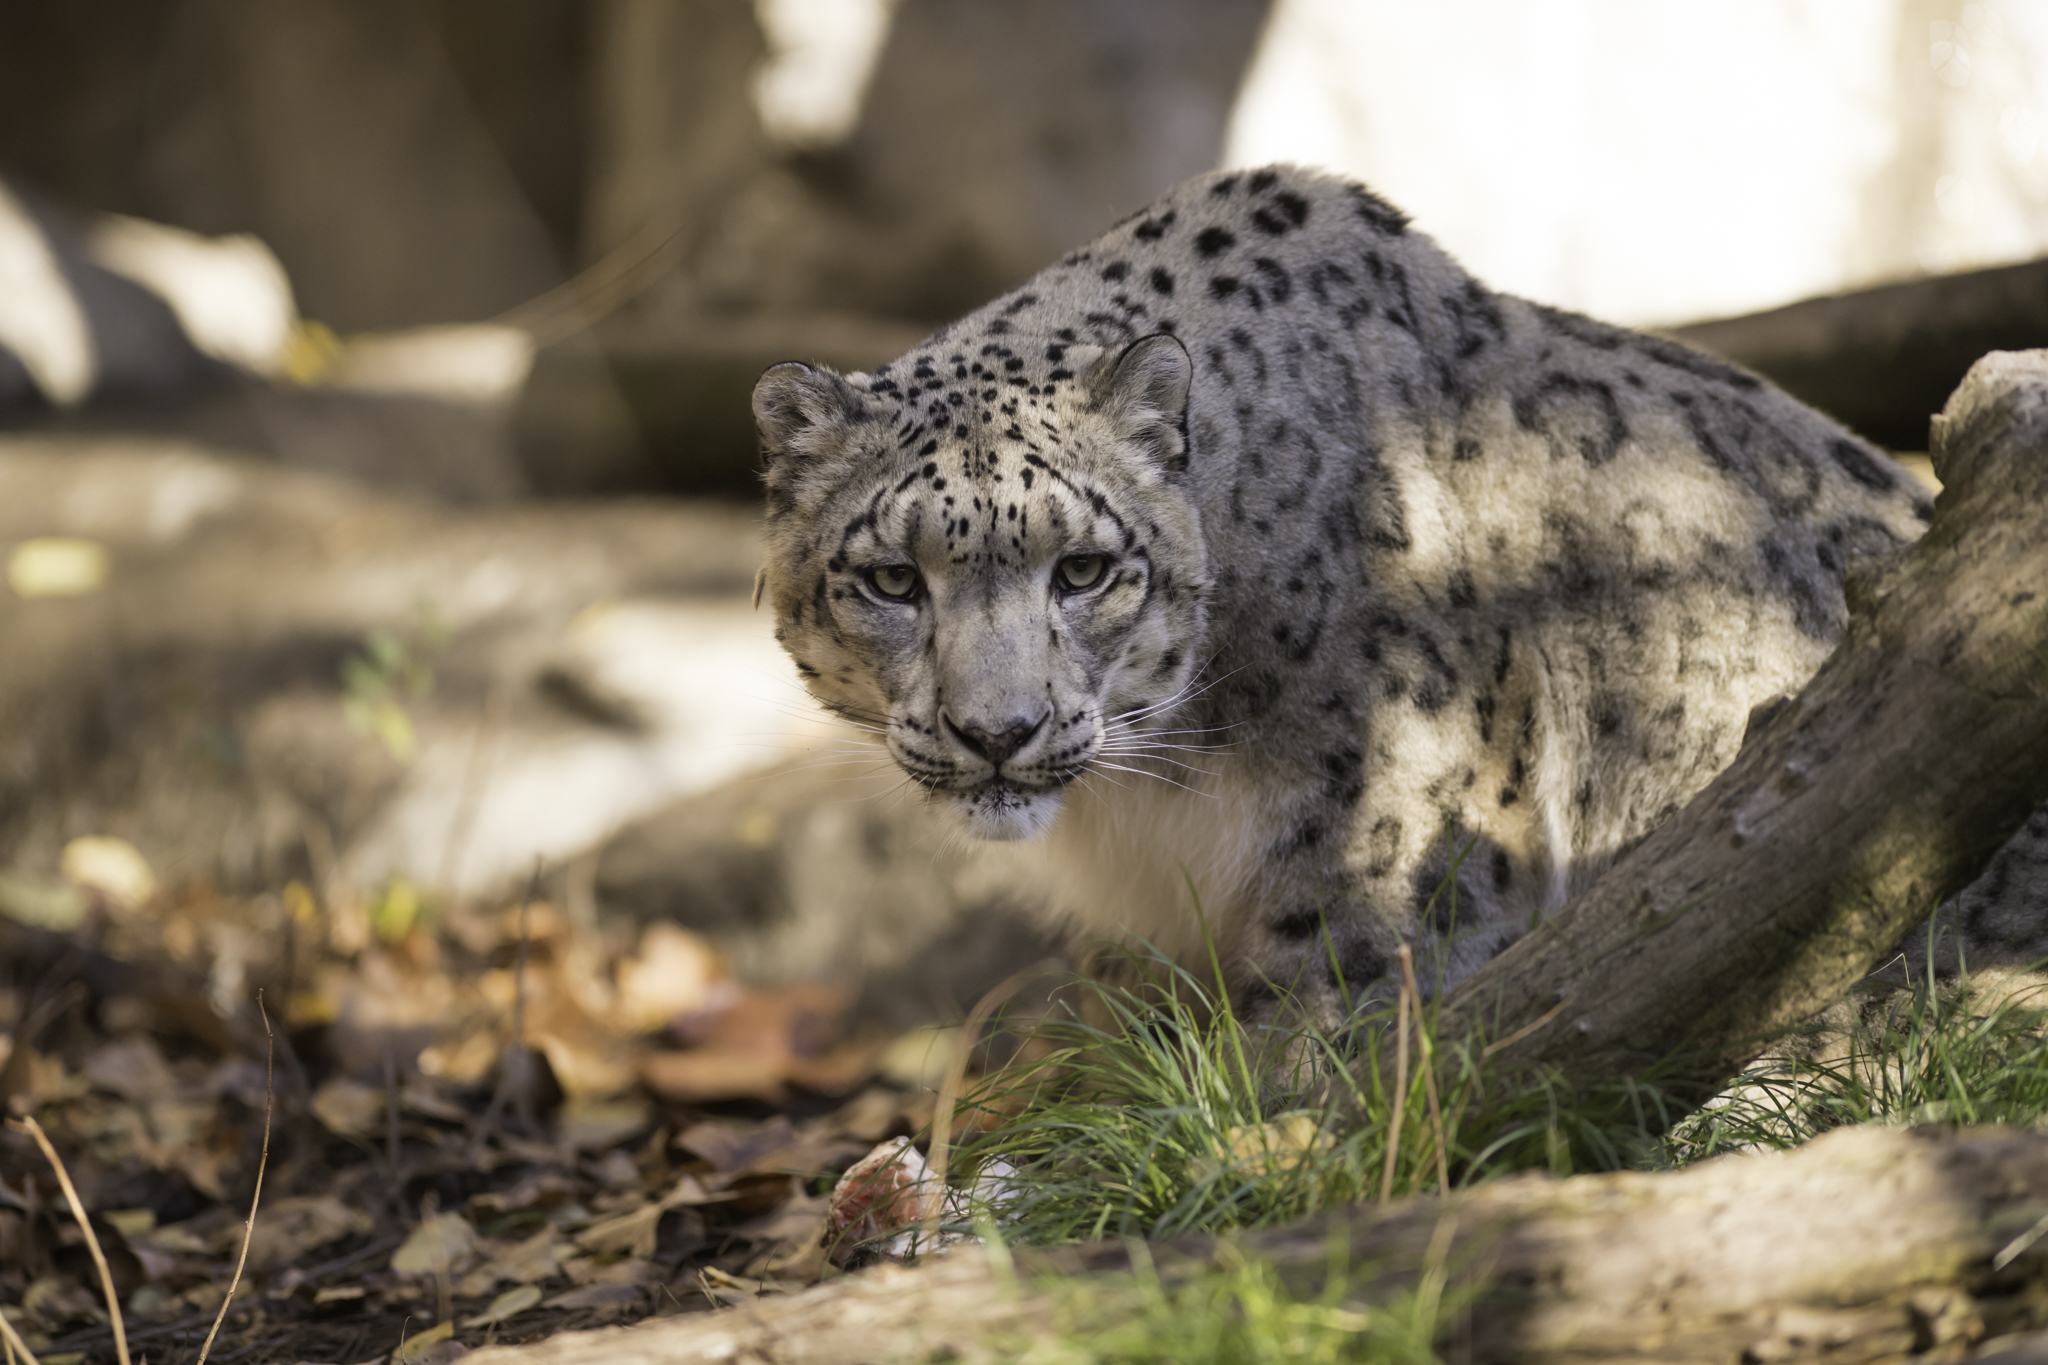
The first thing to do in Lightroom was to crop it to remove some of the distracting background elements. That day I was testing out a Nikon 300mm 2.8 lens so I couldn't get as close I would have wanted. The lens however, is very sharp so I could do some cropping to get it reasonable look.
Cropping out some distracting elements in the background was the first step to brining the viewer's direction to the Snow Leopard's face.
Then I focused on what people look at first, the eyes. I brought up the saturation of the eyes, added a bit of color and sharpened them. I then added a realistic highlight by taking one of the included brushes in Photoshop an "Oil Pastel" brush, made it small and on a new layer I stamped a very light blue, color as an eye highlight. Then I did the same stamp on the other eye. After the stamping, I added a layer mask and went in with a soft brush to remove parts of the highlight that wouldn't be there. Such as where the eyelid overlaps or an eyelash or hair would be covering up the highlight. This helps the new highlight to blend onto the surface of the eye. Next, I pulled back the opacity of the layer to make the highlight a tiny bit translucent for more realism.
I then used the spot healing brush and the clone stamp to fix some ares of the face and fur that looked a little ragged.
Lastly, I used the burn and dodge tools to create a custom contrast. By darkening some of the dark areas on the face with the burn tool and lighting some of the highlights in the fur with the dodge tool, I could control the contrast in the image, exactly. Then using the burn tool I was able to darken some of the outside areas to create a custom vignette to again bring the viewer's attention back to the face of the Snow Leopard.
