Five Products You Can Use To Improve Your Portraits

Five products to improve your portraits.

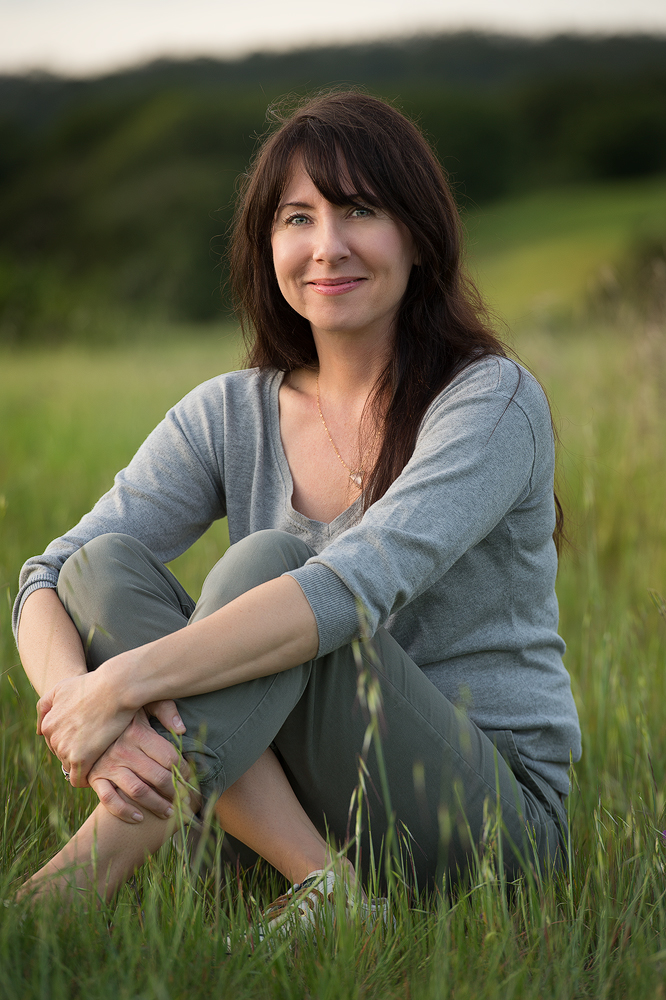
If you are looking to improve your portraiture, you may just need more practice. However, at some point, the right equipment will make a big difference.  If you add these products slowly to your arsenal of “go to equipment” you will get a better feel of how each one can improve what you are already doing.


1)   Get a longer lens.  Many times photographers use lenses like the 85mm as a portrait lens.  With more full frame cameras being produced and being used these days, the 85mm lens can be too short to compress some of the facial features, yielding a kind of stretched look to a person’s face.   While if you go in the other direction and get a longer lens on your camera, you can create a more flattering look. The nose is not as pronounced as with a shorter lens and it fits the face more evenly.   The longer lens will also let you take advantage of a shallower depth-of-field and drop the background out of focus.  I shoot with Nikon equipment and I routinely use the 200mm f/2 lens or the 70mm-200mm 2.8 lens zoomed as far out as the situation will allow.


2)   Use a good reflector. I use the Lastolite TriGrip Reflector.  Typically I use the version that has silver on one side and soft white on the other. Seldom do I use the silver side but it can come in handy when you are trying to boost the light from an otherwise overly dark scene. The light from the silver side creates a sharp reflected light and many times has too much contrast for most portraits.   The white side is more commonly used to bounce soft light into the shadows of the subjects face.  You can move this in to the subject or out to increase or decrease the depth of the shadow on your subject’s face.  The Lastolight has a nice grip for an assistant to hold or to clip to a light stand. Lastolite also makes a version that has shiny gold on one side.  This seems to me to be useless since if I wanted a gold light over everything I would shoot for this in the first place with gels or add the color later in post.  Don’t tie your hands by using gold in a reflector during a portrait shoot.


3)   Portable Strobe Units. I use the Profoto B1 portable strobes.  Yes, these are expensive but they offer tons of power and  many different options for light modification. The TTL on these units work fabulously with my Nikon equipment and the quality of light is fantastic. Lights like these will allow you to light just about any portrait situation that comes your way, inside the studio or outdoors away from any power source.


4)   Beauty Dish. I recently purchased the OCF Beauty Dish from ProFoto. I use the 24” white version (they come in silver lining as well). This light gives out an outstanding quality of light that has some direction to it but is still soft enough to be extremely flattering.  This one folds up for easy packing and is very simple to put together quickly. The quality of light is quite different than the large soft box look that I have used for years.  Maybe because its different is why I’m drawn to it but check it out and see what you think.


5)   Apple Box.  Mostly used in the film making industry, the  Large Apple Box  can be used to stand on while creating your next portrait.  Matehews makes the ones I use and it's a sturdy plywood box that will allow you to elevate the camera and slightly look down on your subject.  Obviously this is not for photographing children; it’s for photographing heavy people!  If you are looking down on your subject by a few extra inches, they can bring their chin up to you and elongate the neck.  Thereby reducing the weight around their neckline. It’s a simple fix for some portrait clients.  What’s not simple is lugging around a ladder or using some other unstable chair to get you higher than the subject.  If you don’t use it for standing on, you might find it helpful for your subjects to sit on to create different eyeline levels.  The Apple box excels at beingsimple to carry and stow and has multiple uses.

Screen Shot 2016-06-15 at 3.43.16 PM.png


Terry VanderHeiden has been a full time, nationally published photographer since 1980.  He is the owner of ImageLight.com and he is an instructor of photography, Adobe Photoshop and Lightroom.

Tracking the Coyote

Coyote, Yosemite Valley, California.  ©Terry VanderHeiden 2016

Coyote, Yosemite Valley, California.  ©Terry VanderHeiden 2016

To improve your photography, make a point to go out and photograph with other photographers.  They will push your creativity and help you spot angles and subjects you might have missed. 

Early this winter I went with fellow photographer and naturalist, David Bozsik up to Yosemite National Park to photograph the first snow of the season. We missed that event by about a day but we did have a great experience following at Coyote along the valley floor. 

Early one morning, on the East end of the valley, Dave and I were out looking for scenic images to photograph and Dave noticed some movement in the tall grasses. As we crept a little closer, we saw that it was a lone Coyote hunting for food. 

Coyote hunting for food, Yosemite Valley, California.  ©Terry VanderHeiden 2016

Coyote hunting for food, Yosemite Valley, California.  ©Terry VanderHeiden 2016

Like I said, you can really improve your photography by photographing with someone else, but it really helps when your companion is steeped in the knowledge of animal behavior, like Dave is. Its' very important to know about your animal subjects and their tendencies. We know that Coyotes can travel as much as 12 miles a day in search of food. Since all of us knew that winter was about to descend upon Yosemite, the coyote was looking for food and we knew he was going to keep moving. 

The main diet of the Coyote is mice, rats, insects, rabbits, etc. They are also known to hunt day or night, whenever food is available. We followed the Coyote for a couple of hours and then lost him. He was keeping his distance from us and he was much better at maneuvering over fallen branches and soft ground than we were, so he had more control of how our photographs were going to come out.

Our technique for the chase was to follow on foot for a while, go back to the car, race ahead of where we thought Coyote was going be and set up in the hopes of seeing him come by.  This was an all day event.

Coyote, Yosemite Valley, California.  ©Terry VanderHeiden 2016

Coyote, Yosemite Valley, California.  ©Terry VanderHeiden 2016

Finally, late in the day just as the sun was falling we were set up on the West end of the park hoping the Coyote might make it there before it became too dark.  We got lucky.

The Coyote emerged from one of his hiding places and walked right toward out waiting  cameras. 

This last shot was taken with a Nikon D4, using a 600 mm lens set at f/4.5 and shot at 1/800th of a second.  When working with a very long lens, you have to make sure your shutter speed will be able to keep up with your lens.  To avoid camera shake, I always try to shoot at a higher shutter speed than the length of my lens.  To do this, I set my Nikon D4 on Auto ISO.  With this setting you can be sure that your shutter speed is high enough to avoid camera shake.  The camera will pump up ISO  to compensate for low light conditions and keep your shutter speed where you want it.  I have mine set for a shutter speed of 1/800th of a second if I'm using my long glass. 

Coyote, Yosemite Valley, California.  ©Terry VanderHeiden 2016

Coyote, Yosemite Valley, California.  ©Terry VanderHeiden 2016

The downside to this technique is that your ISO can get pretty high, wether you like it or not.  In this case the ISO on this image of the Coyote's face was a very high 10,000.  I knew however with the Nikon's ability to handle high ISO without a lot of noise and using a little bit of noise reduction in Adobe Lightroom, I could make a large wall print that looks very sharp. 


Saving Time in Lightroom

A great way to save time while editing in Lightroom is to use the previous button. This button, located in the lower right part of the Develop Module screen, can speed up your workflow quite a bit as you work your way through your images.

Once you make settings to an image, use the filmstrip on the bottom of the screen to access another like image.  Then hit the Previous Button.  All of your settings used on the last image will be automatically assigned to that new image.  Be aware, that if you don't make any setting on an image selected in Lightroom and move to a new image, the Previous Button won't apply any changes. 

Here is a quick video on how to use the Previous Button in Lightroom.


Copyright 2015, Terry VanderHeiden