Portrait Lighting on Location

Larree Renda, Executive Vice President, Safeway

Larree Renda, Executive Vice President, Safeway

When working with busy executives, you only have a short time to be disrupting their day.  So you have to be ready when they are.  Get there early and set up, test and be ready for them, don't make them wait!

Another  Item to consider is how much equipment to bring. When I'm photographing executives, I try be a minimalist.   Think about it, you are in and executive's office you don't want to bring in booms, huge light stands, gigantic lights, keep it simple. 

This was my set up for a portrait that was published in Progressive Grocer Magazine


Portrait Image appears in Progressive Grocer Magazine

Portrait Image appears in Progressive Grocer Magazine

When ever possible, I like to use a simple executive portrait set up. This is made up of my camera on a tripod, two to three Nikon SB900's on lightweight stands.  For my main light set up I will use one 40 inch umbrella that yields a soft light.  I bounce some of that light from the side to fill in light in the side of the face.  I use the Lastolite TriGrip white side as my reflector. 

A second SB900 is on a small stand in the background pointing directly at my subject's hair, to create a nice highlight. This light also acts as a separation light to create a rim around the subject to "separate" them from the background.  I can control the spread of the light with a grid spot.  I use the HONLPHOTO version called the speed grid.  

The exposure is pretty simple in that I first set up the camera and get an exposure that fits for what is outside the window.  Next I fit the lights to meet that exposure.

I use the Pocket Wizard Flex TT5 as the remote firing device for the strobes.

LightingSetup.jpg

Here is a lighting diagram that might help you on your next executive portrait on location.  


Everyday Photoshop

Planning in advance is one of the mainstays for professional photographers.  Be it the best time of day to shoot outside or making sure all the correct props are on set at the time of the shoot.

Photoshop is one of the tools a photographer uses to make the final project exactly what they are envisioning before the start of the shoot.  

One light set up. 

One light set up. 

As a professional photographer, I use Photoshop just about every day and the days I’m not using it, I’m thinking about using it.
— Terry VanderHeiden

As an example, I had an interior shot to create where I needed to show the depth of the room and an example of how it could be set up.   Fruit and pastries were brought in and the room was set up just how the client wanted it.  I had no control over the time of day the photograph was to be taken so I had to work around that as well.

That was the first problem to deal with, time of day.  Since the shot was in the middle of the day, I couldn't balance the interior light with what was seen through the window in back.  So in the first set up, I shot an image to expose well for the outside scene through the window and then added one light to the table of goodies.  I was shooting with a wide angle lens to show off the depth of the room so I didn't have a lot of freedom to place lights, or they would likely be seen in the final photograph. 

As a professional photographer, I use Photoshop just about every day and the days I'm not using it, I'm thinking about using it.   In this case I knew if I shot several images while the camera was locked down on a tripod, I use Photoshop to cut in the portions of the image that I needed.

Photoshop layer masks used to build the final image. 

Photoshop layer masks used to build the final image. 

Using layer masks in Photoshop, I was able to add layers of new photographs on top of the first one to make up the final image.  Layer masks gave me the ability to show off portions of each new layer that would "light up" an area of the photograph. 

So as I shot the scene, I would move lights around to light up certain areas. Then in Photoshop, I aligned them all up and created layer masks on each one to reveal what I wanted.   

Final image made up of 8 separate images and 16 different layers. 

Final image made up of 8 separate images and 16 different layers. 

The final image has the lighting I was looking to achieve. 

If you are looking to learn how to use Photoshop I am teaching Photoshop Classes in a small "hands-on" environment in my Pleasanton studio.  Check out my classes here. 


Lobsters In Livermore

Sam's Chowder House preps the steaming lobster

Sam's Chowder House preps the steaming lobster

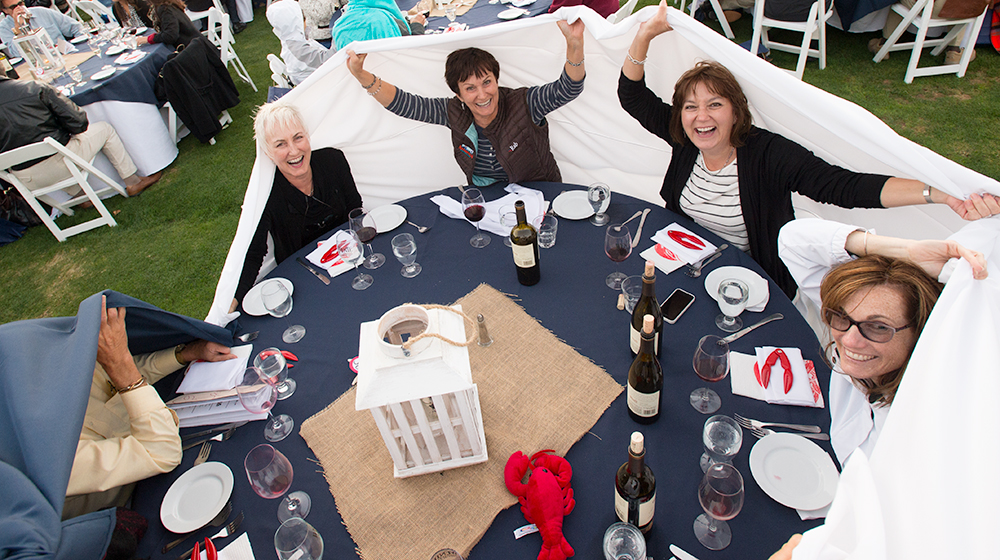
The LVPAC hosted the First Annual Lobster Clambake fundraiser supporting visual and performing arts in the Livermore Valley.  The event was held at Wente Vineyards in Livermore and the fresh seafood was provided by Sam's Chowder House out of Half Moon Bay.  One of the challenges that faces a photographer in this kind of an event are the elements.  With wind and harsh sunlight you have to be patient. 

Lobsters getting ready for the cook.

Lobsters getting ready for the cook.

Shooting closeups of detail items can be shot in advance, where you can control the direction of the light.  Many times however, you will need to be prepared to shoot like crazy when the sunlight falls behind the hills enough to have well lighted photographs.

D4D_7777.jpg

As far as the wind, sometimes there is nothing you can do about that but shoot it's effects. 

Some folks had a creative way to guard themselves from the windy conditions.  

Some folks had a creative way to guard themselves from the windy conditions.  

To get good overhead shots, use a monopod and remote fire the camera with either a remote trigger or using the self-timer on the camera.  If you use a wide angle lens, set the lens for a wide depth-of-field and estimate focus your shots should be fine. 

Simple Soultions

I had a customer, SafepathProducts, ask me to photograph a specialized material that they developed for decks.  We chose a new senior housing development in downtown San Francisco, because this product can be installed at high rise apartments.

Sounds kind of like a simple product shot.  Pick the right time of day, go up and shoot the deck.  Not so fast.

First off,  the deck was pretty small.  I couldn't stand on the deck and get much in the frame even with my ultra wide Nikon lenses. The second problem was that the apartment we wanted to shoot was yet to be occupied, so there was nothing in the apartment to see through the glass nor any lights I could turn on to make it look lived in. Also, getting a lift to raise me up to shoot from outside the deck was out of the question as the one we had wouldn't go high enough. The main shot needed so show that the deck was outside an apartment building, showing other floors below.

Luckily, I came prepared for the unexpected.

To solve the puzzel, I shot from the deck above, attached my camera to a monopod and held it over the edge.  I also had a ProView viewfinder camera attached to my regular camera to send back the view what I was seeing though the viewfinder, to a monitor I held in my hand.

Lastly, I hooked up a couple of portable strobes in the apartment below, reflected off a wall, and fired it by a remote wireless slave (Pocket Wizard) also attached to my camera.

Gotta love when a plan comes together.

"...Cue the models with the dog."

Yosemite in Winter


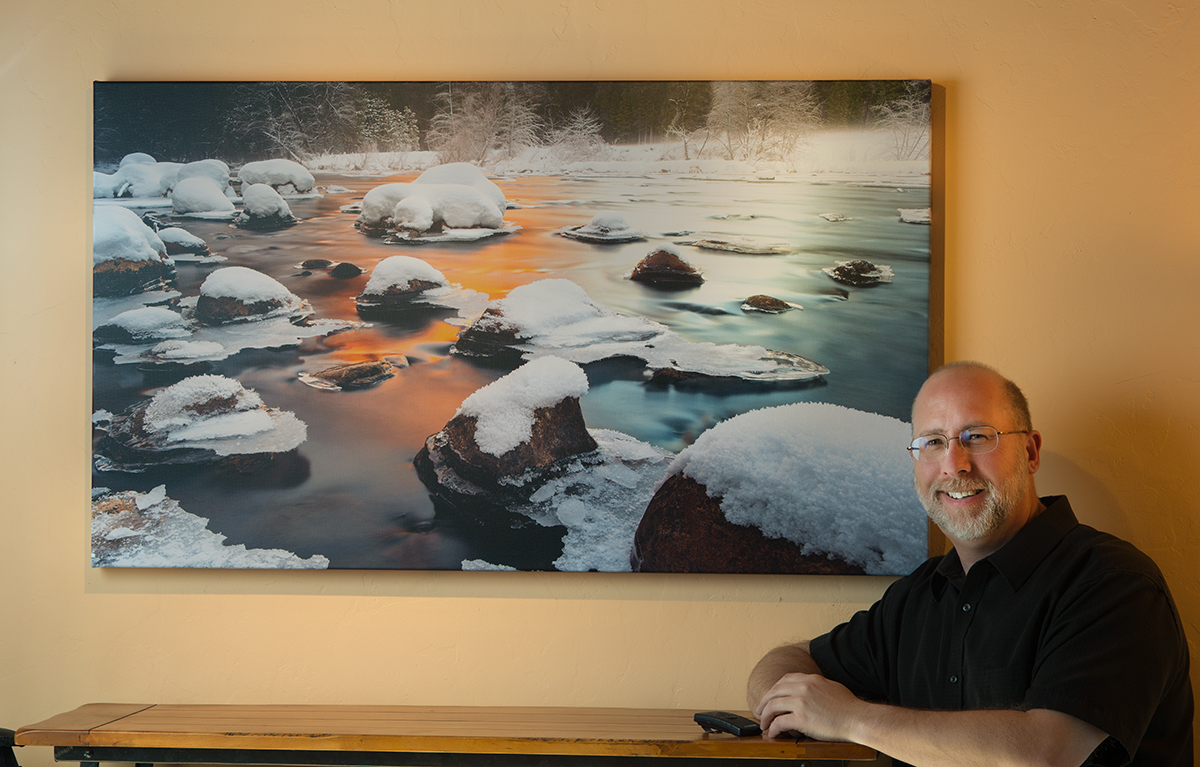
My most recent wall print from my winter trip to Yosemite has been completed.  It's a 50 x 28 Museum Grade Canvas Print on stretcher bars with surface print protection.  The print sets off the wall 1 3/4 inches.

***

I was very lucky to capture a moment along the Merced River just west of El Capitan this winter.  While I started out the shoot, planning on capturing El Capitan's granite face against the valley floor,  I think I did much better.

Fellow photographer, Dave Courtney and I, set out on one of coldest days of January to photograph Yosemite in the winter. The park was a frigid 25 degrees when we arrived so everything was cast in a frosty covering of ice. We stopped several places to shoot and finally ended up in a spot I have photographed many times along the Merced river and got ready for the sunset.

The plan was to shoot images as the sun dropped in the sky, capturing the stately El Capitan granite monolith standing guard over the valley floor.

You never really know what the sunset is going to be like in Yosemite Valley.  Clouds and  smog particles in the west play a huge roll as to whether your photographs are special or not. Many times, cold clear skies  yeild a vibrant deep cobalt color but without clouds, there can be too much blue in the photograph.  A day with white puffy clouds is preferred, taking second only to the gray and black storm clouds that can be quite dramatic. This particular day had little in the way of clouds.
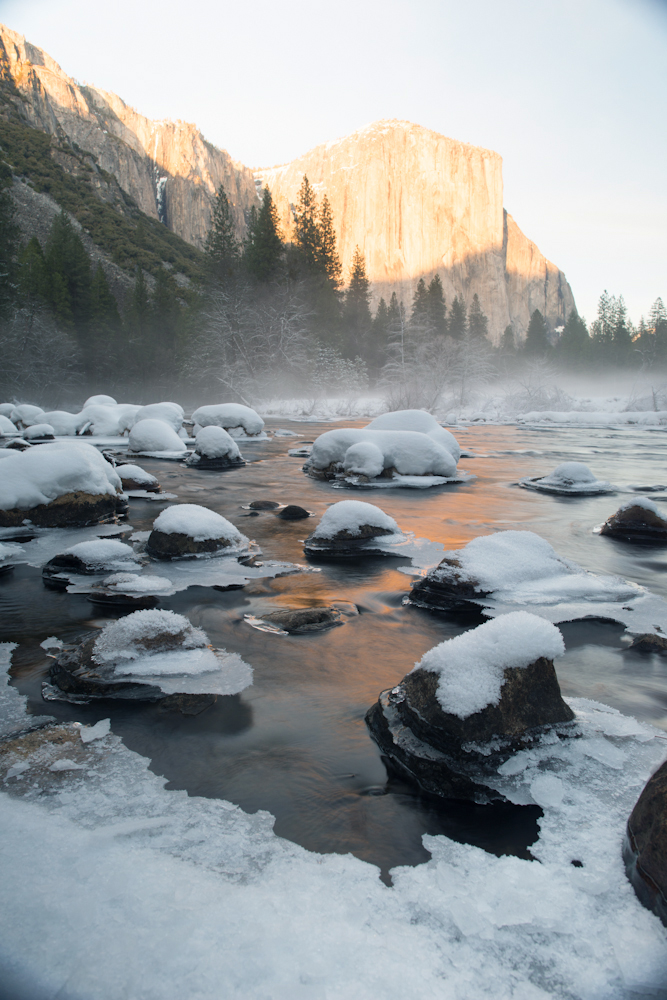
We did get lucky though. Unbeknown to us, a temperature inversion was happening along the coast of California as warm air started to drift over the state, trapping smog particles against the cold air from the earth's surface.  In the San Francisco Bay Area, it can turn into a "spare the air day", where we try to restrict more particles from being sent into the air by eliminating the use of fireplaces and such.  The bottom line for the photographer, is that all those trapped particles can result in some spectacular colored skies.

Along with this temperature inversion, we had a small amount of wispy clouds to the West, that "softened" the sunlight as it fell upon El Capitan.

The extreme cold conditions in the valley during that week served a few purposes for out photography.  One, it helped fog develop in the valley but not so much that it obliterated the view.  Second, it helped preserve the snow from a couple of days earlier by staying so cold, the temperature didn't allow the snow to melt and fall off rocks and trees.  The outcome, was it looked like fresh snow had just fallen everywhere.  Lastly, the extreme cold froze the edges of the Merced river allowing me to safely move a tripod farther out on the ice, to capture the composition I was looking for.

As the sun dropped in the sky, El Capitan became more and more yellow and orange. Those colors started to reflect off the river creating a fabulous display of color across the water. I also noticed a cooler, teal color coming in from the right as this was a reflection of sky and cold granite South wall of the valley, that hadn't seen the sun because of the low winter sun pattern.

I had a decision to make.  Capture El Capitan as it changed color before our eyes as the sun set, or, tilt the camera down and capture just the water and the effect of the reflecting sun. Since there were almost no clouds behind El Capitan to break up the sky texture, I went for the river shot.

I love the way this turned out.
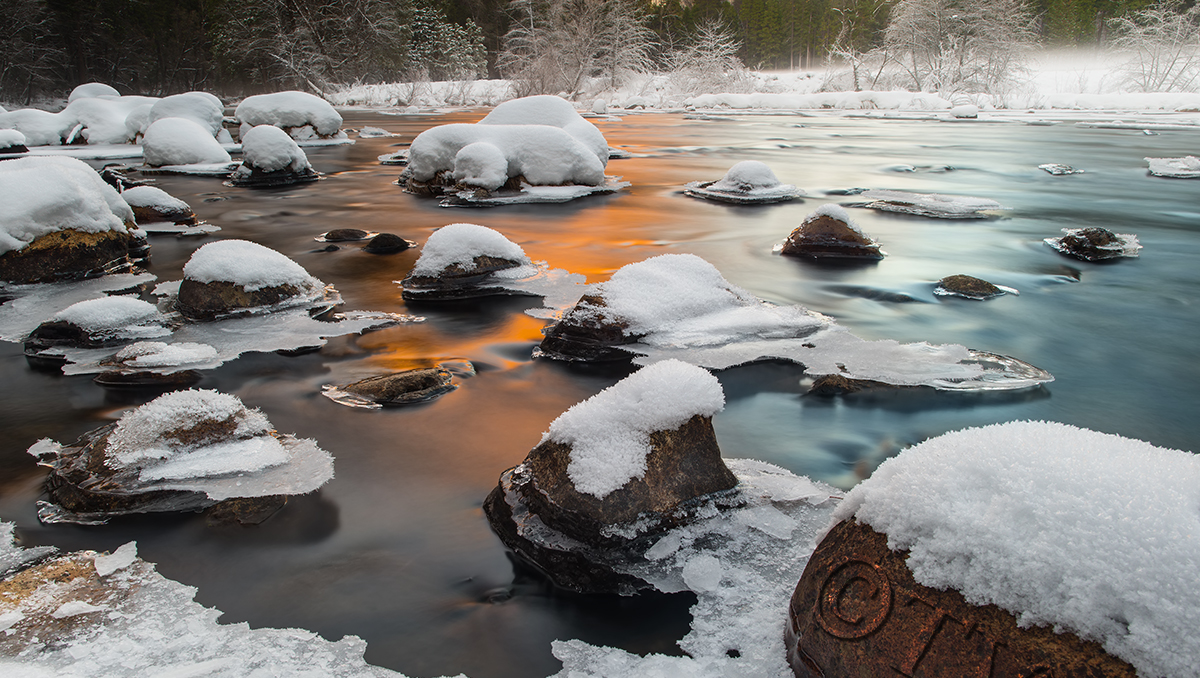
This print is available for purchase in a limited release (without watermark).  It is being sold as a 50 x 28  Museum Grade Canvas Stretched Print ready to hang.  For $1,150 plus tax and shipping.  Please contact me directly at terry@imagelight.com for orders. The image is also available in other sizes both larger and smaller and float frame options are available at cost.

Copyright 2015, Terry VanderHeiden