Creating A Professional LinkedIn Portrait

Many people these days are planning to get a new job or advance their career. From a social networking standpoint, LinkedIn is the cornerstone of networking for a new career or career advancement. With over a 175 million members, it's a fantastic online destination to brand yourself. When you are considering how to brand yourself - the first thing that comes to mind, as well as the first thing that people see, is your profile photograph. It has to look professional.

Ted Prodromou of the Entrepreneur suggests, "Post a professional photo". "First impressions are very important and people will judge you within a few seconds when they see your LinkedIn profile."

From the viewer's standpoint, your first impression is your profile photograph.  Here is a before and after example:

Robert's actual profile image was shot with the parking lot as a background.  We scheduled a professional portrait session, where we brought the focus back to the face and not to the glare in the background.

First we used a long lens to create a shallow depth of field to isolate him from the walls of his family room in his home. Using a combination of available light and flash fill light, we created several images.  We had Robert change his shirt a few times to experiment with colors and to give us some variety in the choices.  As well, we changed expressions, and the position of the upper body.  The session took about 40 minutes.

Once his favorite image was selected from an online image gallery, we opened the original image and started the enhancement process.

Image enhancements can be anything from removing blemishes to brighting the eyes.  I often reduce wrinkles and soften skin as well when I am retouching a head shot. The key is to not over do the enhancements. You must leave some remnants of wrinkles or the face can start to become too flat looking.  However, this level of retouching is in the eye of the beholder and I try to complete whatever level the client would like.

Alyson Shontell of the Business Insider wrote. "Studies have shown that profiles with pictures are much more likely to get clicked on LinkedIn than those without."

While the overriding thought is that any picture is better than "no picture", when planing to create or update your LinkedIn profile, strongly consider going to a professional photographer that knows how to pose, how to use the light, and how to retouch an image without making it look obvious.

Here is another example:

Heather used her own cell phone, at arm's length to create this profile photograph.  While this is a nice photo and could very well be used on Facebook, it's not appropriate for the likes of LinkedIn.

In this portrait, we didn't have any available light that was usable, so we lit the subject and the background entirely by strobes. A slight warming gel was used on the hair to give it a little more warmth and to separate her dark hair from the background. While this image looks casual and comfortable it takes more time than you might think to create the right image that portrays that individual in a professional manner.

William Arruda of The Ladders writes, "When I refer to your headshot, I am talking about a professionally taken photo that reflects your personal brand — not a picture your mother took of you at last year’s family picnic! "

Here is yet another example of an active professional on the LinkedIn network that was using a substandard profile photograph:

Michael is not in real estate, nor is he in satellite TV sales. There is no reason he should have homes or a satellite dish distracting the background of his professional profile photograph. He's a salesman, one that travels nationally for his clients. Even though at this time, LinkedIn does not feature huge photographs, you don't want to show one that is pixelated in any way.

In the portrait we just created, Michael is a professional. He is wearing the type of clothing that is expected in his line of work.  The eyes are bright and the face is not distracted by any background elements. In fact, the background subliminally speaks to the viewer that he travels and he would travel for them. He is friendly, but not overly so.  This portrait communicates a professional image.

This session took about 45 minutes. We explored different backgrounds in the home, while still keeping the lighting to bring out the face as the main feature.

Vivian Giang, Business Insiders wrote: "In a study conducted by TheLadders, an eye tracking heatmap shows that recruiters spend 19 percent of the total time they spend on your profile looking at your picture. Then, your current  job position and education are glanced at, but not so much time is spent on your skills, specialties or older work experiences."

If so much time is spent by the viewer on your profile photograph - then make it a professional portrait. After all, LinkedIn is a professional network.



Rain Birds

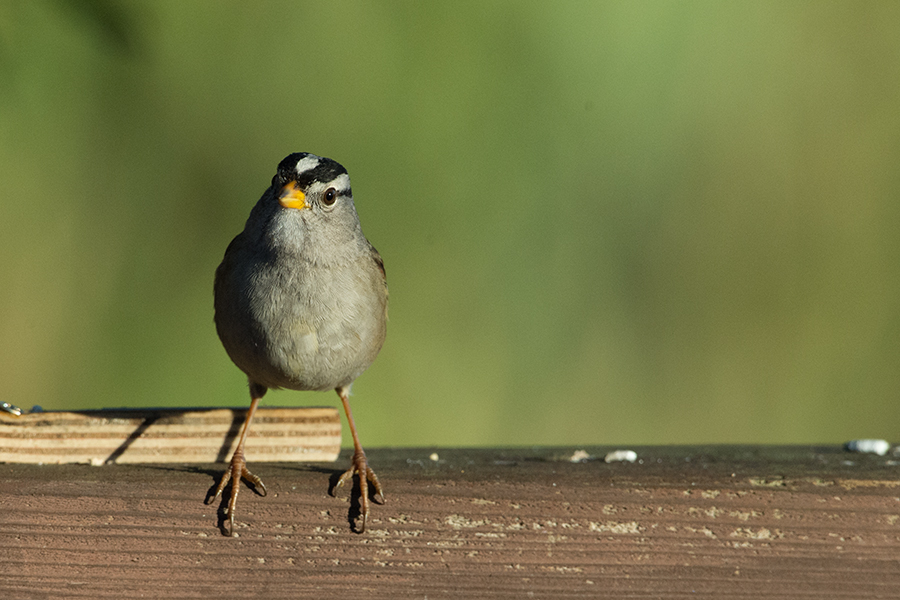
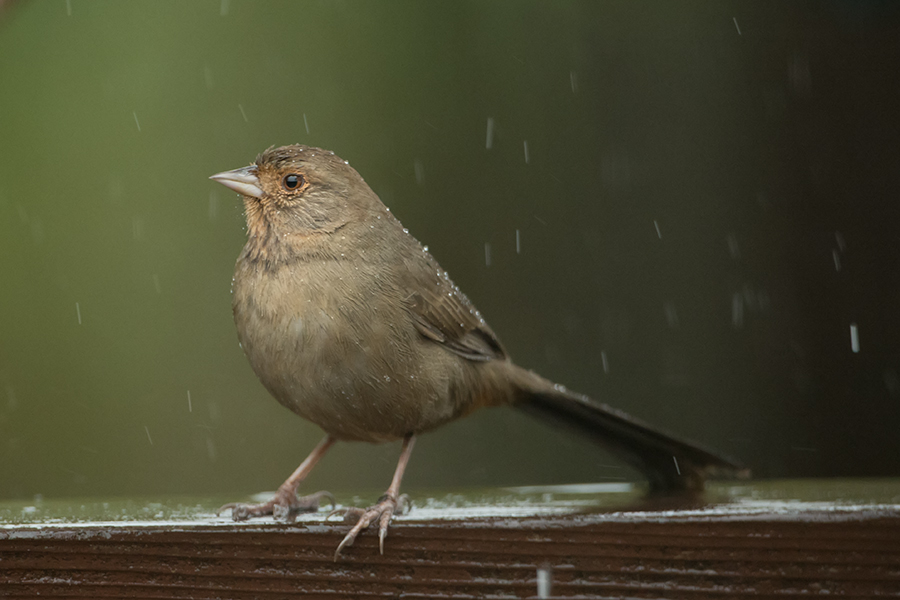
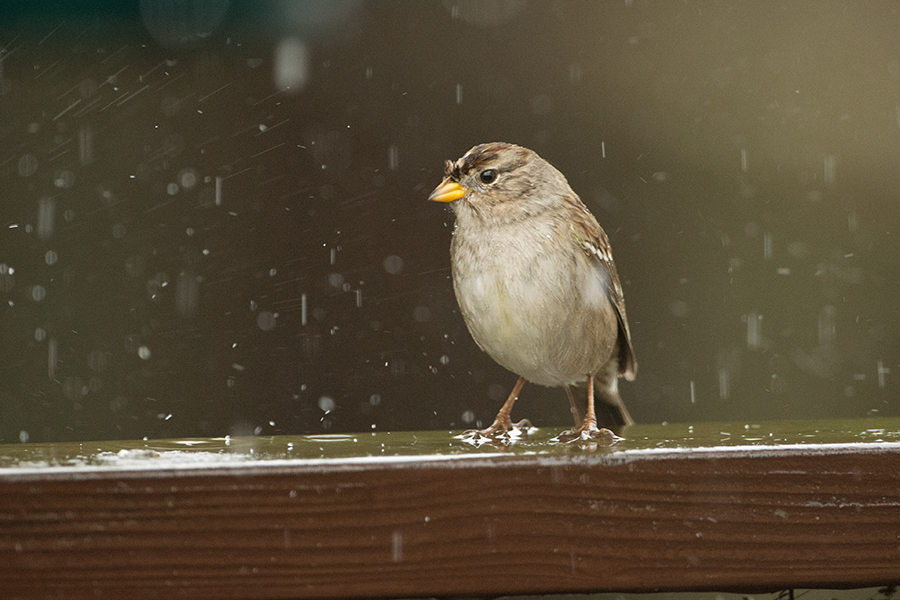
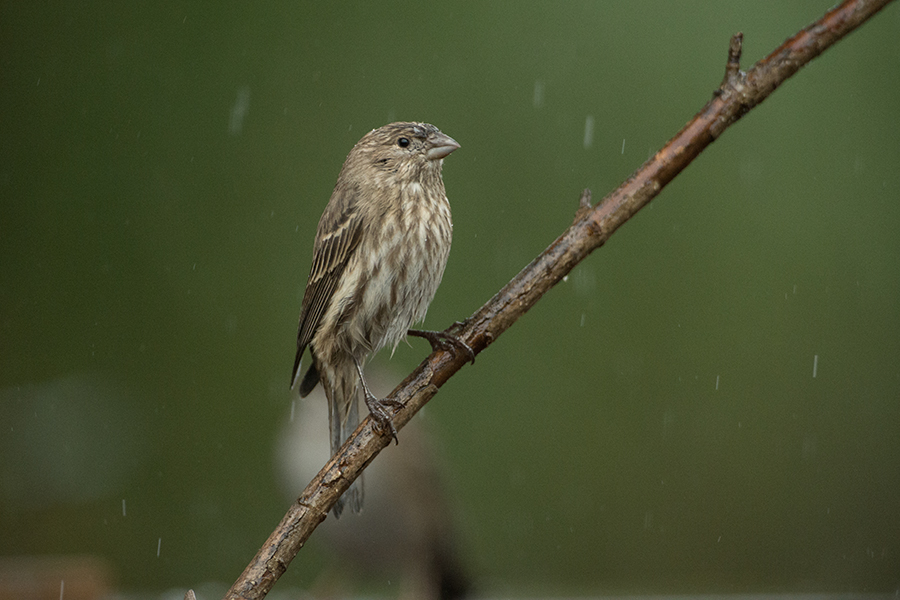
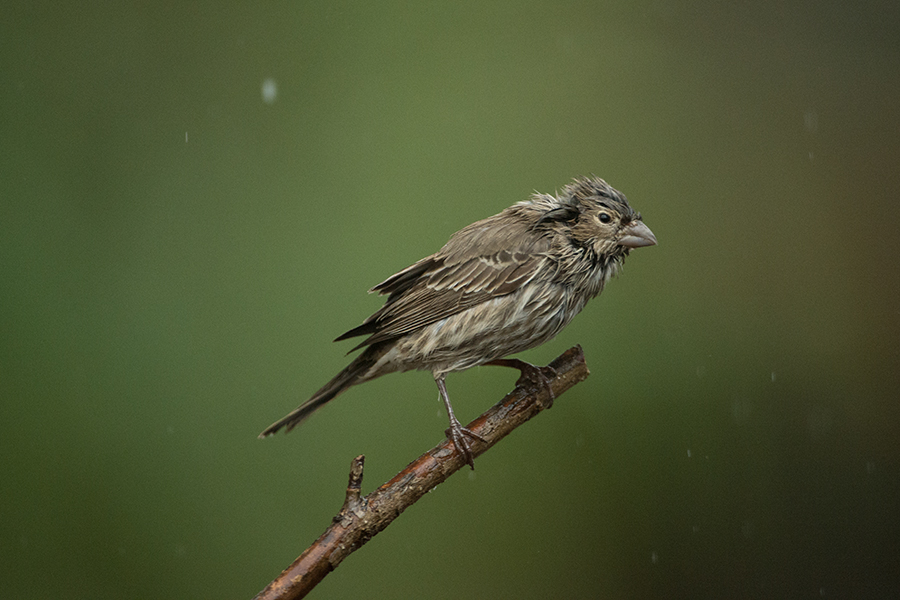
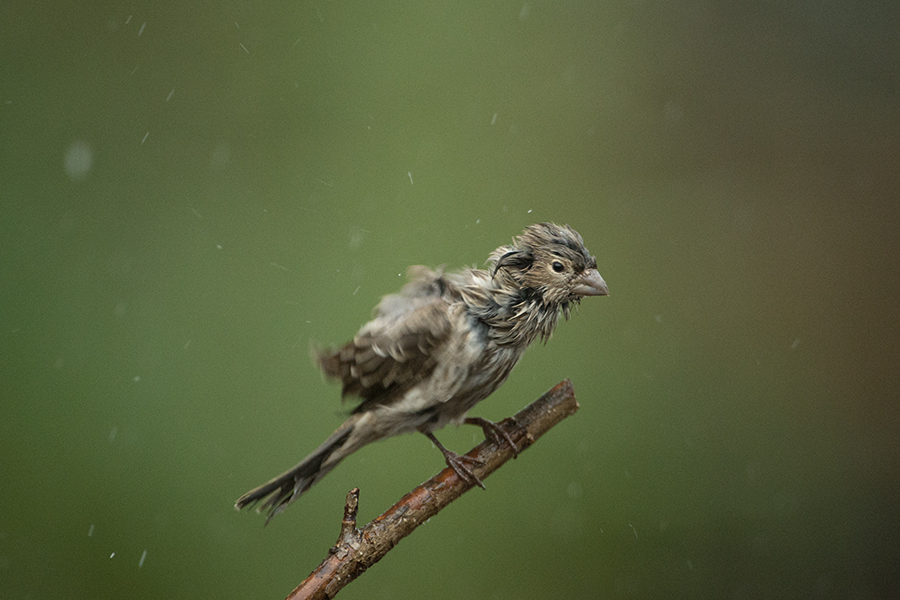
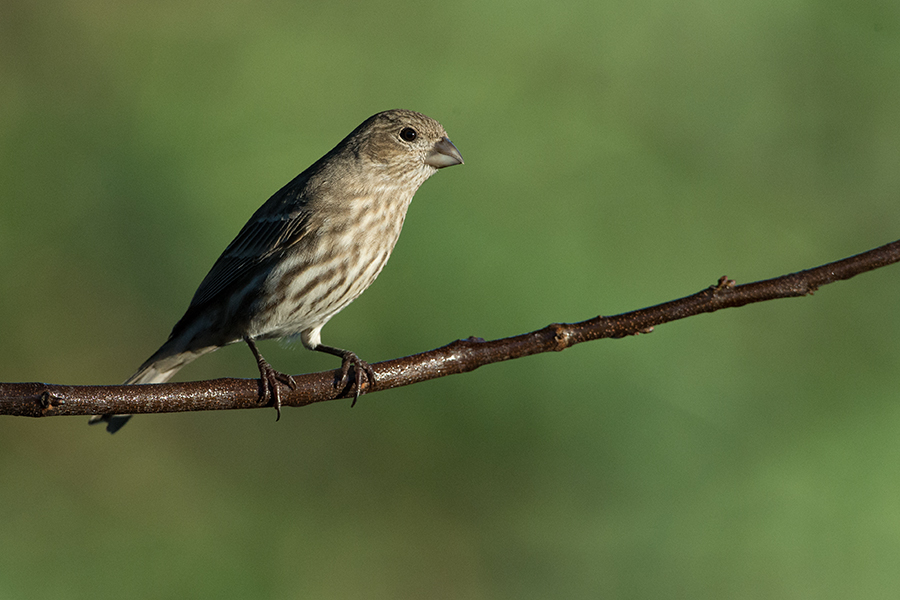
I always thought that most birds would go hunker down in a rainstorm, but I am clearly wrong about that. Last month I set up a bird feeder with perches built around it for them to land on.  These perches were precisely positioned for the best light on my subjects and for me to have my 600mm lens positioned to capture their comings and goings. It a lot of fun to watch, but even more fun to photograph.

Last week when we had our rainstorms, I thought  I would check to see if there was any activity at my backyard studio set up.  WOW!  These birds were still feeding!  Since they were working so hard, I thought I would get my equipment out and do some work as well.  Here is some of what I captured.


Prime Lenses vs Zoom Lenses

Over the years as a professional photographer, I have switched out most of my zoom lenses for prime lenses.  Prime, meaning fixed focal length lenses.  Where once I was attracted to the concept of staying in one place and zooming to get the focal length I wanted, now I just move around a bit more.


When you think about it, zoom lenses can keep you from moving forward or back.  But with a prime lens, if you want a different composition, you HAVE to move. Moving around on a set or outside in nature, you will see more angles, you will see other things that need photographing. Moving around is not a bad thing.

Faster

I have always thought prime lenses were a bit sharper than zoom lenses, but mostly I knew they were faster.

They are faster to focus.  With all of my lenses being of the auto-focus variety, I like the speed in which the prime lenses find and lock on a focus point. I don't have any high tech gizmos to check to see  just how fast a lens focuses, but when you are shooting a professional job, you don't want to wait for anything. The prime lens give you speed.

Brighter 

Prime lenses are also brighter, in that they let more light in and I can shoot in lower light conditions.

That is always the trade off, the lower the light, the more noise that get introduced or the lower the shutter speed. Some prime lenses are two stops brighter than their zoom counterparts. This means I can take the shot, hand held at a 50th of a second - where with the same zoom I would be looking for the tripod.  This increases my speed in shooting and my productivity.  Also, since they are brighter I can see better in lower light.  Most of my prime lenses are f/2.0 or faster. This gives me the freedom being able to see and compose in low light conditions.

This really pays off when I am trying to get absolute sharp focus on a subject and because its so dark, I can't rely on the auto focus anymore, I have to focus manually.

Better control of Depth of Field

With prime lenses that have a wide f/stop such as the Nikon 24mm 1.4 lens that I use, I can focus on the eye, but let the background go softly out of focus.  This kind of depth of field control is unheard of in a zoom lens.

Prime lenses can give you a new perspective on photography.  Take the challenge: dig through your camera case and find a prime lens, or borrow one. Try using it for a day of shooting and see what your work looks like, you may be surprised.

Photographer's Holiday Gift Buying Guide

Some of you are scrambling this time of year to get that photographer on your list something that is perfect for them but you don't want to spend too much, since it's their hobby, not yours. Here is a short list of suggestions that might fill that need or fill the stocking. These are not in any order but I tried to keep things down to a "gift" price point, most are under $25.

A Polarizing Filter

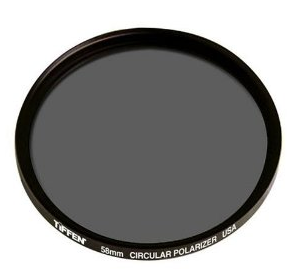
A Polarizing filter is just about the only filter every photographer should have in their bag.  They are fantastic for cutting glare on lakes and windows, enhancing the greens of leaves, cutting though haze and lowering the the density of an image to get more motion in a shot when there is too MUCH light.  You'll need to get the filter size of the lens they primarily use. That is stamped on the front edge of the lens.  If they have several lenses, get the largest filter size, they can rest on the edge of the lenses that it doesn't fit. As with anything optical, you can spend about $20 on up to $420 - this has to do with quality of glass and size.  Get them started with an inexpensive polarizer and let them see how it can improve their photography.


Bag for Digital Cards


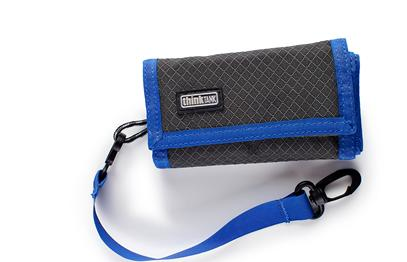
I like the Pixel Pocket Rocket available at Think Tank  This company make fantastic products with tons of accessories. The Pixel Pocket Rocket is under $20 and holds up to 10 Compact Flash cards or you get a simular holder for SD cards.

Magazine Subscription

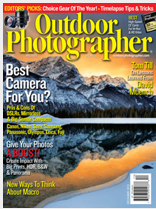
Get them a subscription to Outdoor Photographer magazine. Each month the magazine is loaded with tips and inspiration for nature and landscape shooters.

iphone App for the Sun Position


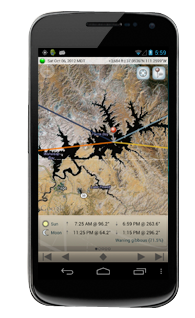
If they are a photographer and have an iPhone you have to get them the The Photographer's Ephemeris app.  This is a clever app that tells you where the sun is going to come up or where it's going to set.  The app uses Google Maps to pinpoint your location so they'll know which building the sun it going to come up over or which mountain top the sun will set behind.  I've used it, I love it!

Bushnell Backtrack

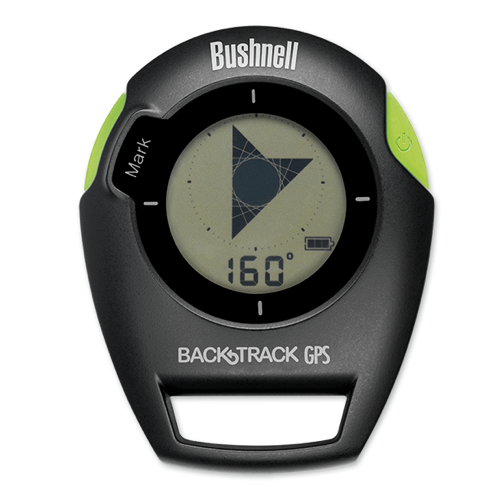
The Backtrack by Bushnell is a handy device that a photographer can use quite often.  Once they get to the perfect spot, a lot of times it not the best time of day and they want to come back at sunrise. With this device, you simply mark where are and head back.  The next morning, use the Backtrack to get right back where you were - even in the dark!  They can also use it to simply find their car in parking lot of a crowded mall, that day after Christmas.

Camera Wrap

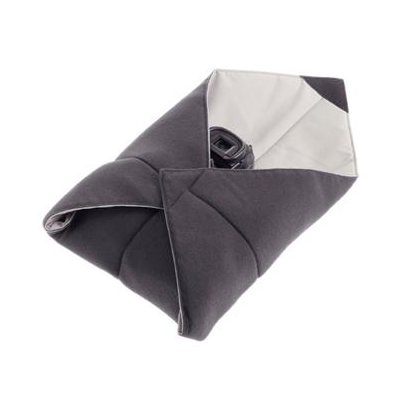
Lets say you are one of those photographers that toss their camera in their purse for a quick trip.  The camera wrap can help protect that second lens or a camera body.  Tenba makes a good one that is simple to use but offers some good protection.  Works kind of like a diaper for your camera, wrap it up and you are ready to go!


Copyright 2015, Terry VanderHeiden