Photography

New HD Wedding Site

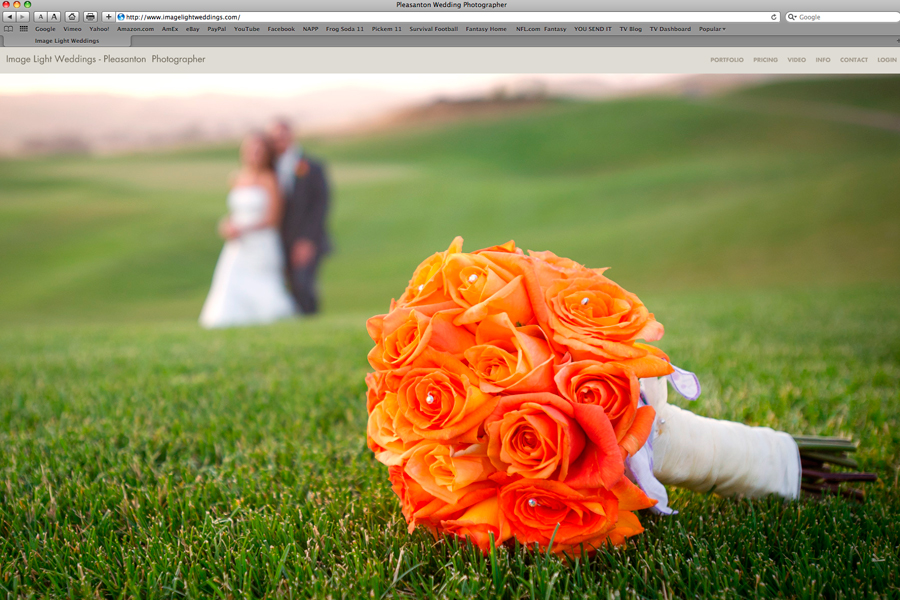
I've just completed out new wedding site at www.imagelightweddings.com Please feel free to check it out.

Using some new technology I was able to make this site "scaleable".  This allows the viewer to see the images as big as their monitors can accommodate.  From a small laptop screen to a large 30 inch monitor the images are clear, clean and have impact!  Also they have quick links to facebook and to my twitter feed.

Check it out when you have time:  www.imagelightweddings.com

Spot Metering Photographs

Most good DLS's have a light meter built in.  They are default set to average light metering.  That means that through the lens that you are composing your photo though, the light meter is working inside, to create the settings that the camera will use to capture that scene.  In a scene such as this Yosemite shot below, the meter reads the whole scene and comes up with a setting that captures the mountain and the green grass, the sky and the trees.  One average reading for the shot.

Some situations can give your meter wrong information and you can end up with poorly exposed images, so you have to make changes in order to get better photographs.

If you know what the meter is doing, it will make this process a little easier.  The meter inside the camera is trying to expose the the scene so it reads as middle gray.  So if you have a shot that is average in tone throughout, then the meter will make a setting that will allow you to see detail in the shadow areas and in the highlight area. But you need to be careful when shooting at the beach, on snow, in the forest etc.  Anywhere the background is way different to the subject in its tonal range.

When it comes to unusual lighting situations, that is where the meter is fooled into thinking you want an "average of the scene" and it gives you a poor exposure.

Here is an example:

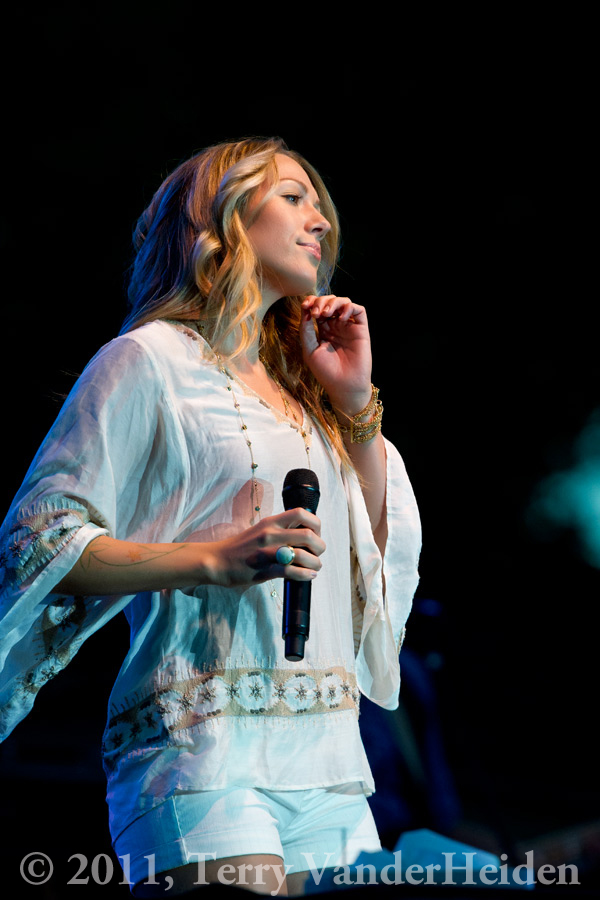
At the Colbie Caillat concert last week I was trying to get a photograph of her while she wearing white clothing, and she is set against a dark background.


This image is way over exposed because the light meter saw all the dark in the background and compensated the setting in order to get the background to represent middle gray on the tonal scale, thereby making the whites blow out and show no detail.

I order to get around this, I had to tell the meter to make a reading, and an exposure of what I WANTED to be middle gray on the tonal scale.

With the Nikon I use, it's pretty easy, I set it on "Spot Meter".
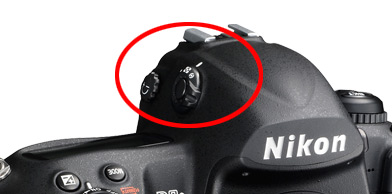
 

On top of the camera (your camera may be different) there is a dial that can set your meter on Average or Spot metering.  Just simply move the dial to "SPOT" and the meter will only use the tonal information  that is in the center of the viewfinder to make the reading.
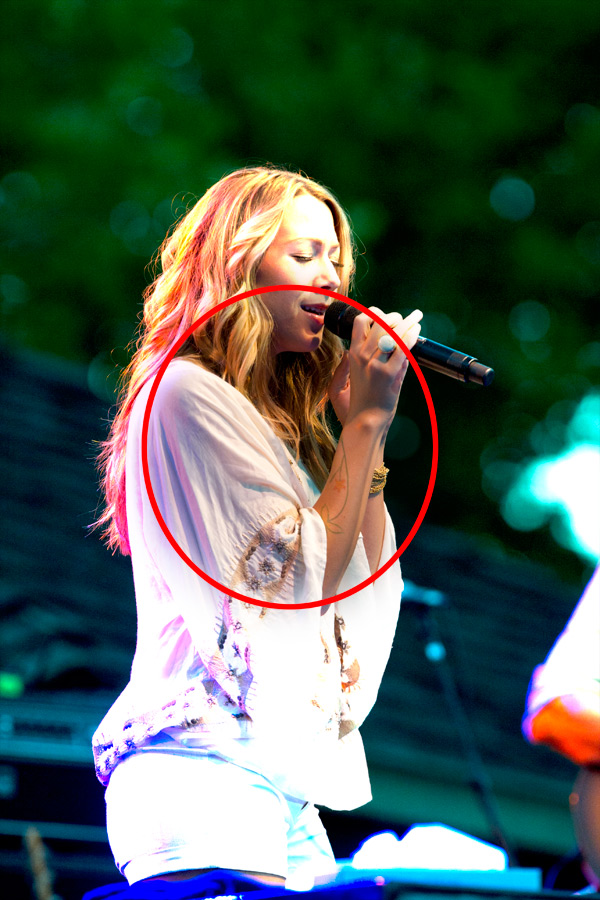
 

Spot Meter reading


Here is an example of how it looked after I switched to spot metering. Yes, the background went dark, but I was more interested in exposing the subject properly and not so concerned with the tone of the background.
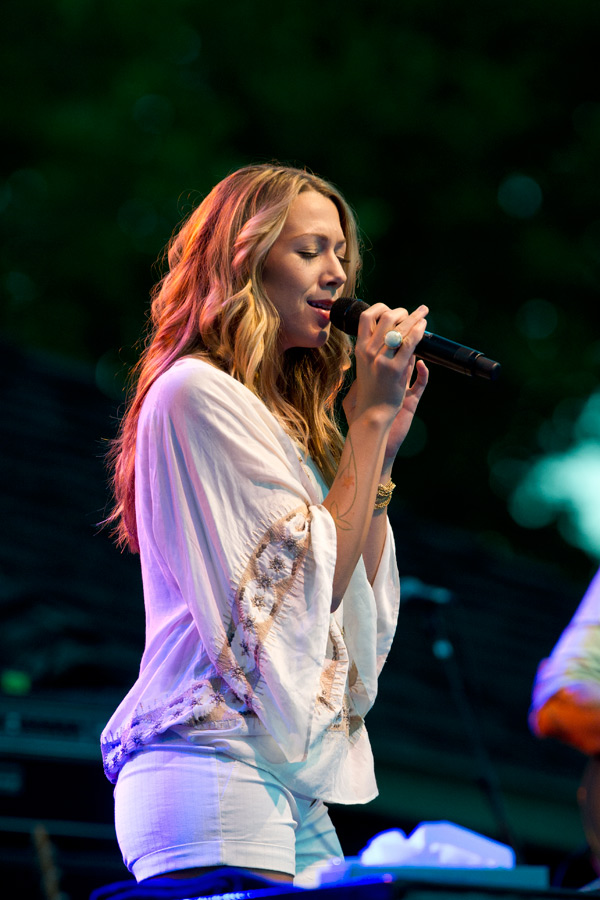
 

Using spot metering for a better exposure.

This will work most of the time.  However, when I went back and photographed Jonathan Butler a few days later, in the same lighting, same environment I couldn't use the spot meter.  The reason was that he was dark skinned, wearing dark clothing, against a dark background. So I set the camera back on average metering and shot away!


Colbie Caillat Concert

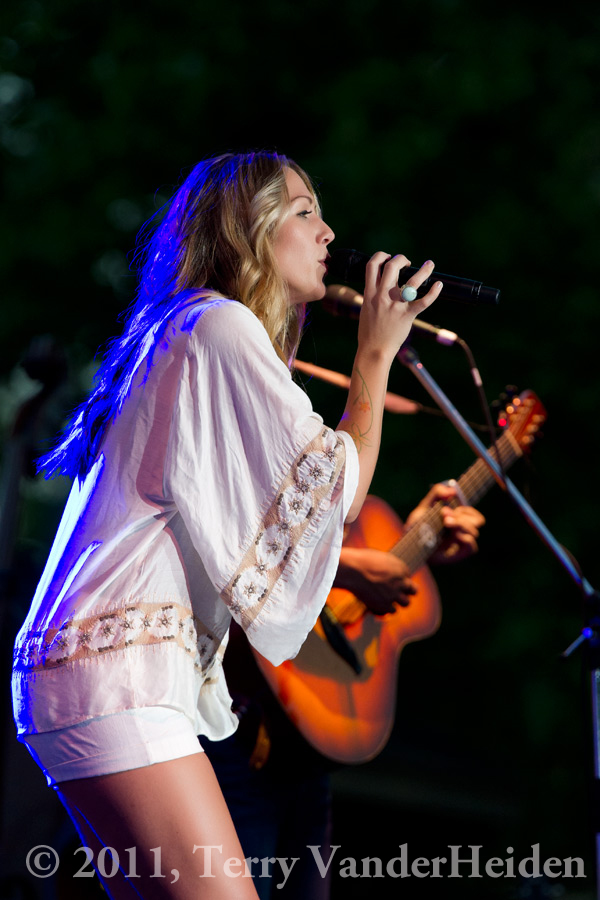
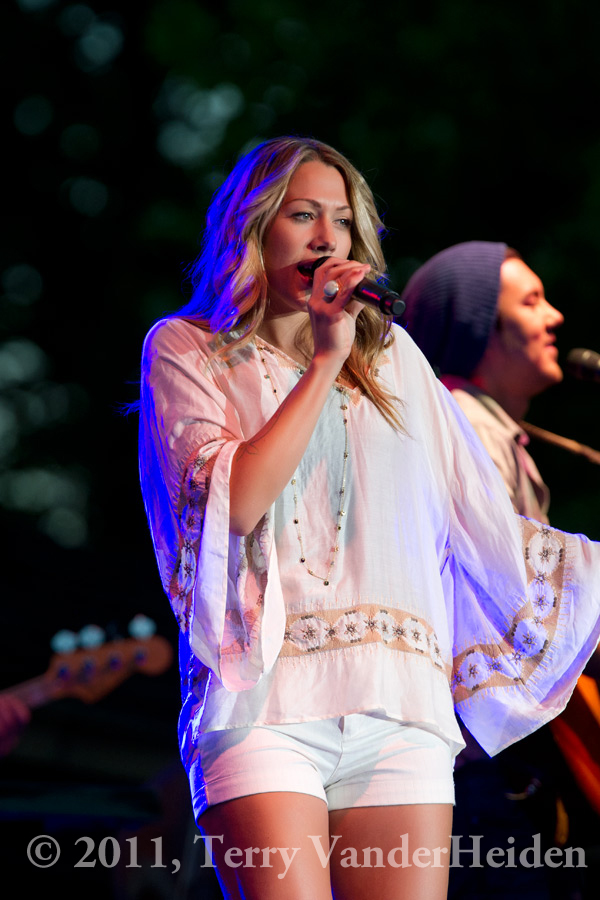
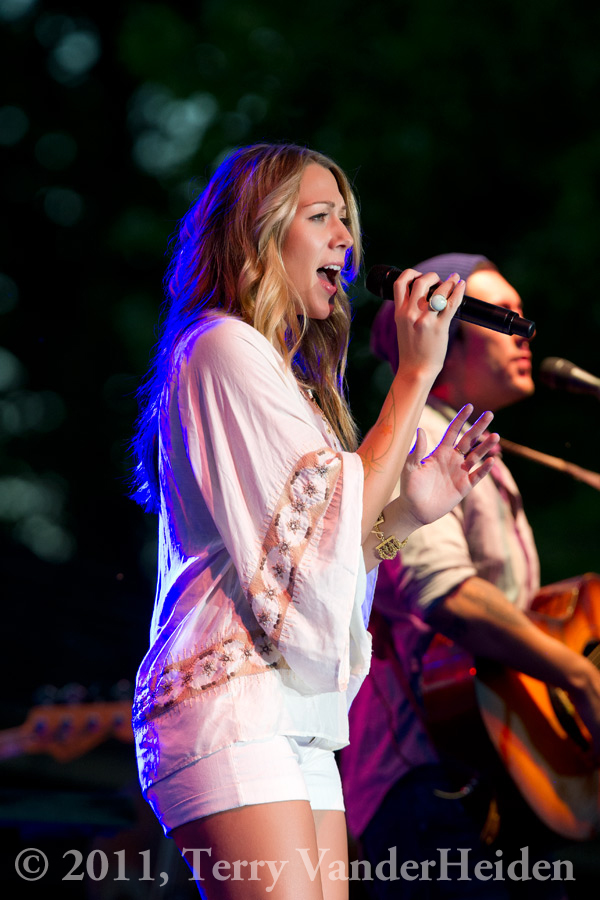
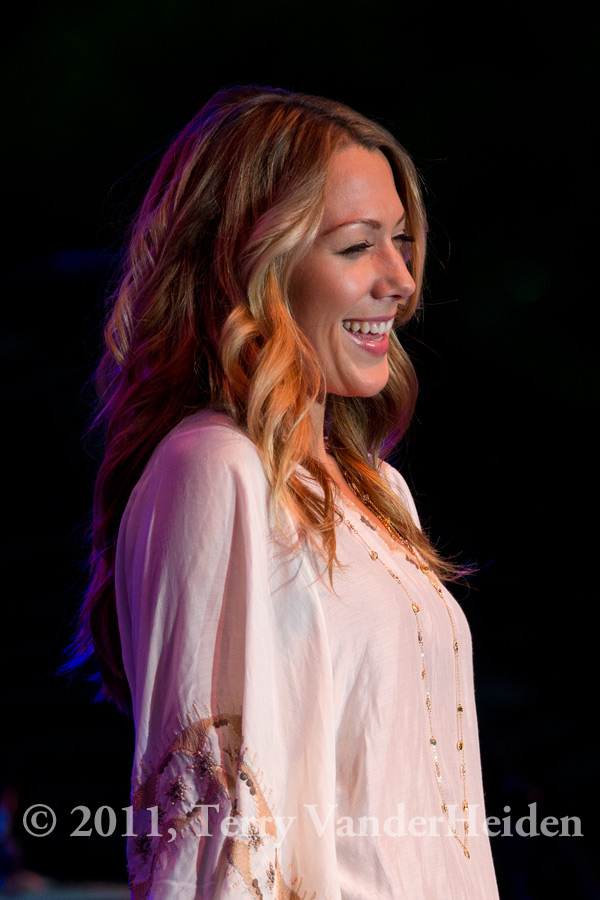
Being a professional photographer is mostly fun. No doubt about it. I had a pleasure of photographing a nice young lady, Colbie Caillat at her concert the other night in Livermore.  She was very pleasant with the fans who met her before the concert and she put on a very nice show.  I recognized only about five songs from her set but my guess is that I'm not in her primary demographics either. She played a couple of songs from her upcoming album, All of You (Releases July 12th, 2011) and those sounded as good as anything she has done in the past.  My guess is, that it will do very well. As with all concerts, the photographer can only shoot during the first two songs - so you have to shoot fast and just about everything you see.  Most of these images were shot a Nikon D3S at about 3200 ISO - 200mm F/2 Lens with 1.7 converter. Here are a few:


Evolution of a Shot

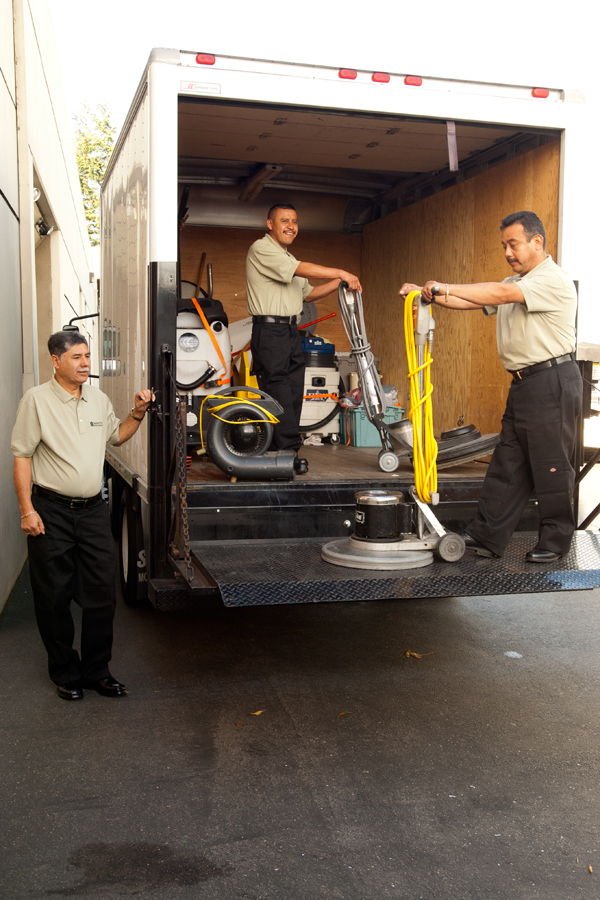
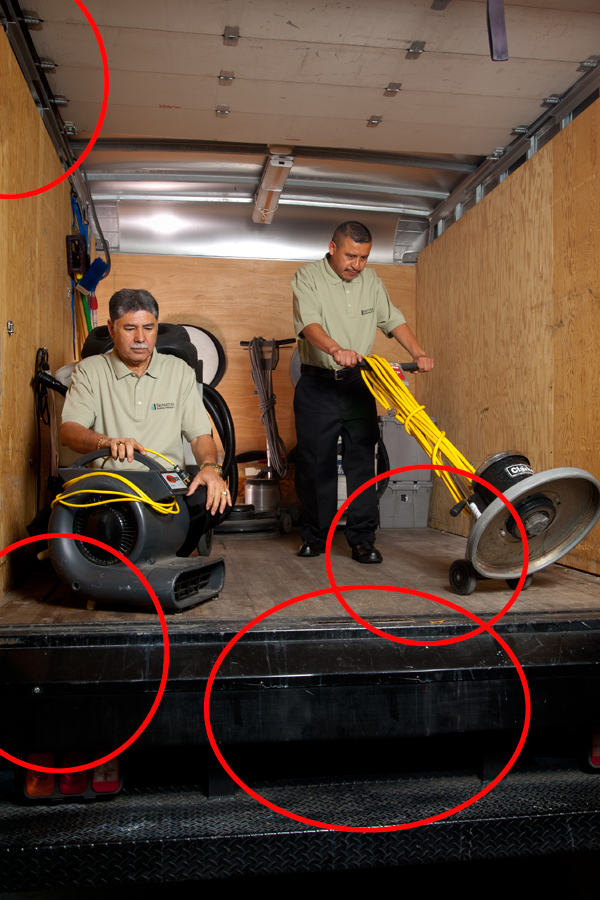
Most of my photographs for clients don't end up as we start.  There is almost always an evolution to the images.  Here is an example: One of the services that this client offers is janitorial service.  So they wanted to have three of their workers on one of their trucks looking like they were working. So here is how we started:


As you can see, it doesn't look like anyone is working, there is too much "stuff" in the back of the truck and the light was not that good with the washed out background around the truck.  So the first thing we did, is to move the truck inside where we could control the light. As much as I try to be on location at the proper time of day there always comes a time that the outdoor light isn't working.


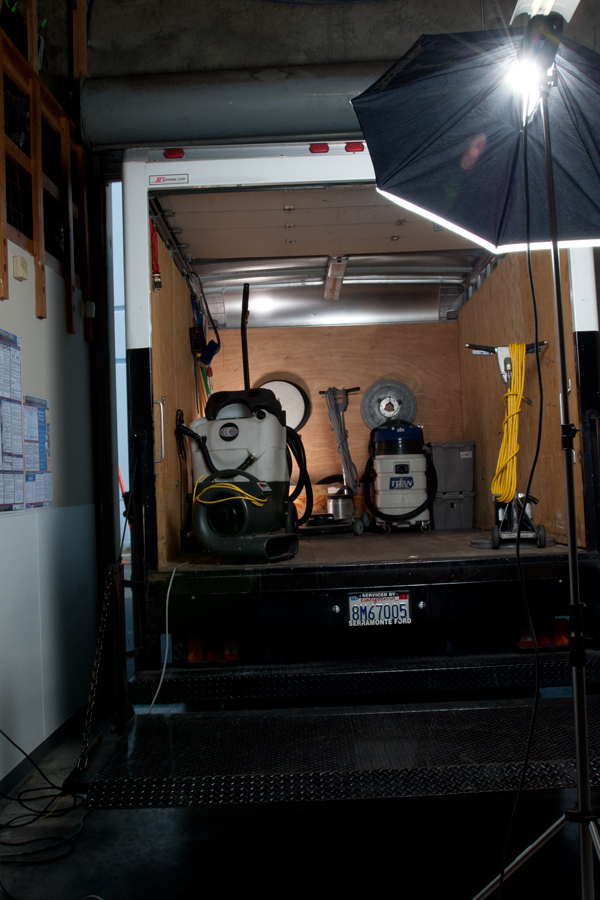
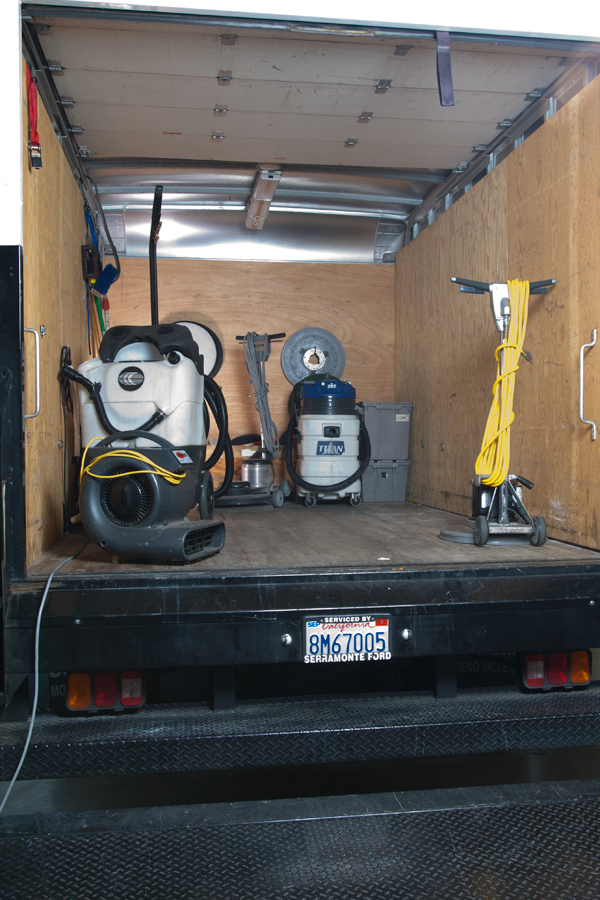
We have now added a light in the back of the truck to light up the interior better and also added a soft light in front and removed loads of things out of the truck.


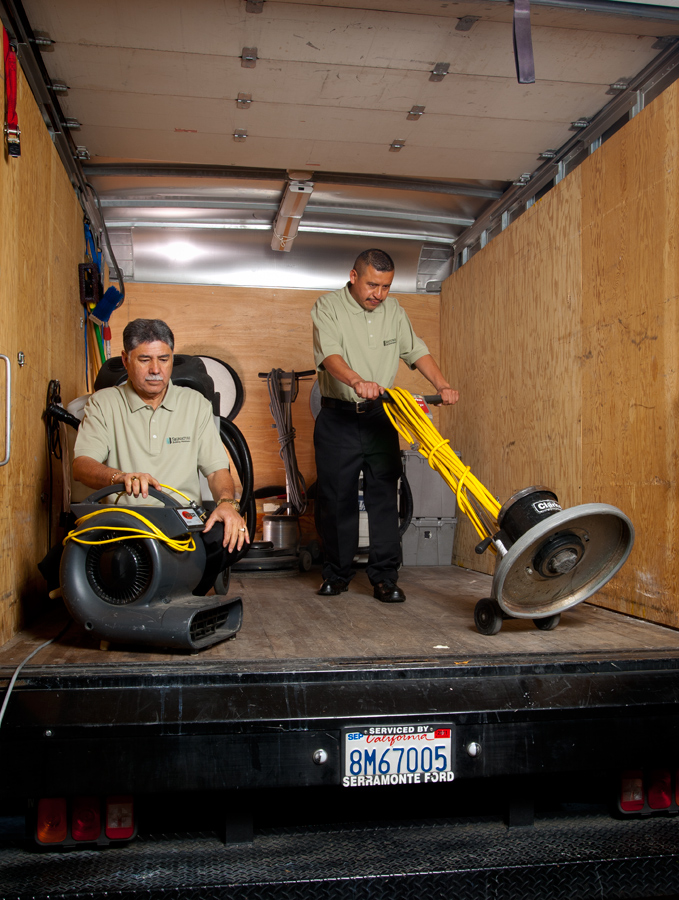
After we add the workers back in we will need to do some Photoshop work on the final image.


Some of the changes we made was to remove the license plate (copy a portion of the frame of the truck and pasted it over the plate) remove one of our light cords, remove debris that was stuck to the floor of the truck, remove a red strap that kind of caught the viewer's eye.


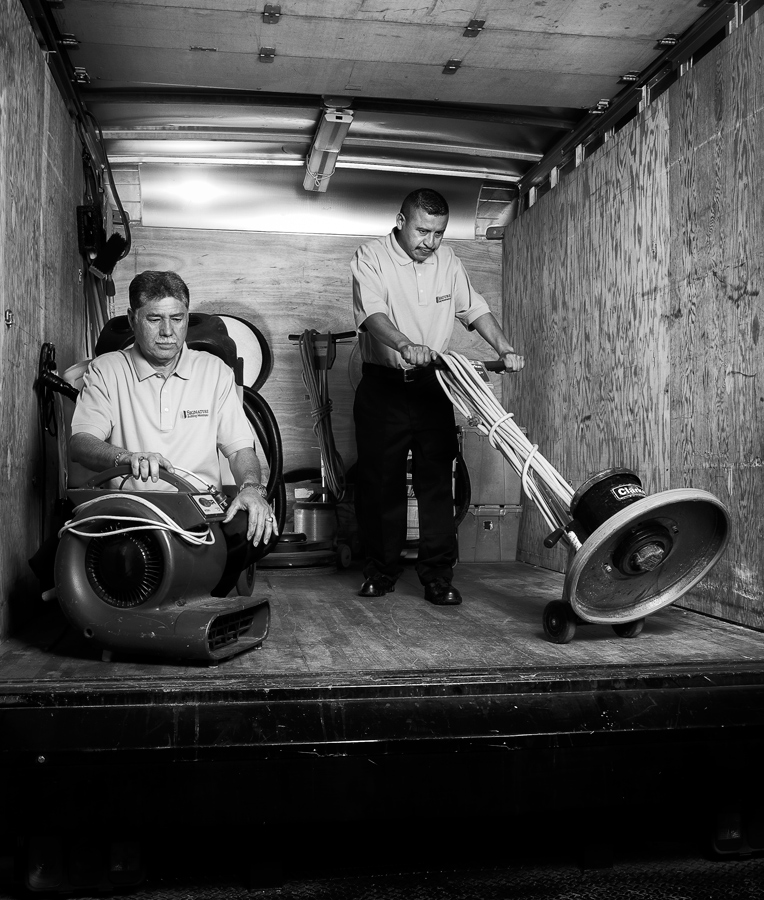
Here is the final image, coverted into black and white, using Nik Silver eFex II.  In this program you can control the contrast of the image and sharpen areas that need the extra structure.

Copyright 2015, Terry VanderHeiden