Lake Winnipesaukee, New Hampshire
Once you have found yourself in and amongst the fall colors, whether it be northern Maine or the eastern Sierras of California, you need to know how to capture the beauty and color of the fall season. Most of the great locations for fall colors don't give you but a week or two of peak color so you have to act fast.
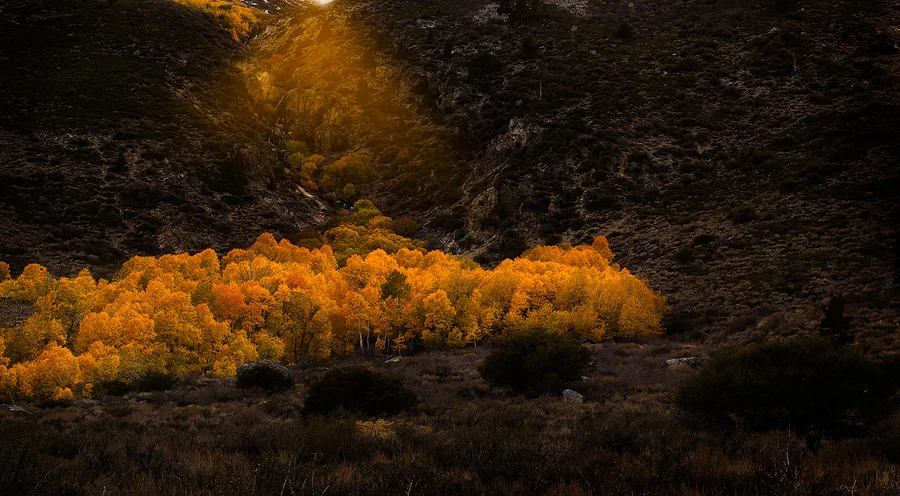
The first thing to consider (almost always the first thing) is the light. What kind of light are you working with? The tried and true times of the day to best make photographs still apply; sunshine in early morning and late in the afternoon are usually the best conditions. However, don't put the camera away if you find you have overcast, gray skies. This soft light can bring out the colors quite well without having to deal with the extreme contrast of a sunny day.
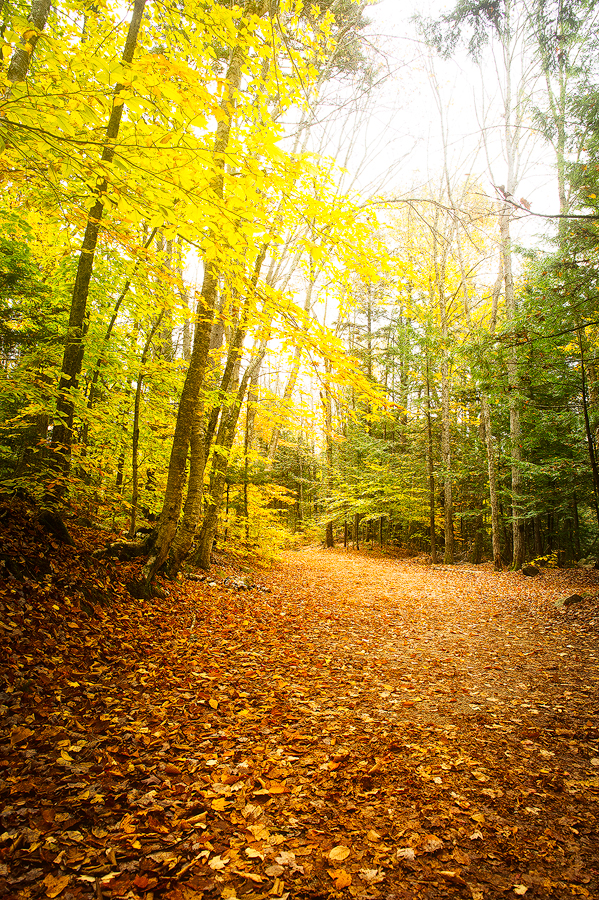
Look for contrast in color and in texture of the image. The fallen leaves make a great lead-in to blanketed trails and waterfalls. The lower light of an overcast day, coupled with the shade of a forest may enable you to shoot slow shutter speeds without the use of a Neutral Density Filter. With your aperture being set with a tiny opening and a very low ISO, you might get the shutter speed down to an 1/8th of a second which should be slow enough to get soft blurry water falls. Do remember to bring a tripod or figure some way to stabilize your camera. Maybe using a sandbag or some extra clothing to create a support. Also remember to bring some sort of camera trigger. I would suggest a cable release but if you don't have one, try using the self timer to fire the camera without it being moved.
If you don't have a big budget for camera equipment I would still encourage you to put a Circular Polarizer filter at the top of the list. Not only will it knock down reflections from rocks and allow you to see into rivers and streams, it will give more depth to the color of the leaves. Also, most Circular Polarizer filters will cut the light by about a stop and half. That could be just enough light reduction if you are trying to get a slow shutter speed for shooting waterfalls.


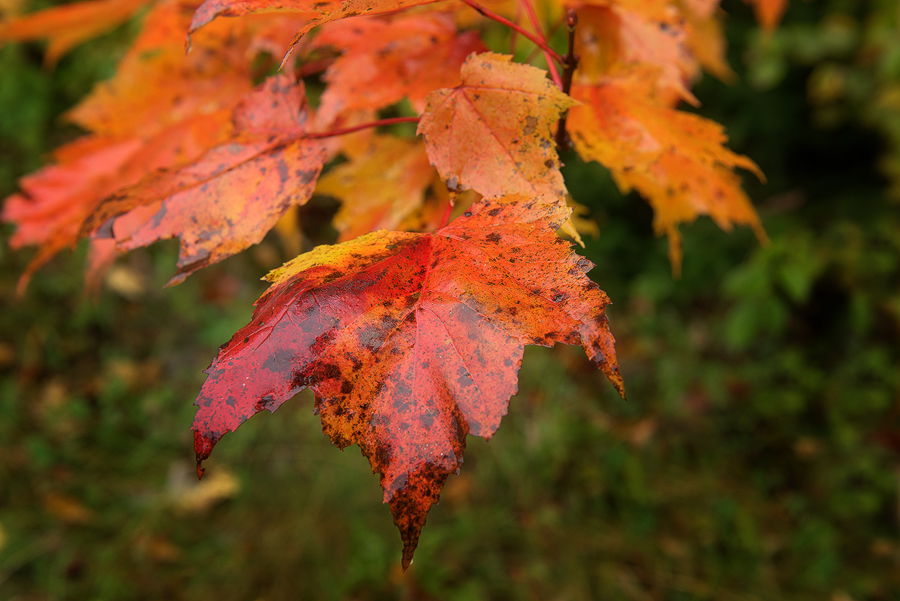
While most people are on the look-out for the reds, oranges and yellow colors in the leaves, don't forget the cool colors. The accent of green pine trees and the blue of a lake will make the warm colors pop off the page.

Shot with a Nikon 600 f/4 lens for better compression of the lake.
Keep an eye out for reflected color. Using a longer lens can compress the color in the image to make a beautiful background shot. Since you are likely shooting digital, give yourself options. Shoot one of just the reflection, then go ahead and include the actual trees in the composition and shoot both vertical and horizontal. That way, you will have lots to select from when it comes to the editing process.

If you are shooting with a tripod, make sure you utilize your range of aperture to get images with full depth-of-field as well as some with shallow depth-of-field. Lead the viewer through your images with your composition. Have them linger on what you want them to look at by using depth-of-field or lack there of, to your advantage.
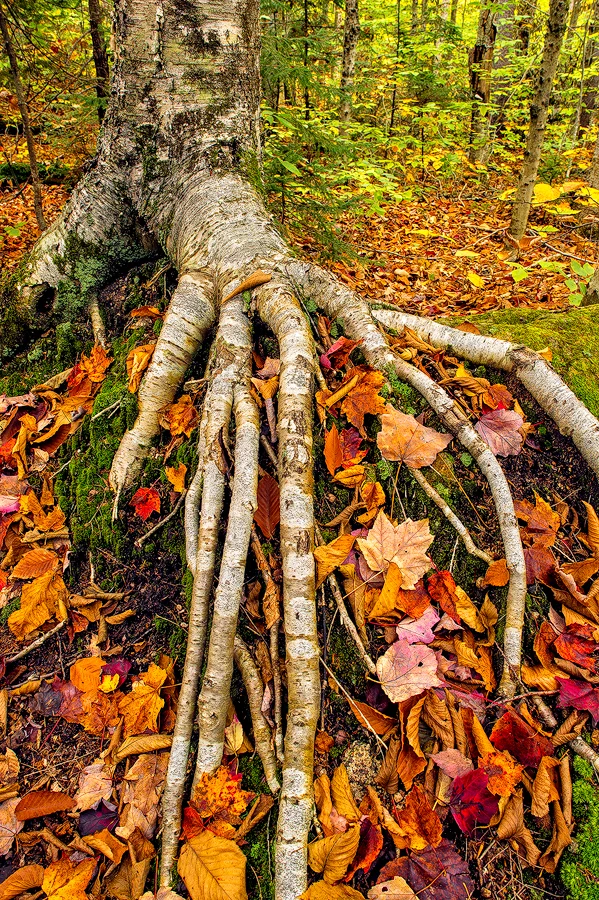
This image caught my eye as it kind of looked like a creepy hand stretching into the leaves.
Be sure to look around, both up in the sky and down on the ground. You might find a tree with a root structure that is interesting or a blue sky that contrasts well with the autumn colors.
For your camera settings, put your white balance on "clouds". This will yield a warmer set of tones that will help enhance the fall colors. Avoid using the "A" mode for white balance as the camera will see large sections of yellows and reds and try to compensate by cooling the image down (adding blue and cyan).
The most important part is to keep shooting. Shoot from before the sun rises and until at least an hour after it sets. If the sunlight makes the scene too contrasty, head under the canopy of leaves and shoot in the forest. If the light still doesn't cooperate, spend those brightly lit times of day searching for where you want to be at sunset and sunrise.
Capturing the colors of the short fall season is challenge but it can be most rewarding with hues that can only be seen in certain locals and during a season that just doesn't last very long.